Use the notecards and envelopes as the base for this super cute card. Much of the cutting and punching and die-cutting has been done for you. Simply gather your ink pads, stamps, blocks, snips and adhesives.

Measurements
Full list of supplies needed, listed below. A die cutting machine is needed for this card.
The following cutting and scoring instructions are provided for when you want to repeat these instructions for your own use. You may need to cut the Designer Series Paper, and fussy-cut some of the images.
Card Bases Shaded Spruce Memories and More Note Card
Card Frame Shaded Spruce Memories and More Note Card (cut to 5 ½” x 8 ½”, scored at 4 ¼”)
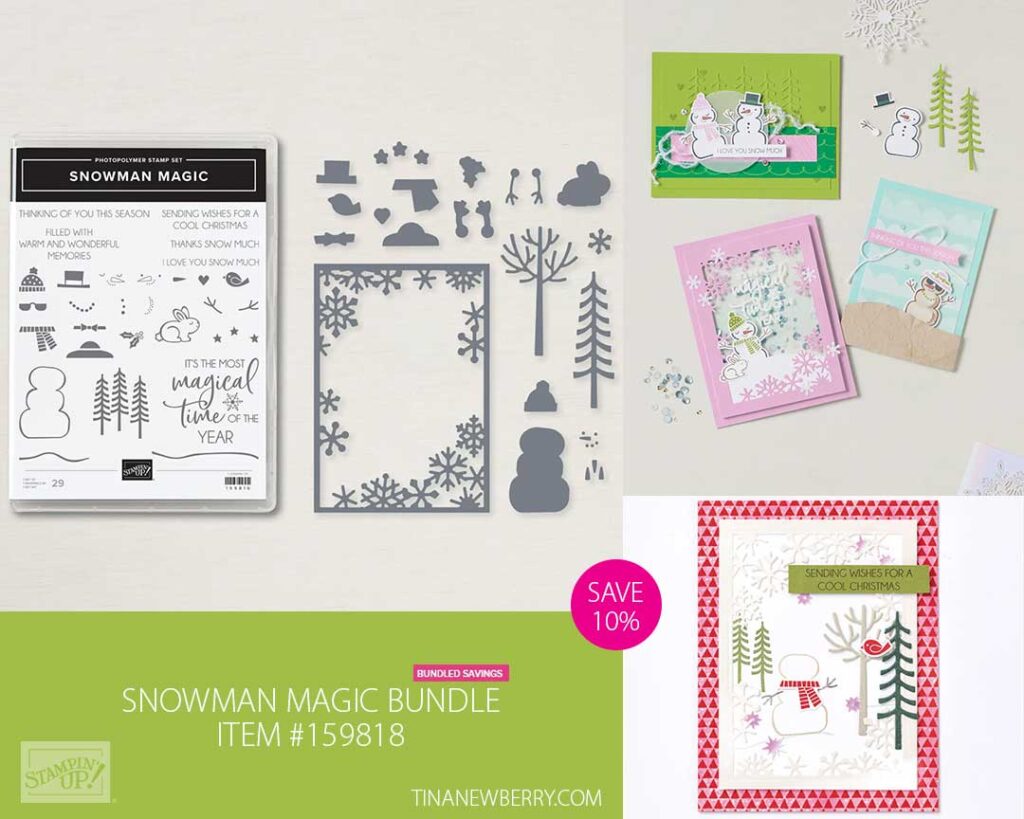
DIe-Cut Fabulous Frame
Memories and More Card Pack (Let it Snow pattern)
Memories and More Card Pack (Snowflake Window Sheet)

Let’s Create
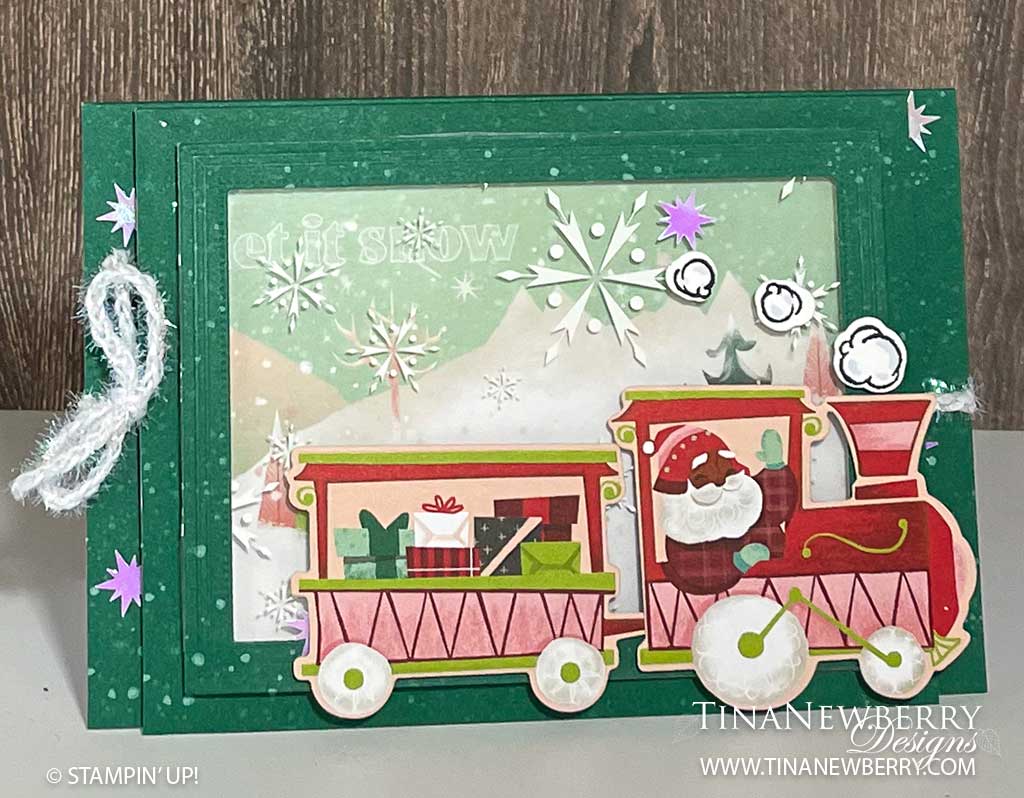
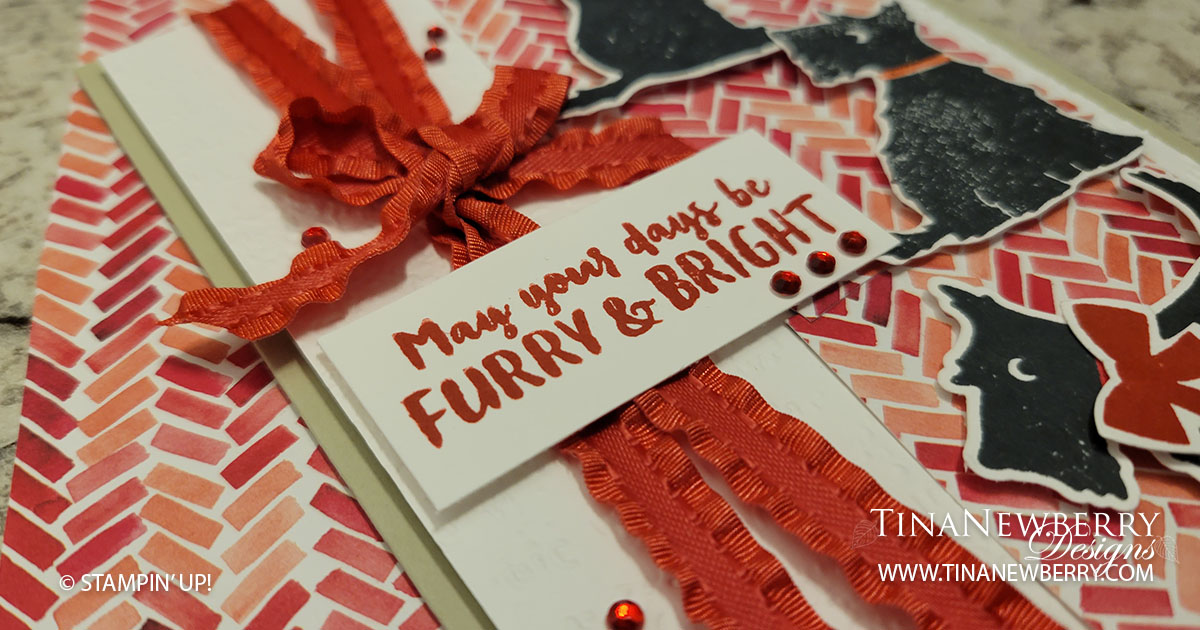
- Start with two Shaded Spruce Memories and More note cards. Wrap trim around the larger note card and tie a bow. Sprinkle a few snowflakes near the edges. Set larger note card aside.
- Cut second note card to 5 ½” x 8 1/2”, score at 4 ¼”.. Open this note card, and roll it through the Stampin’ Cut & Emboss Machine with the largest Fabulous Frames die centered on the front of the card.
- Set the small rectangle aside and use it for another card.
- Cut down the Memories and More Card Pack window card (snowflake pattern) to size. Adhere Memories and More Card Pack window card to frame with Tear-n-Tape. Place Foam Strips all along the back of the frame.
- Cut down one of the Memories and More Card Pack cards (Let it Snow pattern) and adhere it to the inside of the Memories and More note card with the image showing through the frame in a pleasing manner. Adhere the edges of note card to the inside so that this smaller card is now one layer.
- Adhere the frame to the opening in the center. It should fit perfectly.
- Adhere smaller note card to larger note card with Stampin’ Dimensionals.
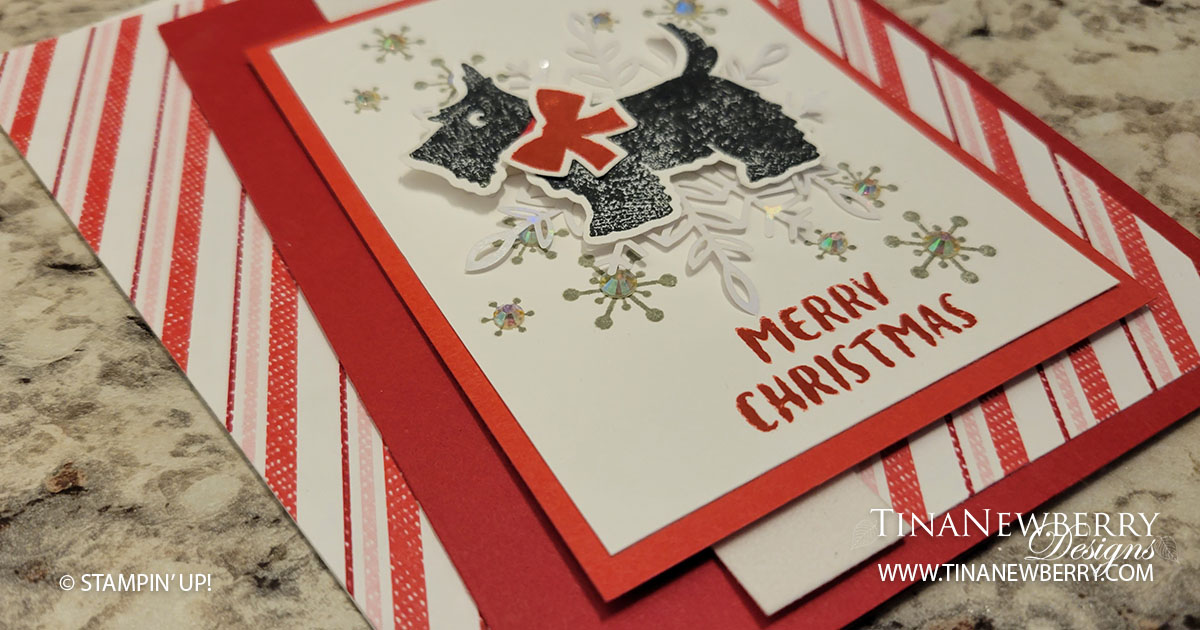
- Die-cut two train cars out of Designer Series Paper. Adhere to card front with Stampin’ Dimensionals.
- Stamp puffs of smoke in Memento Black on Basic White. Die-cut little puffs of smoke, and highlight with Balmy Blue Light Blend. Adhere puffs to card front with Mini Stampin’ Dimensionals.
- Sprinkle on the snowflakes.
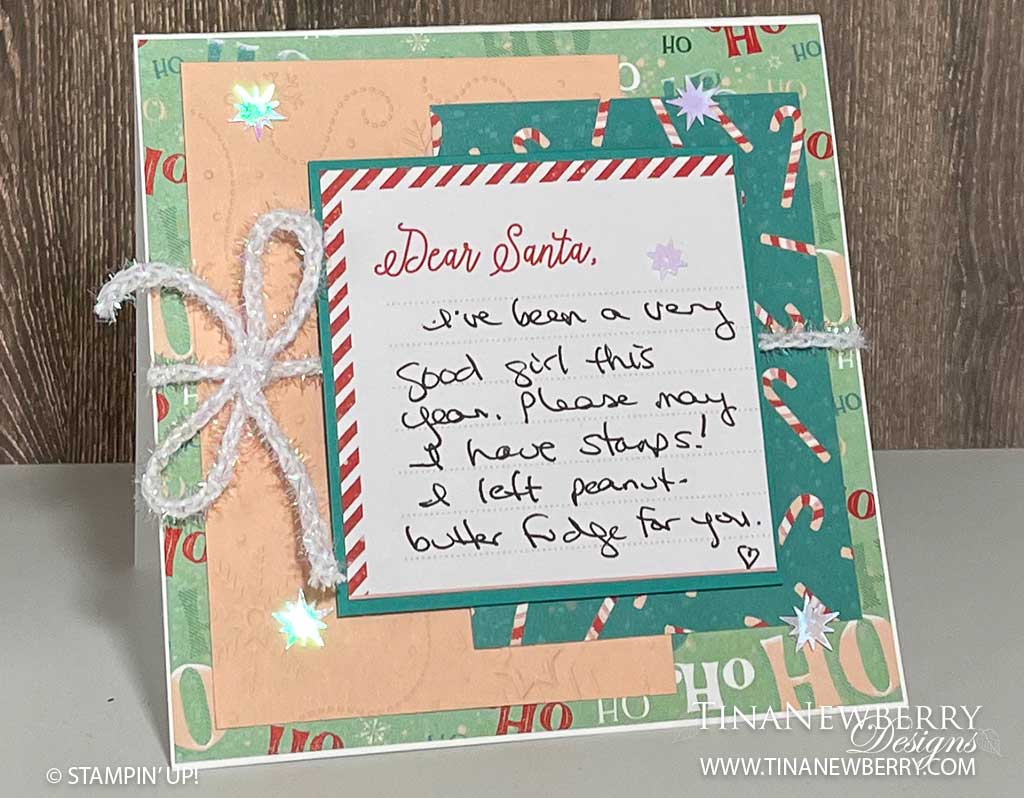
- Stamp and decorate the inside and attach with Stampin’ Seal.
- Decorate your envelope.
- So cute! Now send it to someone special.
Shopping List
")


 Designer Series Paper")


 Iridescent Trim")


Recommended Stamper’s Toolkit ❤


")


 Specialty Designer Series Paper")

")


 Velvet Sheets")

