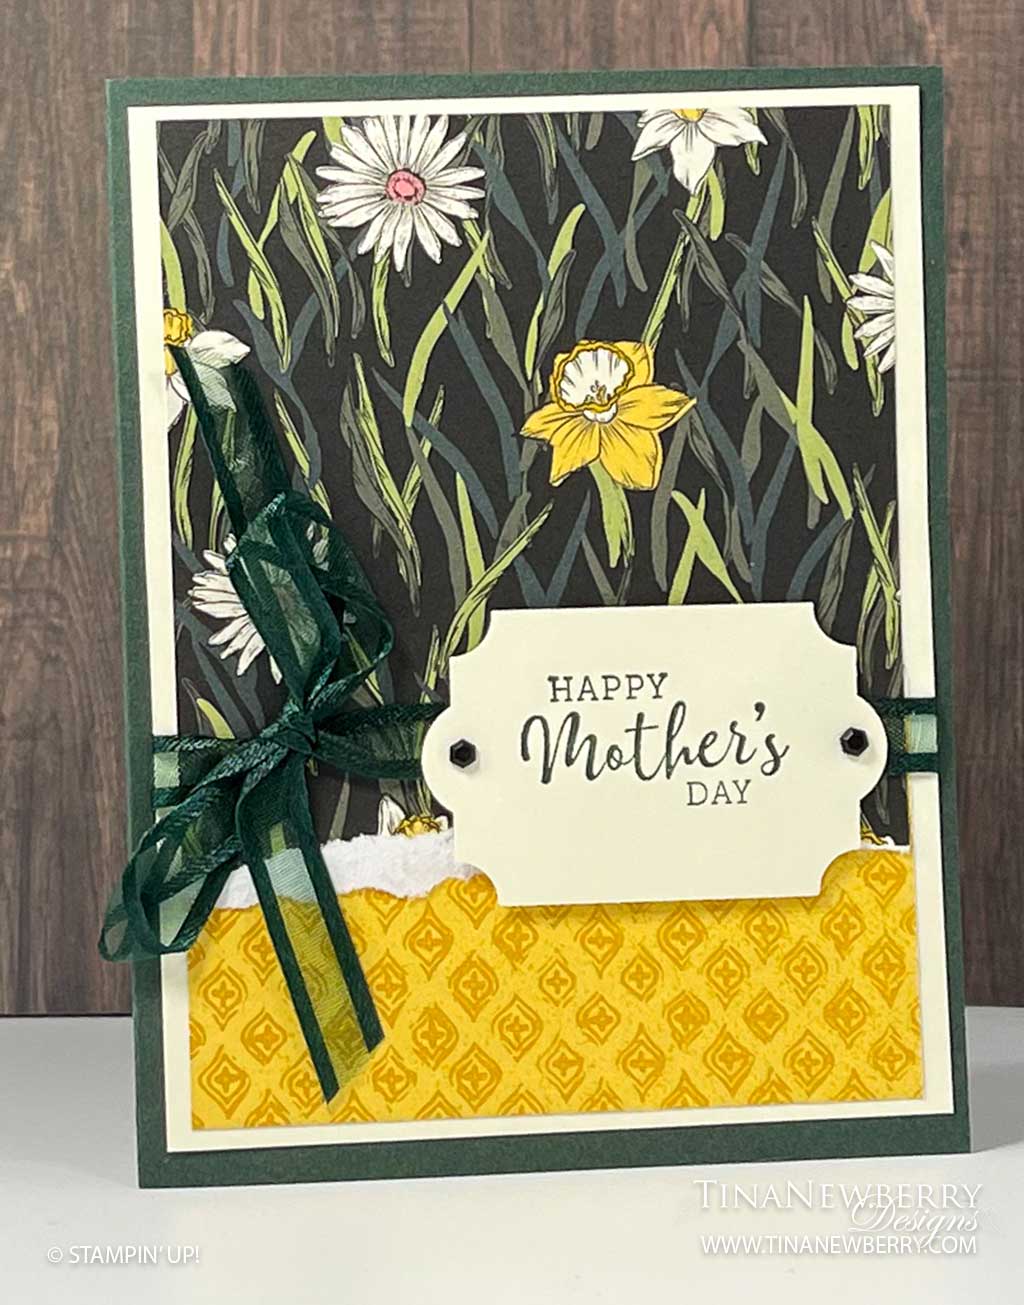
Another beautiful card with this gorgeous color combo! And the Daffodil Afternoon steals the show again! Get this FREE paper while it lasts (before Feb 28th!) and whip this quick and easy card together in a jiffy.
Daffodil Afternoon Sale-a-bration DSP (Free with a $50 purchase thru 2/28/22)
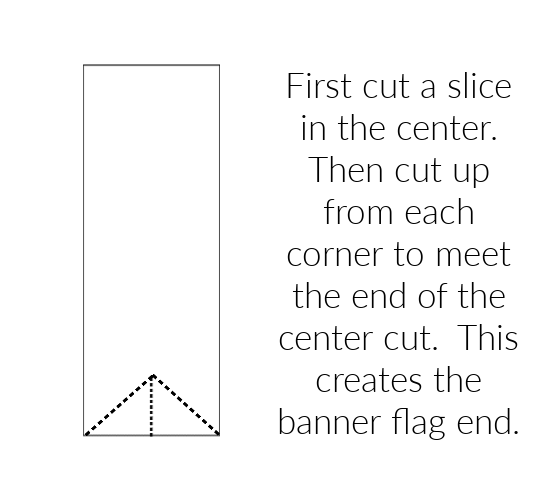
Measurements
Full list of supplies needed, listed below.
Evening Evergreen Cardstock: 5 ½” w x 8 ½” h, score on the long side at 4 ¼”
Very Vanilla Cardstock
- 5 ¼” h x 4” w
- 5 ¼” h x 4” w (inside)
- scrap for Sentiment
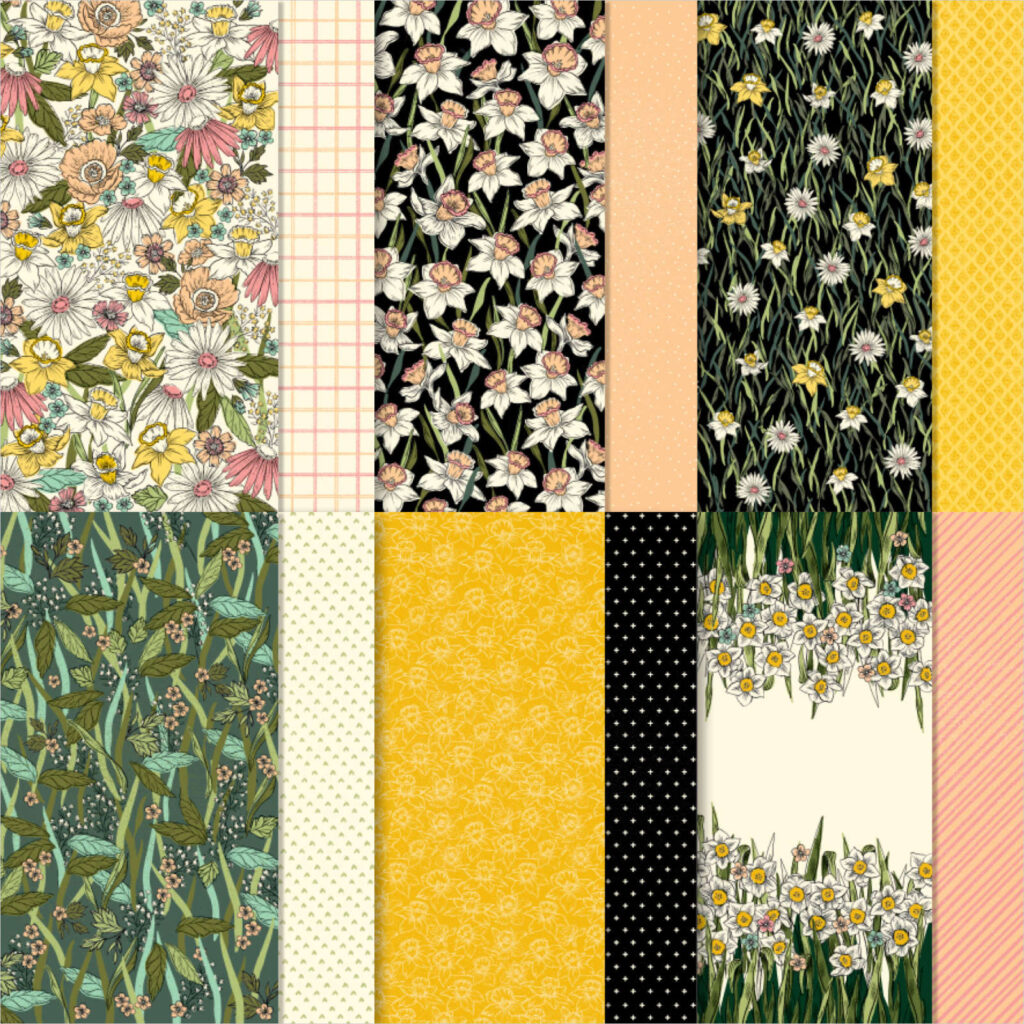
Daffodil Afternoon Designer Series Paper:
- 6” h x 3 3/4” w
- 3″ h x 3 3/4″
Let’s Create
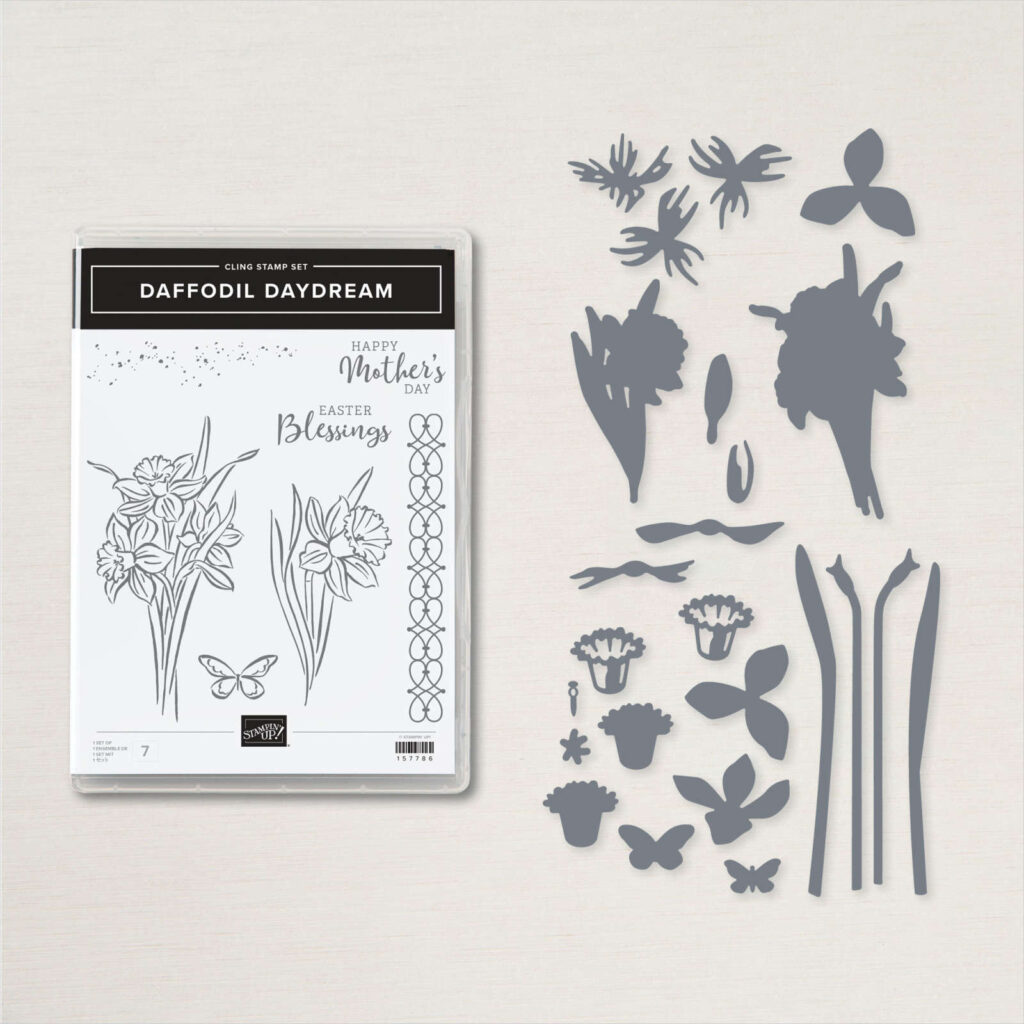
- Affix all stamps to Acrylic Blocks.
- Fold the Card Base in half using a Bone Folder to sharpen the crease.
- Attach the 3″ h x 3 3/4″ w DSP piece to the bottom of the 5 ¼” h x 4” w Very Vanilla layer.
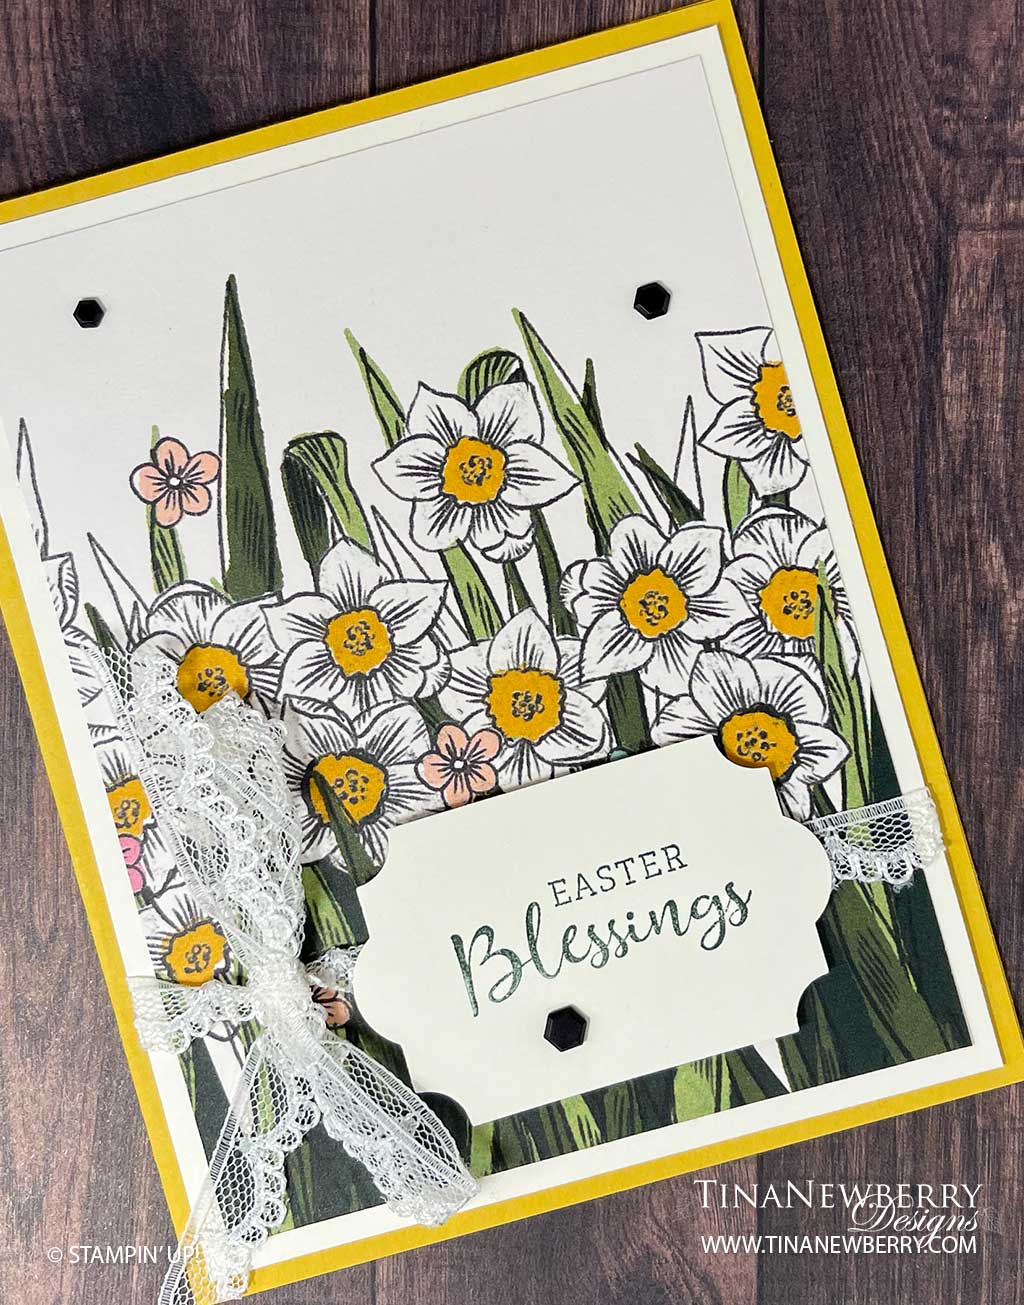
- Tear the bottom edge of the 6” h x 3 ¾” w DSP layer at about 4″ -when you tear away toware you, you get the white edge- and attach to the top of the 5 ¼” h x 4” w Very Vanilla layer.
- Wrap ribbon around this panel, leaving enough length to tie a bow. Adhere this panel to the card front using Stampin’ Dimensionals.
- Stamp the sentiment in Evening Evergreen ink on the Very Vanilla Scrap and punch with the Everyday Label punch.
- Attach sentiment panel to card front with Stampin’ Dimensionals.
- Tie a nice bow to the left of the sentiment.
- Sprinkle on the Adhesive Backed Hexagons.
- Stamp and decorate the 5 ¼” h x 4” w Very Vanilla inside layer and attach with Stampin’ Seal.
- Decorate your envelope using a 2 ¼” x 6” strip and adhere it to the back flap with glue. Cut around the envelope edge. Now your envelope has just an extra little pop!
- Add some pizzaz with the Wink of Stella
- So pretty! Get this one ready to send.
Shopping List

$54.75


 Designer Series Paper")

$7.50
 Open Weave Ribbon")


$18.00
Stamper’s Toolkit
You will also need adhesive, acrylic blocks, scissors and other basic PaperCrafting items from the Stamper’s Toolkit

$8.00

$12.00

$4.00


$5.25

$7.00

$4.00

$7.00

$10.00

$8.00

$8.00

$10.00

$25.00

$7.00

$6.00

$10.00

$8.00

$5.00

$5.00

$6.00

$71.50

$8.00

$11.75
")
$30.00

$9.50


$120.00

 Scalloped Lace Trim")


 Designer Series Paper")
