Simple Stamping with Delicate Dahlias

You may want to imagine these dahlia images as dinner plate-sized blooms—because that’s how big some varieties grow in real life. They add instant beauty to any garden landscape with their candy colors, and because these flowers bloom into September in the Northern hemisphere, they can be stamped with abandon to create cards in warm autumn tones. 
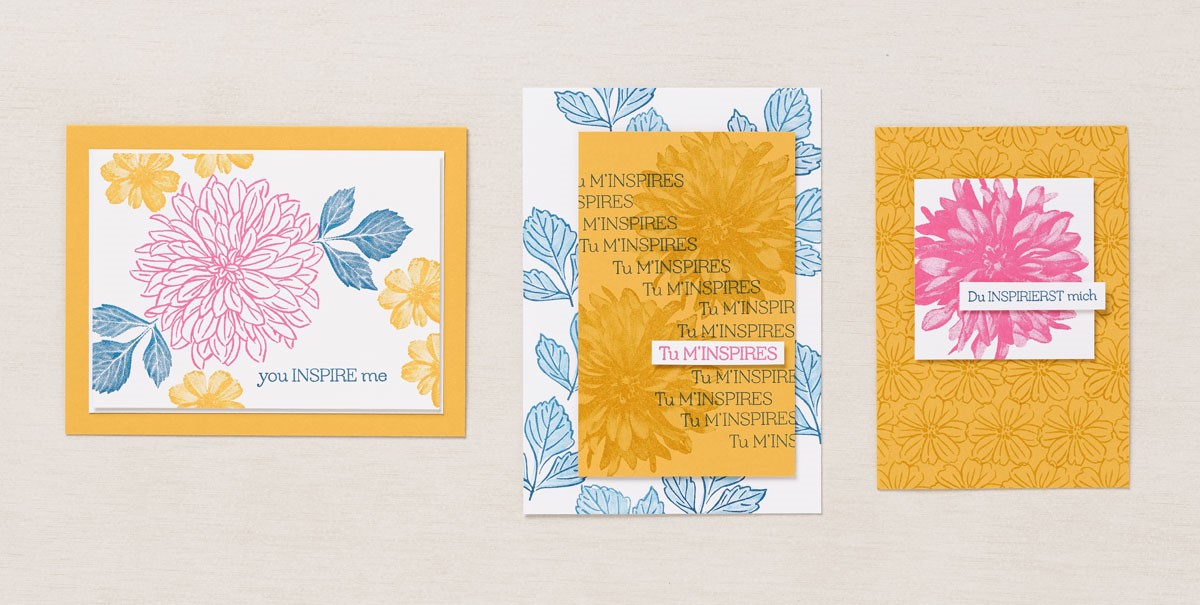
This month’s ā€œsimple stampingā€ projects were a cinch!

  • You Inspire Me Card: Add a layer of Basic White Cardstock behind the stamped panel for extra dimension and pop. 
  • Du inspirierst mich Card: Stamp the line art flower multiple times to create a fantastic, intricate-looking background pattern.
  • Tu m’inspires Card: Stamp off Pacific Point ink to achieve lighter and darker tones for the Distinktive two-step image.

The simple stamping options are effortlessly blooming—and endless!

If you’re looking for gorgeous florals to add to your stamp collection, the Delicate Dahlias Sale-A-Bration Stamp Set is an excellent choice. And with just a $100 order, you can get this two-step Distinktive stamp set for FREE. Distinktive stamp sets are my FAVE!

How’d They Do That? Interactive Card

With the Give It a Whirl Dies, you can create interactive cards, like this cute little astronaut card from page 57 of the ’21-’22 Annual Catalog, created with the Stellar Birthday Stamp Set.Ā Ā Ā The dies include all the images you need to create the card, rotating wheel, and images to go on the wheel. Then you can assemble your card all together using the Round & Square BradsĀ and attach it to a coordinating Card Base.Ā 

First, choose a window shape (#1) – heart, circle, rectangle, window shield. Next, die cut pieces (#1, 2 & 3) from cardstock and die cut your window shape (#1) on the card (#2). And then use the window die cut on the card as a guide to stamp the images for the wheel (#3).

This card (#2) was further enhanced by Heat Embossing stars with gold metallic embossing powderĀ and coloring the line art of the stamp set on the wheel and the little astronaut with Stampin’ Blends Alcohol Markers.Ā 

Once you have the card (#2) decorated how you want it, attach the Wheel (#3) to the Card (#2) with a brad from the Round & Square Brads and attach the astronaut to cover the brad. Then use Stampin’ Dimensionals to attach to the Card Base. Voila!Ā