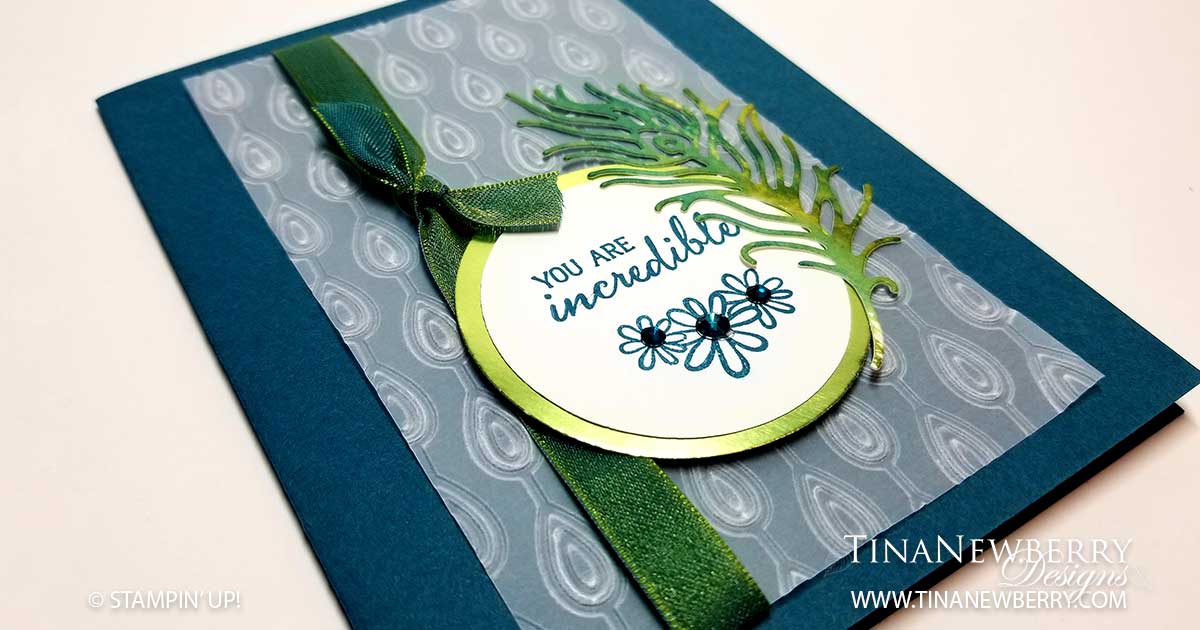
You Are Incredible

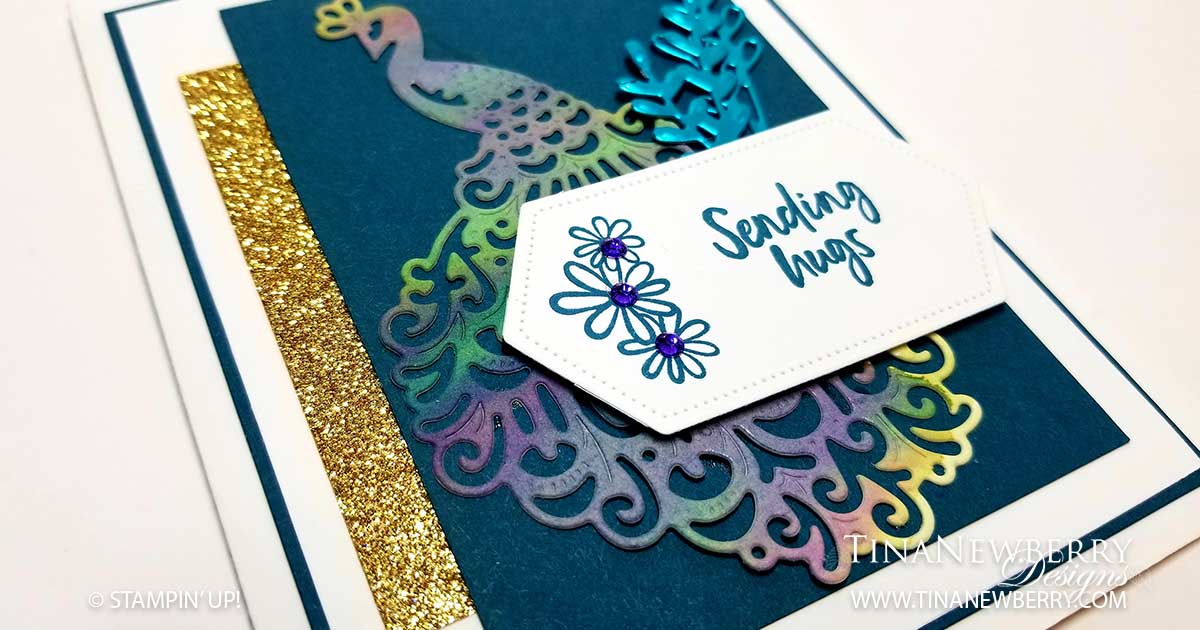
Royal Peacock was the first Suite to catch my eye in the 2019-2020 Annual Catalog. I think because well Peacock is of course in my favorite color family and we have some peacocks live in the wild here in my neighborhood. Where I’m from the only peacocks I know of live at Canobie Lake Park or York’s Wild Kingdom, so it was quite unusual to me that they roam the streets here. As far as the catalog goes, I am quite sure the shiny foil papers and my favorite Pretty Peacock color are to blame! I just love those gorgeous Rhinestone jewels too in all my favorite colors.

This entire Suite is retiring June 2, 2020 and is currently on while supplies last status. Get it while you can!

Cutting Dimensions

Full list of supplies needed, listed below.
Card Base: Pretty Peacock Cardstock 8 1/2 h” x 5 1/2″ w folded to 4 1/4″ w x 5 1/2″ h
Background: Vellum 5″ h x 3 1/8″ w
2 1/4″ Circle: Old Olive Foil
2″ Circle: Whisper White Cardstock
Ribbon: 6″ Old Olive/Pretty Peacock 3/8″ (1 Cm) Reversible Ribbon
Ribbon Knot: 2″ Old Olive/Pretty Peacock 3/8″ (1 Cm) Reversible Ribbon

Instructions

  1. Fold the Card Base in half using a bone folder to sharpen the crease.
  2. Emboss the Vellum Background with the Beads & Baubles embossing folder
  3. Use Snail Adhesive to adhere the 6″ piece of Ribbon to the right side of the Vellum.
  4. Apply Snail Adhesive strategically to the back of the Vellum to adhere it to the Card Base without the adhesive showing.
  5. Tie the 2″ piece of Ribbon onto the front as shown.
  6. Affix Sentiment Stamp to the Acrylic Block. Apply Pretty Peacock Ink to the Sentiment Stamp and stamp the Sentiment onto the 2″ Whisper White Circle. Clean Stamp.
  7. Affix Flower Stamp to the Acrylic Block. Apply Pretty Peacock Ink to the Flower Stamp and stamp the Flower onto the 2″ Whisper White Circle. Clean Stamp.
  8. Add Noble Peacock Rhinestones to the Flower Centers
  9. Use Snail Adhesive to adhere the 2″ Circle to the 2 1/4″ Circle.
  10. Use Dimensionals to adhere the 2 1/4″ Circle to the Vellum.
  11. Lay down a Watercolor Wash on the Watercolor paper using Pretty Peacock Ink and Old Olive Ink. Let dry.
  12. Die cut the Feather from the Watercolor Wash
  13. Use Fine Tip Glue to adhere the Feather to the 2″ Circle.
  14. You did it! Who will you send this beautiful card to?

How to Create a Watercolor Wash

Supplies Needed:

  1. Fluid 100 Watercolor paper
  2. Aqua Painters
  3. Selection of Ink Pads
  4. Acrylic Blocks
  5. Paper towels or napkins
  6. Scrap paper

Instructions

  1. Examine you Aqua Painters and notice they come in two different tips. Select the Aqua Painter(s) you wish to use.
  2. Fill the Aqua Painter reservoir(s) with water.
  3. Squeeze the Aqua Painter reservoir until a few drops of water run through.
  4. Open the Ink Pads and stamp one Acrylic Block over one ink, to transfer ink to the block. Set the block on the scrap paper ink side up.
  5. Use the Aqua Painter to lift the first color off the Block and apply the ink in a sweeping motion onto the Watercolor Paper. Repeat until you have the desired amount of that color.
  6. Between colors, squeeze water through the Aqua Painter and brush it on the paper towel or napkin until the water runs clear.
  7. Continue to wash more colors until you have the desired amount of color.
  8. Colors will run together. To limit the amount colors run together, allow time to dry between color applications.
  9. Set aside to dry.

Product List


Recommended Stamper’s Tool Kit

Design inspired by Lisa Curcio.

Happy Father’s Day!

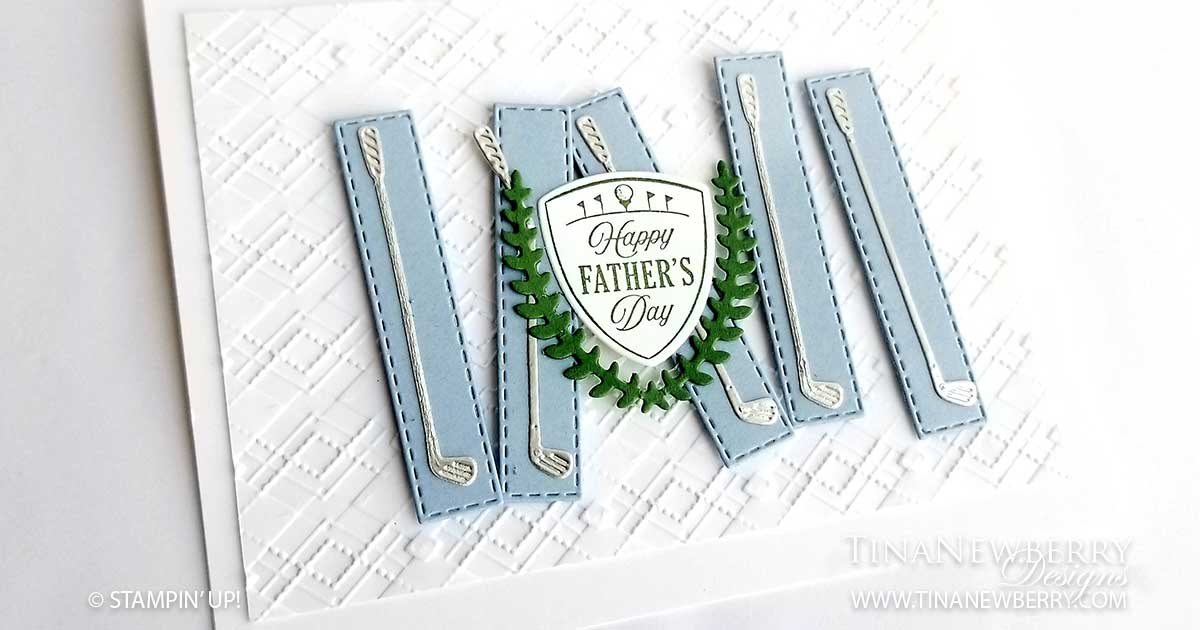
I know right? Father’s Day will be here before we know it. Don’t worry. My Dad is not on Facebook so chances are good he will not see this. LOL. This card is one of the reasons I bought the Country Club Suite. Isn’t this card divine? Su Mohr is the talented artist who designed this card. I copied it 100%. No worries! At Stampin’ Up! We CASE (copy and share everything.) Look at the putters in silver foil paper! And the Argyle Embossing Folder! What? When I saw it I knew I had to make it for my Dad. Can’t wait to send it to him.

The entire Country Club Suite is retiring. Be sure to order yours before June 2, 2020.

Cutting Dimensions

Full list of supplies needed, listed below.
Card Base: Whisper White Thick Cardstock 8 1/2 h” x 5 1/2″ w folded to 4 1/4″ w x 5 1/2″ h
Background: Whisper White 5″ h x 3 3/4″ w
Small Rectangles: Balmy Blue 1/2″ h x 2 1/2″ w Stitched Rectangles (5)

Instructions

  1. Fold the Card Base in half using a bone folder to sharpen the crease.
  2. Die Cut five putters out of Silver Foil Sheet
  3. Use Fine Tip Glue to adhere one Putter to each Small Rectangle
  4. Emboss the Background with the Argyle Embossing Folder
  5. Use Snail Adhesive to adhere the Argyle Background layer to the Card Base
  6. Use Dimensionals to adhere the Putters on Balmy Blue Small Rectangles to the Argyle Background Layer, as shown.
  7. Affix the Father’s Day Stamp to the Acrylic Block
  8. Apply Garden Green Ink to the Stamp and stamp the Sentiment on Whisper White Cardstock.
  9. Die cut the Happy Father’s Day Badge.
  10. Die cut the Greenery die from Garden Green Cardstock
  11. Use Snail Adhesive to adhere the Sentiment Badge and the Greenery Die Cut to the Putters.
  12. That’s it. Time to send it to the important man in your life!

Product List

Recommended Stamper’s Tool Kit

Happy Birthday Boys

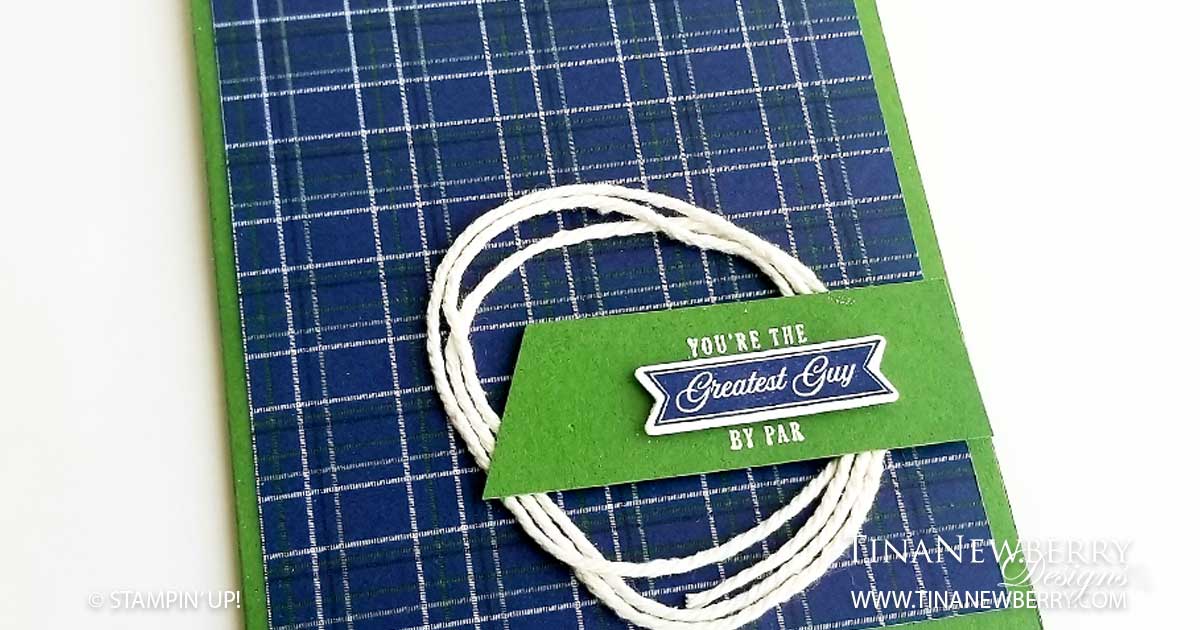
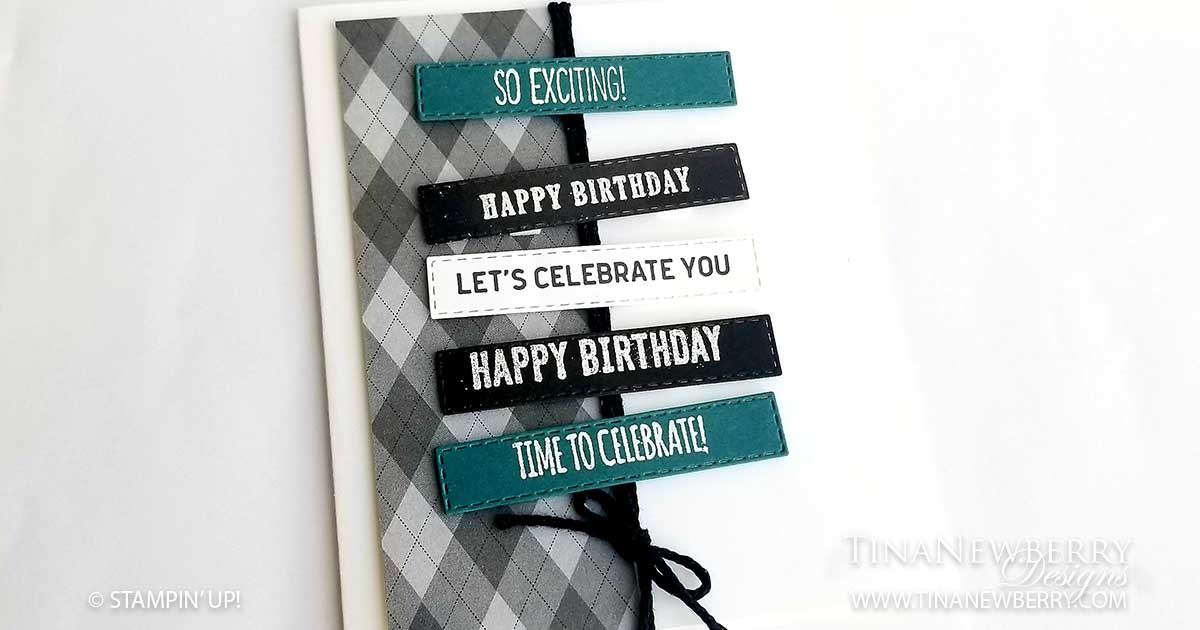
The biggest challenge PaperCrafters face is designing masculine birthday cards. For real. It’s just the way it is. So when I came across this grey argyle paper in the Clubhouse Suite, I knew I’d have to make at least one birthday for the boys out of it. My favorite two guys – my Dad and my Logan love them some golf, so the Clubhouse Suite was top of my wishlist and the argyle and plaid papers are on Par!

Cutting Dimensions

Full list of supplies needed, listed below.
Card Base: Whisper White Thick Cardstock 8 1/2 h” x 5 1/2″ w folded to 4 1/4″ w x 5 1/2″ h
Background: Whisper White 5″ h x 3 3/4″ w
Patterned Background: 5″h x 1 3/4″ w
Sentiments: 1/2″ h x 2 1/2″ w Stitched Rectangles (5) of coordinating colors.
Twine: 25″ of Black Twine

Instructions

  1. Fold the Card Base in half using a bone folder to sharpen the crease.
  2. Heat emboss 5 different Sentiments in white embossing powder on the Sentiments rectangles or black ink if lighter colors were used.
  3. Use Snail Adhesive to adhere the patterned background to the right side of the Background Layer.
  4. Wrap the black twine around the Background Layer over the seam of the Patterned Layer and tie w bow near the bottom. Use Snail Adhesive or Mini Glue Dots to secure, if needed.
  5. Use Dimensionals to adhere the Background Layer to the Card Base.
  6. Use Dimensionals to adhere the Sentiments to the Background/Patterned Layer.
  7. That’s it. Who are you going to send it to?

Product List

Product List

Recommended Stamper’s Tool Kit

This card design was inspired by Katja at http://www.kleine-stempelmiez.de/.