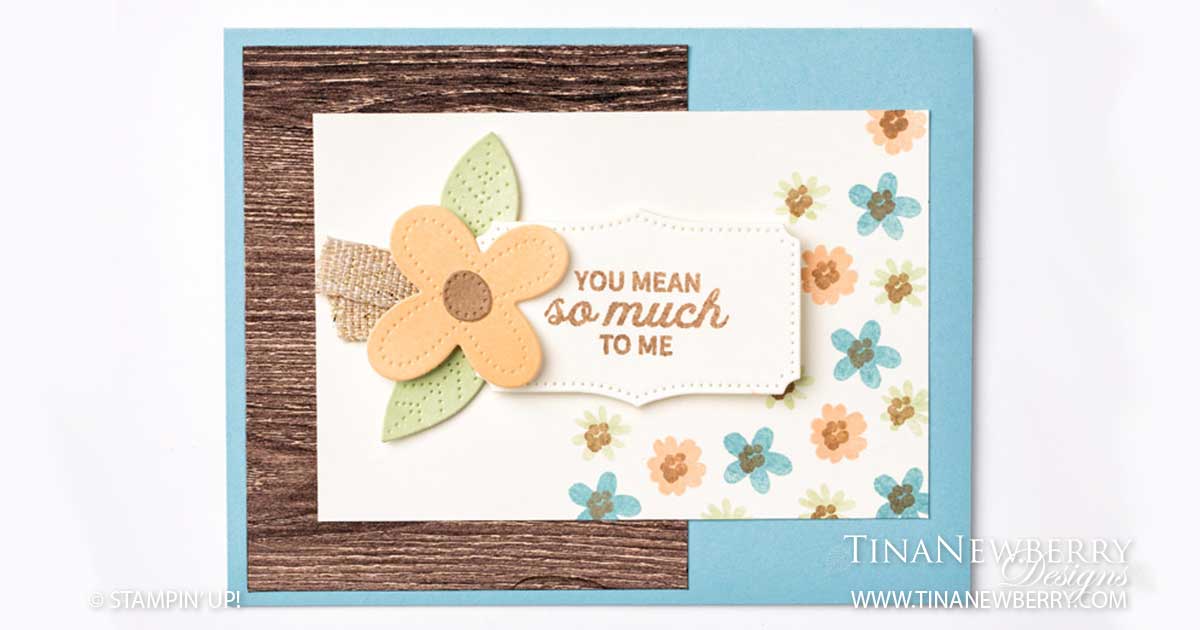
You Mean So Much To Me

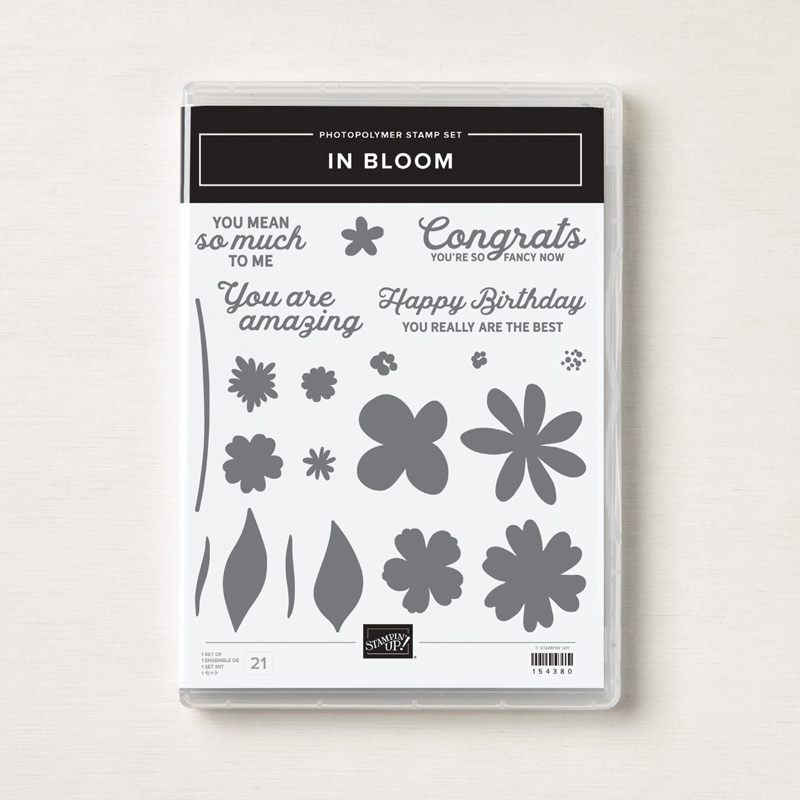
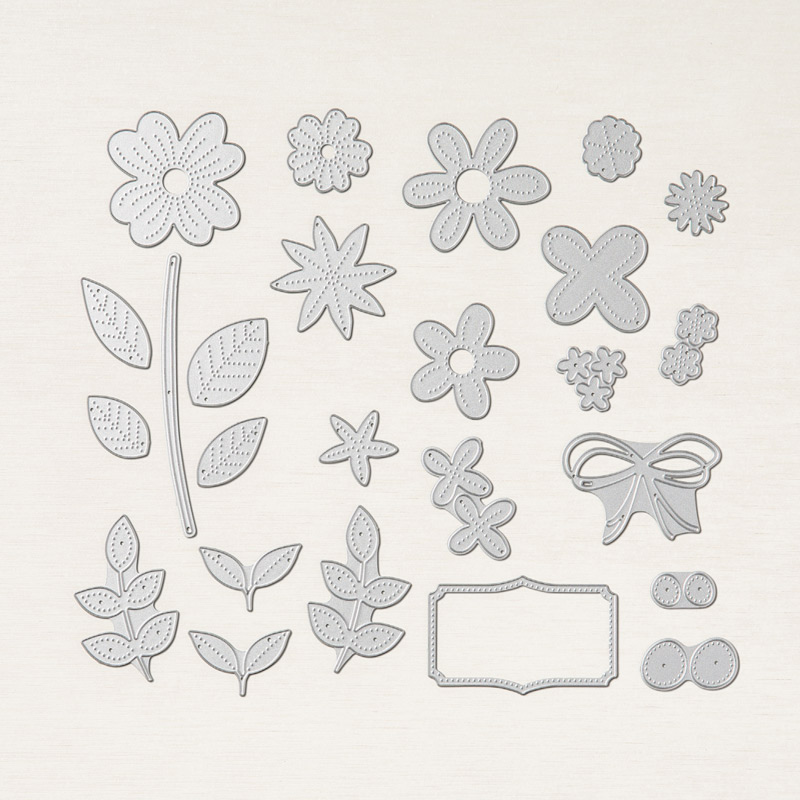
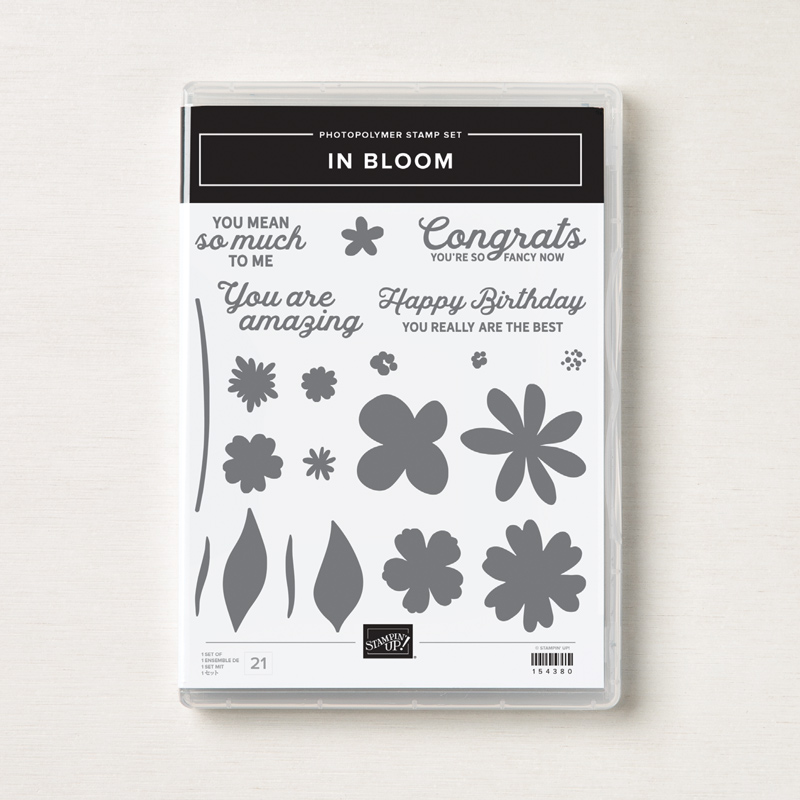
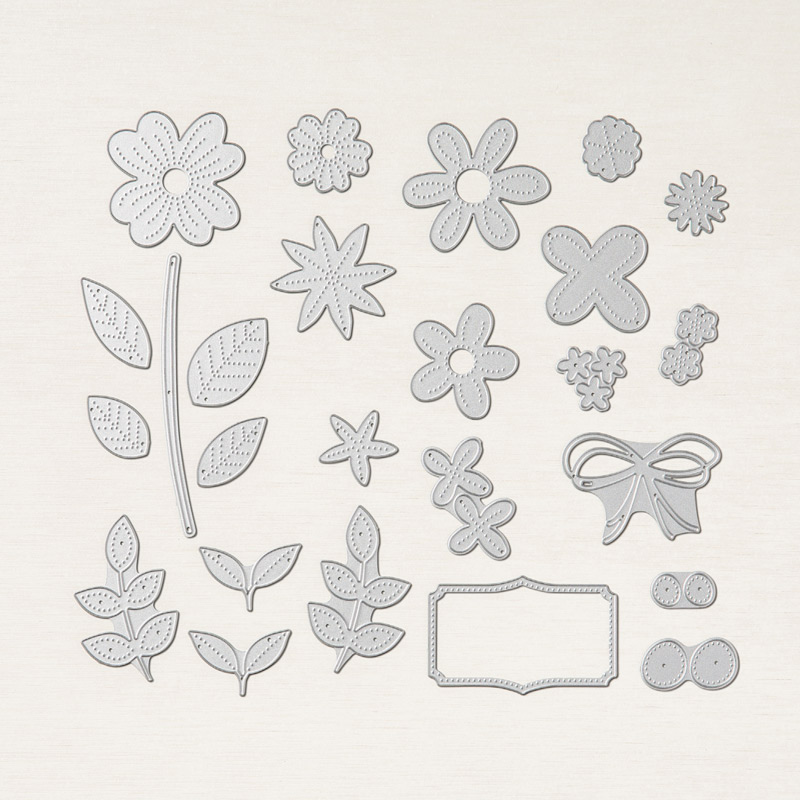
Such an adorable and cheerful card! It’s made with pretty much just stamps, ink and paper and I am loving this color palette. Simple stitching from the In Bloom Bundle easily brings character to this fun and easy project.

Measurements

Full list of supplies needed, listed below. A die cutting machine is needed for this card.
Card Base: Balmy Blue Cardstock 4 1/4″ h x 11″ w folded to 4 1/4″ h x 5 1/2″ w
Background: In Good Taste Designer Series Paper 4″ h x 3 1/4″ w
Stamped Background: Very Vanilla Cardstock 3″h x 4 1/2″ w
Flowers & Leaves: Soft Seafoam, Soft Suede and Petal Pink Cardstock scraps
Sentiment Layer: Very Vanilla Cardstock scrap at least 1 3/4″ h x 2 1/2″ w
Inside Layer: Very Vanilla Cardstock 4″ h x 5 1/4″ w

Let’s Create

  1. Affix all stamps to Acrylic Blocks.
  2. Fold the Card Base in half using a Bone Folder to sharpen the crease.
  3. Stamp the flowers on the Very Vanilla Stamped Background piece using Balmy Blue, Soft Sea Foam, Petal Pink and Soft Suede Ink.
  4. Stamp the Sentiment on the Very Vanilla Cardstock scrap in Soft Suede Ink and then die cut.
  5. To add texture to the Flowers & Leaves, press your stamp pad onto the coordinating piece of cardstock (optional) before die cutting the Flowers & Leaves.
  6. Use adhesive of your choice to attach the Background and Stamped Background layers to the Card Base.
  7. Fold a 3″ piece of Fine Art Ribbon in half and attach to the back of the Sentiment with Mini Glue Dots. Then use Use Stampin’ Dimensionals to attach the Sentiment and trim the ends of the ribbon to size.
  8. Arrange the Flowers & Leaves around the Sentiment with Mini Glue Dots.
  9. Stamp the inside layer and attach with the adhesive of your choice.
  10. Decorate your envelope.
  11. Adorable! Send it to someone who means so much to you.
Product List

Stamper’s Toolkit

You will also need adhesive, acrylic blocks, scissors and other basic PaperCrafting items from the Stamper’s Toolkit

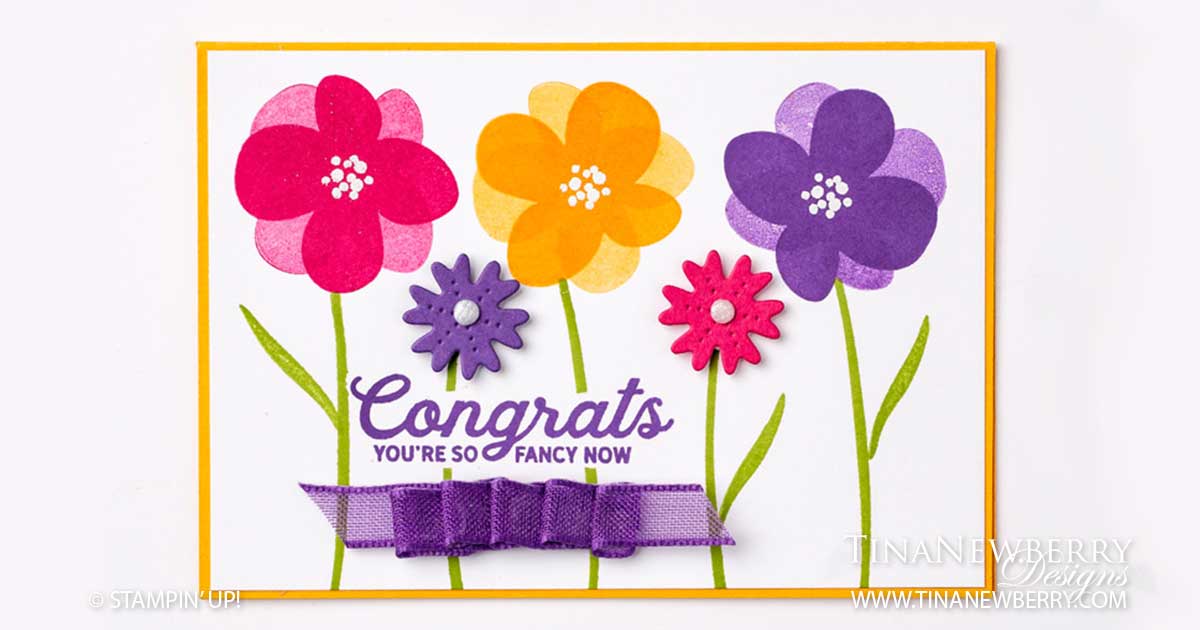
Congrats! You’re So Fancy Now

Big bold flowers, bright colors and fun fonts bring the summer party together on this Congratulations card, that’s mostly stamps, ink and paper, with a few techniques thrown in with the In Bloom Bundle.

Measurements

Full list of supplies needed, listed below. A die cutting machine is needed for this card.
Card Base: Mango Melody Cardstock 5 1/2″ h x 8 1/2″ w folded to 5 1/2″ h x 4 1/4″ w
Background: Basic White Cardstock 5 1/4″ h x 4″ w
Flowers: Gorgeous Grape and Mango Melody Cardstock scraps
Inside Layer: Basic White Cardstock 5 1/4″ h x 4″ w

Let’s Create

  1. Affix all stamps to Acrylic Blocks.
  2. Fold the Card Base in half using a Bone Folder to sharpen the crease.
  3. First stamp your sentiment with Gorgeous Grape ink on the Background. Next, stamp it again on a sticky note (on the front of the sticky back section) and trim closely to the sentiment with Paper Snips. Stick over the top of the the sentiment you stamped on the Background. This is called a Mask and it will allow you to now stamp flowers around the sentiment, without ink getting on your pretty sentiment.
  4. Next start with the flower in the middle. Ink up the Blossom and stamp it, then before you re-ink, turn your stamp and stamp again. This is called Stamping Off. Repeat with the two large flowers to the left and the right.
  5. Stamp the Flower Centers in Versamark ink, sprinkle with White Embossing Powder and Heat set with the Heat Tool. This is called Heat Embossing.
  6. Next stamp all five of the Stems in Granny Apple Green ink.
  7. Die cut the small flower in Gorgeous Grape and Melon Mambo and attach with Stampin’ Dimensionals.
  8. Add an Elegant Faceted Gem to the center of each of the small flowers.
  9. Cut about 6-7″ of Gorgeous Grape Sheer Ribbon. Set down some adhesive – either Tear & Tape, Mini Glue Dots or Stampin’ Seal. Adhere the ribbon hanging off the left of the adhesive and slowly gather and stick down the ribbon across the adhesive. Trim any excess.
  10. Stamp your inside sentiment and attach with the adhesive of your choice.
  11. Decorate your envelope!
  12. Ta Da!! Get this in the mail today :-).

Shopping List

Stamper’s Toolkit

You will also need adhesive, acrylic blocks, scissors and other basic PaperCrafting items from the Stamper’s Toolkit
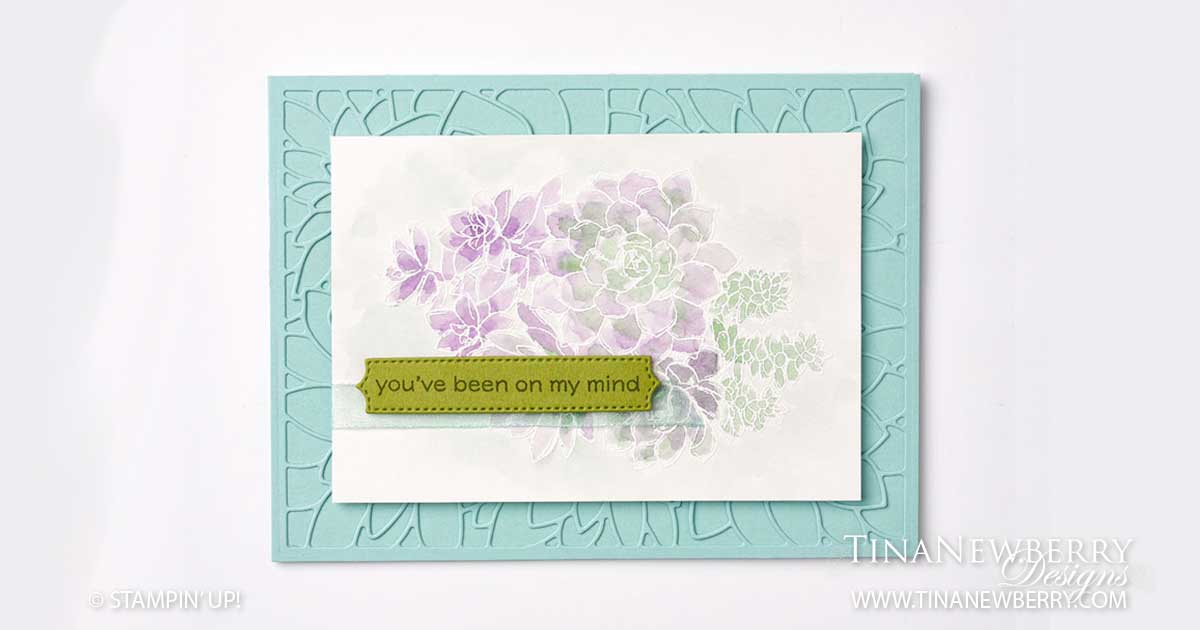
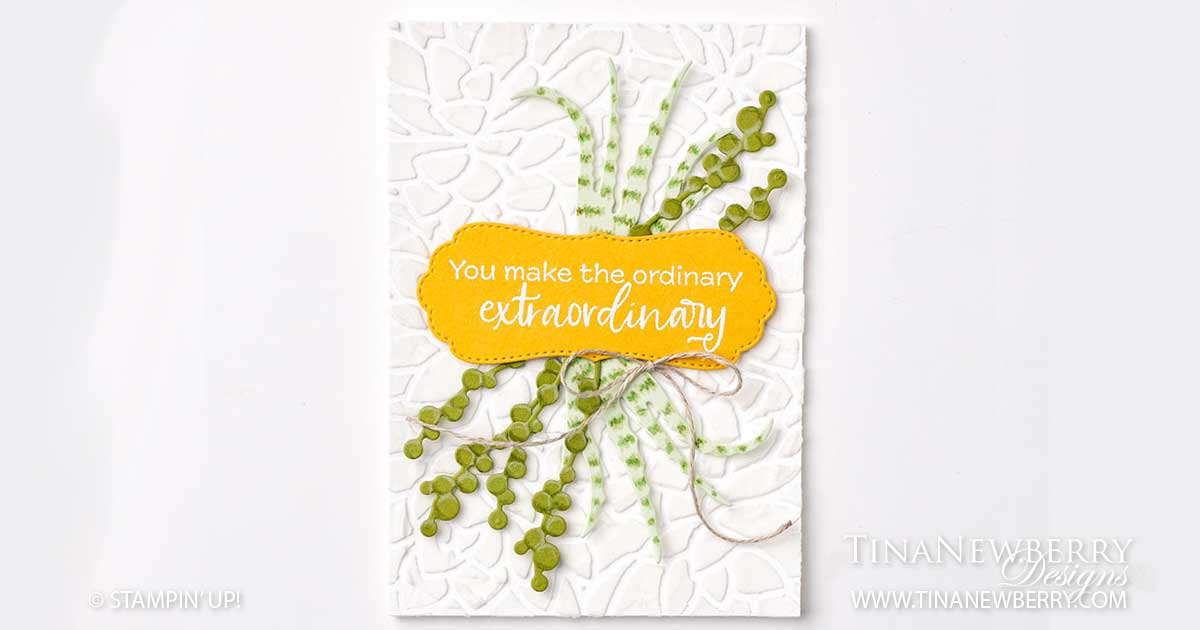
You Make the Ordinary Extraordinary

Another one of my favorite white on white cards! And I just love this sentiment! Use the large card base die with some embossing paste to make an interesting 3-D textured background for this simple, elegant card.

Measurements

Full list of supplies needed, listed below. A die cutting machine is needed for this card.
Card Base: Basic White Thick Cardstock 5 1/2″ h x 8 1/2″ w folded to 5 1/2″ h x 4 1/4″ w
Background Mask: Basic White Thick Cardstock scrap die cut to 5 1/2″ h x 4 1/4″ w
Textured Background: Basic White Thick Cardstock scrap trimmed to 5 1/2″ h x 4 1/4″ w
Decorative Succulents: Soft Sea Foam and Old Olive Cardstock scraps
Sentiment Layer: Bumble Bee Cardstock scrap

Let’s Create

  1. Affix all stamps to Acrylic Blocks.
  2. Fold the Card Base in half using a Bone Folder to sharpen the crease.
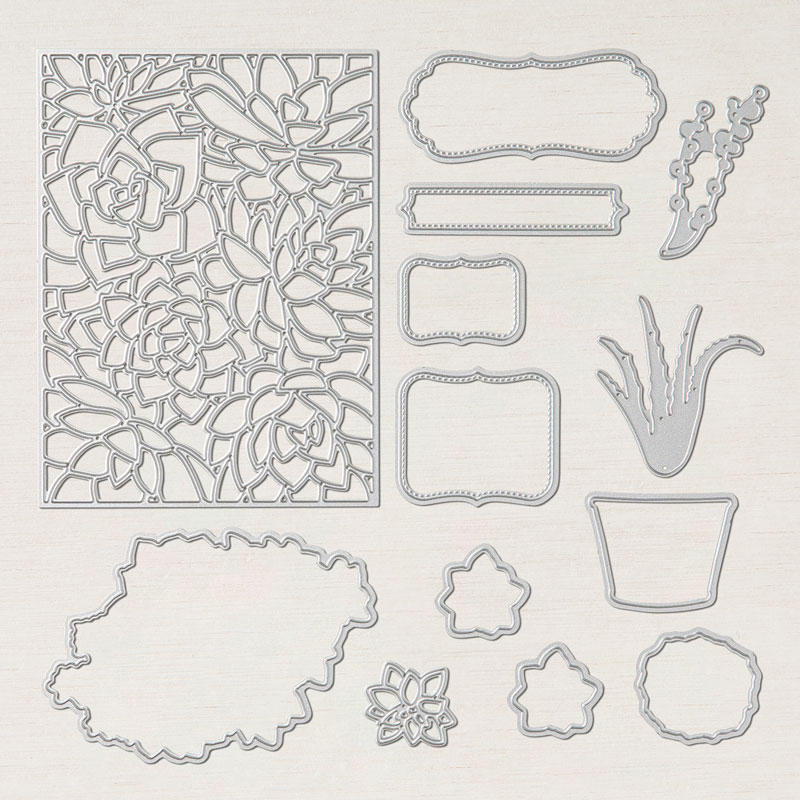
  3. Run the Background Mask through the Stampin’ Cut & Emboss machine with the Card Base Die. This will be used as your Mask to create your Textured Background.
  4. To make the Textured Background:
    1. Protect your work surface.
    2. Place your Textured Background layer onto the center of your work surface.
    3. Lay the Background Mask over top, lining up the edges. Use sticky notes to hold in place, if needed.
    4. Use a plastic knife to scoop some Embossing Paste over top of the Background Mask.
    5. Spread is out over the Background Mask with the straight edge of the knife, being careful to fill in the holes,
    6. Hold the knife parallel to the Background Mask, scrape off excess and return to Embossing Paste pot.
    7. Gently remove the Background Mask and allow the Textured Background to dry. You can use a Heat Tool on low setting to speed up the process.
  5. To make the Embossed Sentiment:
    1. If you have an Embossing Buddy or cornstarch pouch, pounce it over your Bumble Bee Cardstock to release the surface static.
    2. Use Versamark Ink to stamp your sentiment on the Bumble Bee Cardstock
    3. Sprinkle with White Embossing Powder
    4. Use a Heat Tool on the high setting to heat set the Sentiment.
    5. Die cut with the pretty stitched label die
  6. To make the Succulents:
    1. Die cut the 2 pointy Succulents from Soft Sea Foam Cardstock and 3 bubbly Succulents from Old Olive Cardstock scraps
    2. Use Old Olive and Garden Green Watercolor pencils to add texture to the Die Cut Succulents
  7. Once dry, use Stampin’ Dimensionals to attach the Textured Background to the Card Base.
  8. Use Mini Glue Dots to attach the Succulents to the back of your sentiment.
  9. Use lots of Stampin’ Dimensionals to attach the Sentiment to the Textured Background.
  10. Tie a bow with Linen Thread and attach with Mini Glue Dots
  11. Simple and elegant! Love it! Who will you send it to?

Shopping List

Stamper’s Toolkit

You will also need adhesive, acrylic blocks, scissors and other basic PaperCrafting items from the Stamper’s Toolkit
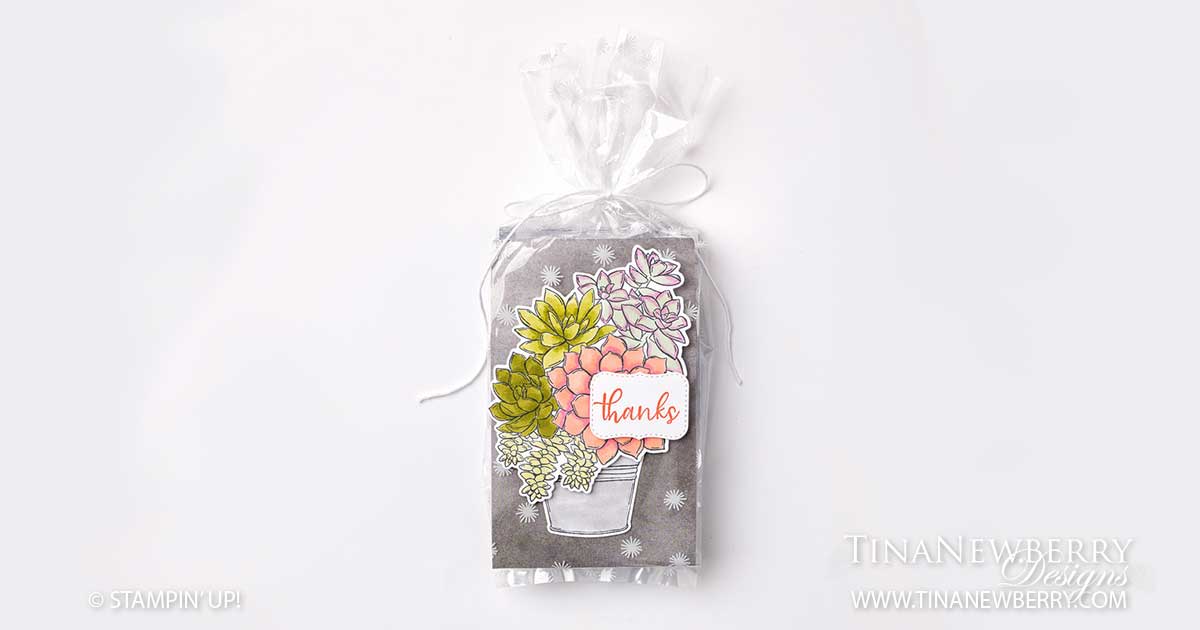
Succulent Thanks Treat

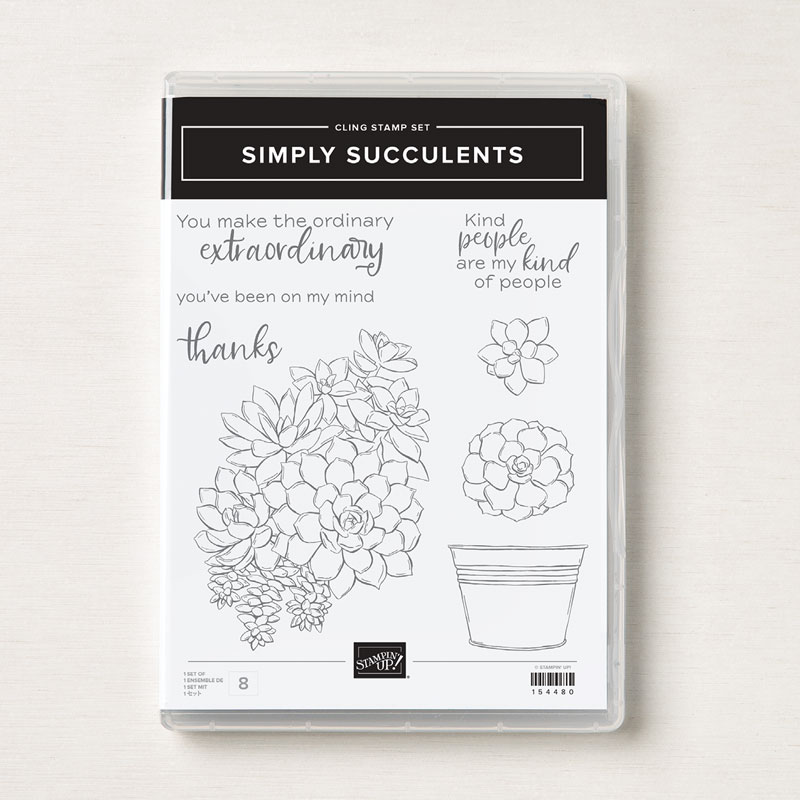
I am loving the variety of this bundle with the pretty stitched labels dies and beautiful succulents! You can make the cutest thank you treat with the Simply Succulents Bundle. The secret is in the printed gusseted food-safe cellophane bag! Read on for details of this quick treat.

Full list of supplies needed, listed below. A die cutting machine is needed for this card.
Background (2): In Good Taste Designer Series Paper 4 5/8″ h x 2 7/8″ w
Decorative Succulents: Basic White Thick Cardstock Scrap
Sentiment Layer: Basic White Cardstock scrap

  1. Affix all stamps to Acrylic Blocks.
  2. Stamp the Flower Pot and Large Bunch of Succulents on Basic White Thick Cardstock scrap in Tuxedo Black Memento Ink. Use Stampin’ Blends alcohol markers to color the Flowers and Pot. With the exception of Dark Sea Foam and Dark Old Olive, the Light Blends were used.
  3. Die cut the Flower Pot and Large Bunch of Succulents.
  4. Stamp the Sentiment on Basic White Cardstock with Calypso Coral Ink. Then Die Cut with the stitched label die.
  5. Assemble the treat:
    1. Insert the two pieces of In Good Taste Designer Series paper into the Printed Gusseted Cellophane Bag – on in front and one in back.
    2. Insert your treat – hand sanitizer, chocolate, gum, chapstick, lipstick, nail polish.
    3. Tie the top of the bag shut with the White Twine from the Essentials Twine Pack.
    4. Use Stampin’ Dimensionals to attach the Flower Pot, Large Bunch of Succulents and your sentiment.
  6. So cute! Now give it to someone special!

Shopping List

Stamper’s Toolkit

You will also need adhesive, acrylic blocks, scissors and other basic PaperCrafting items from the Stamper’s Toolkit