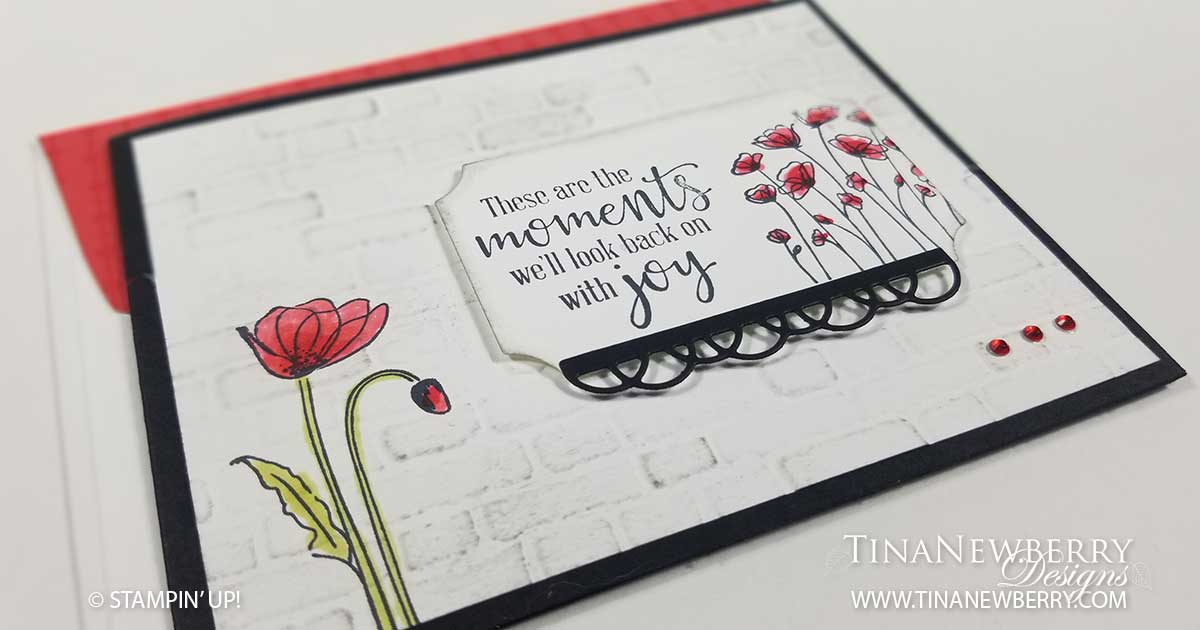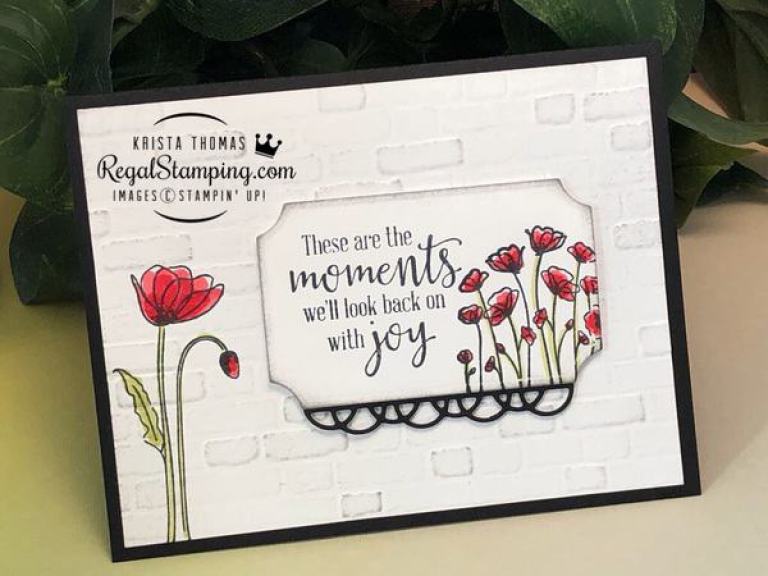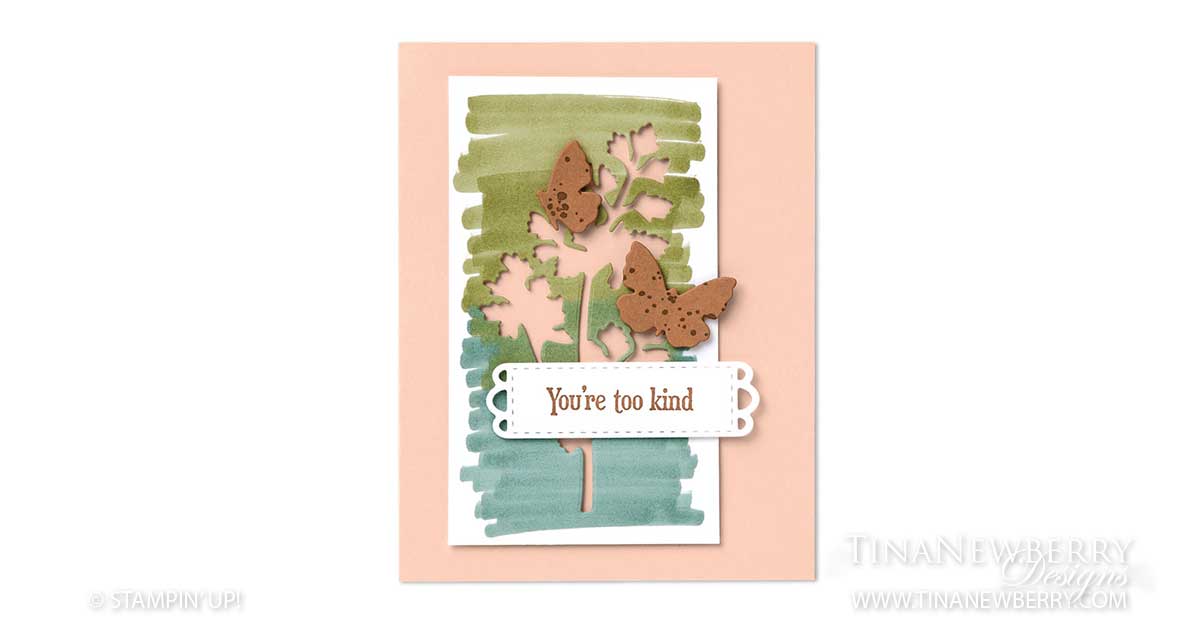
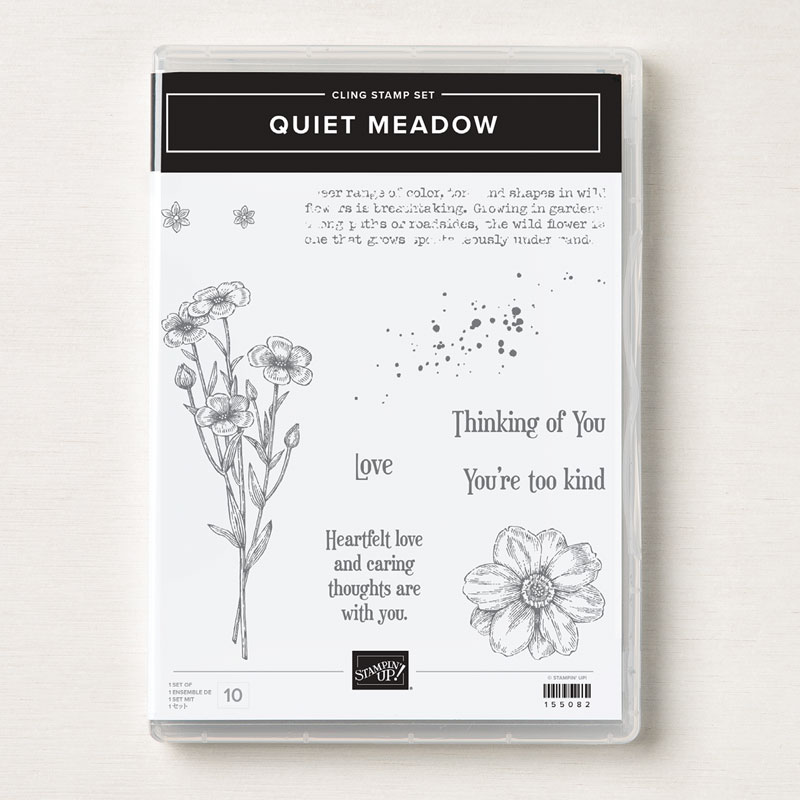
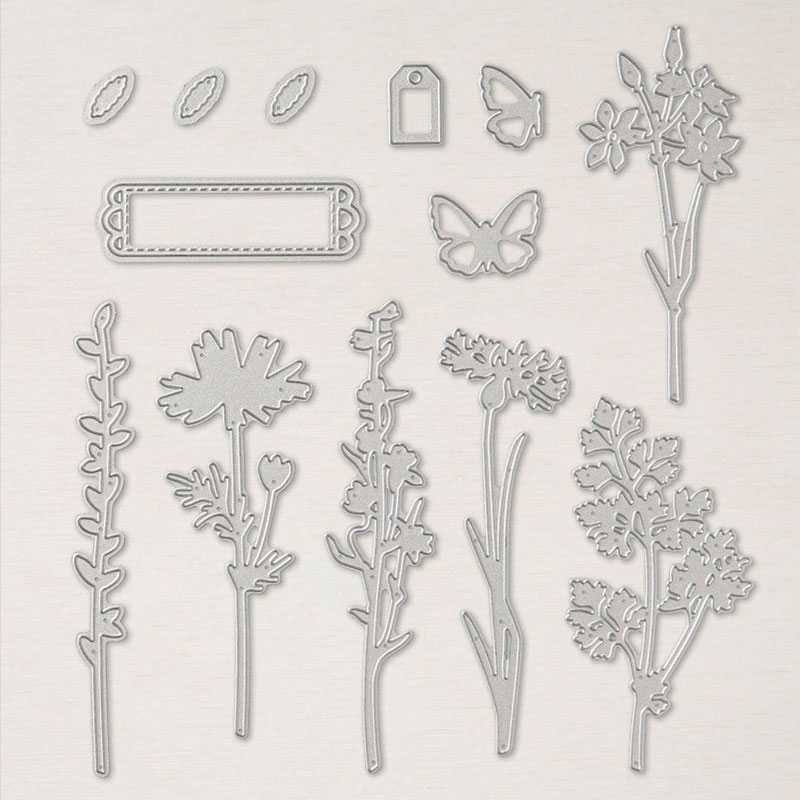
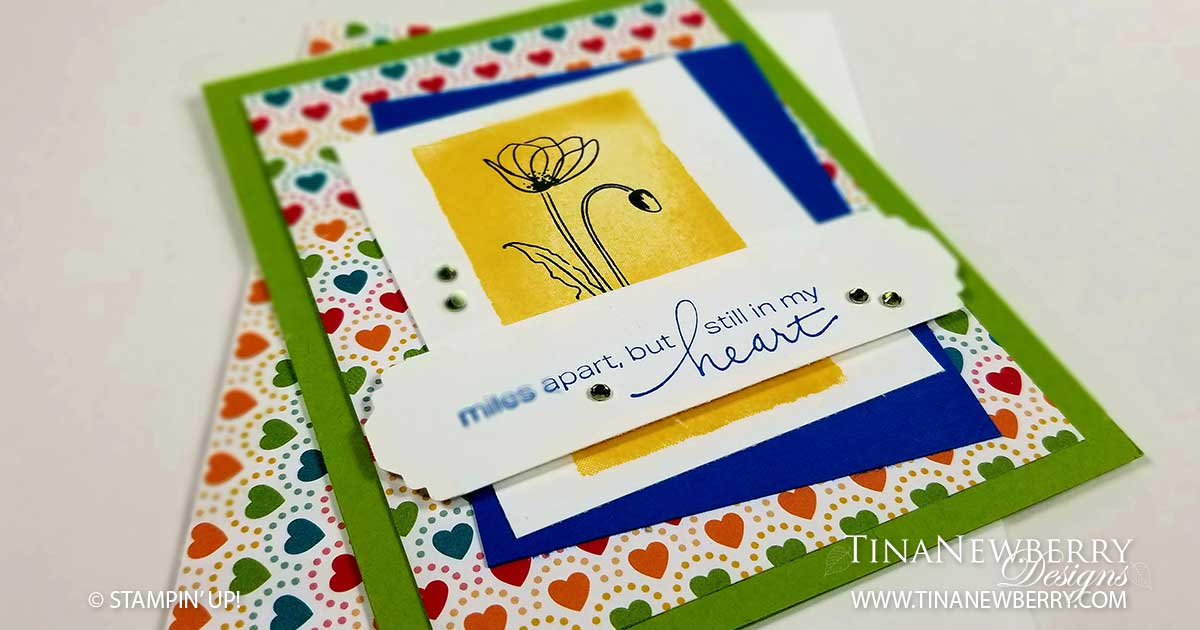
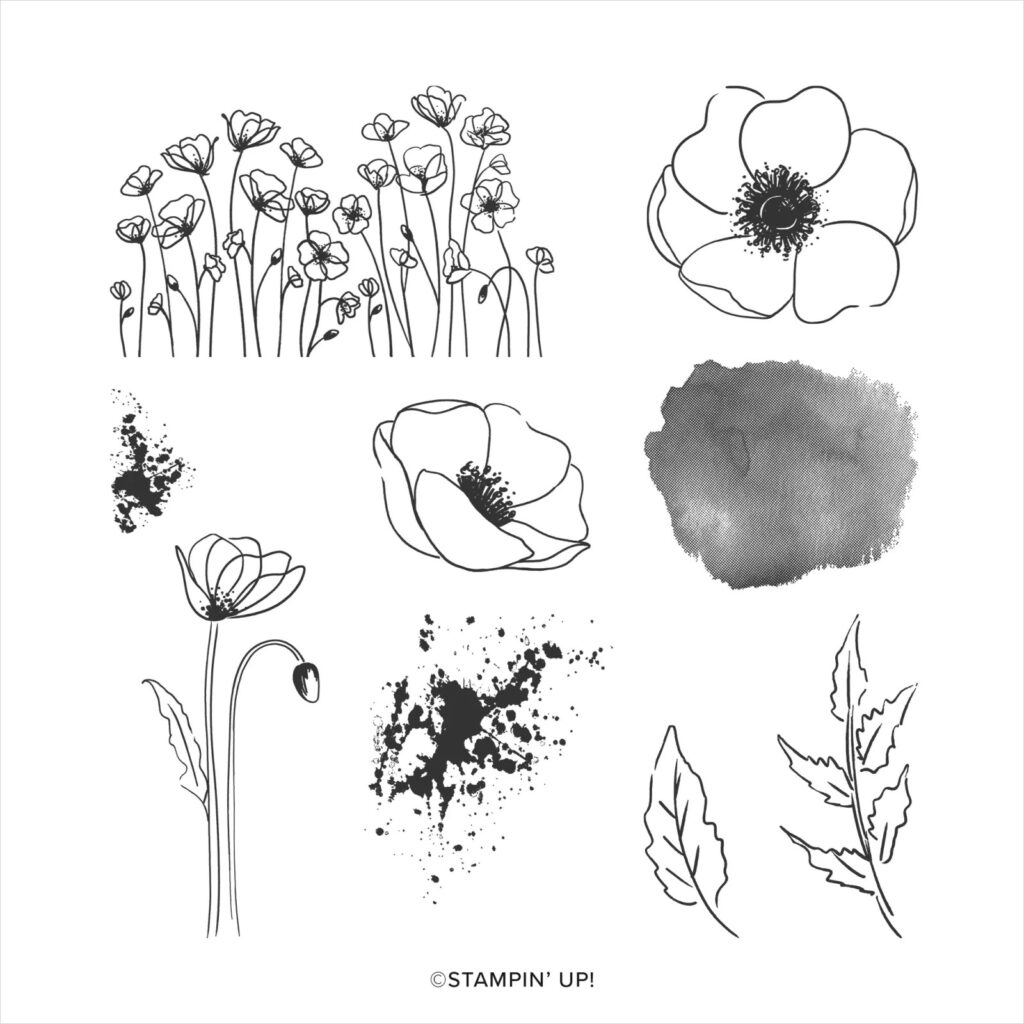
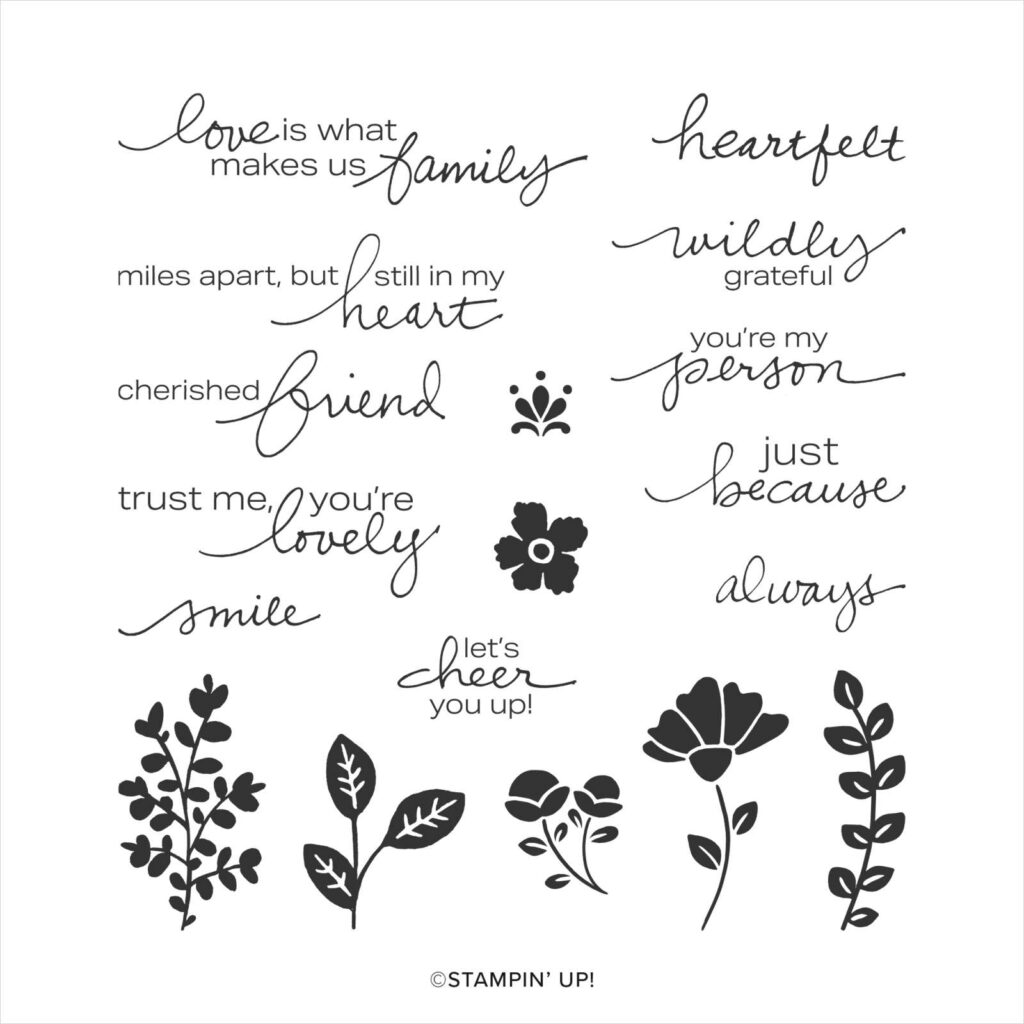
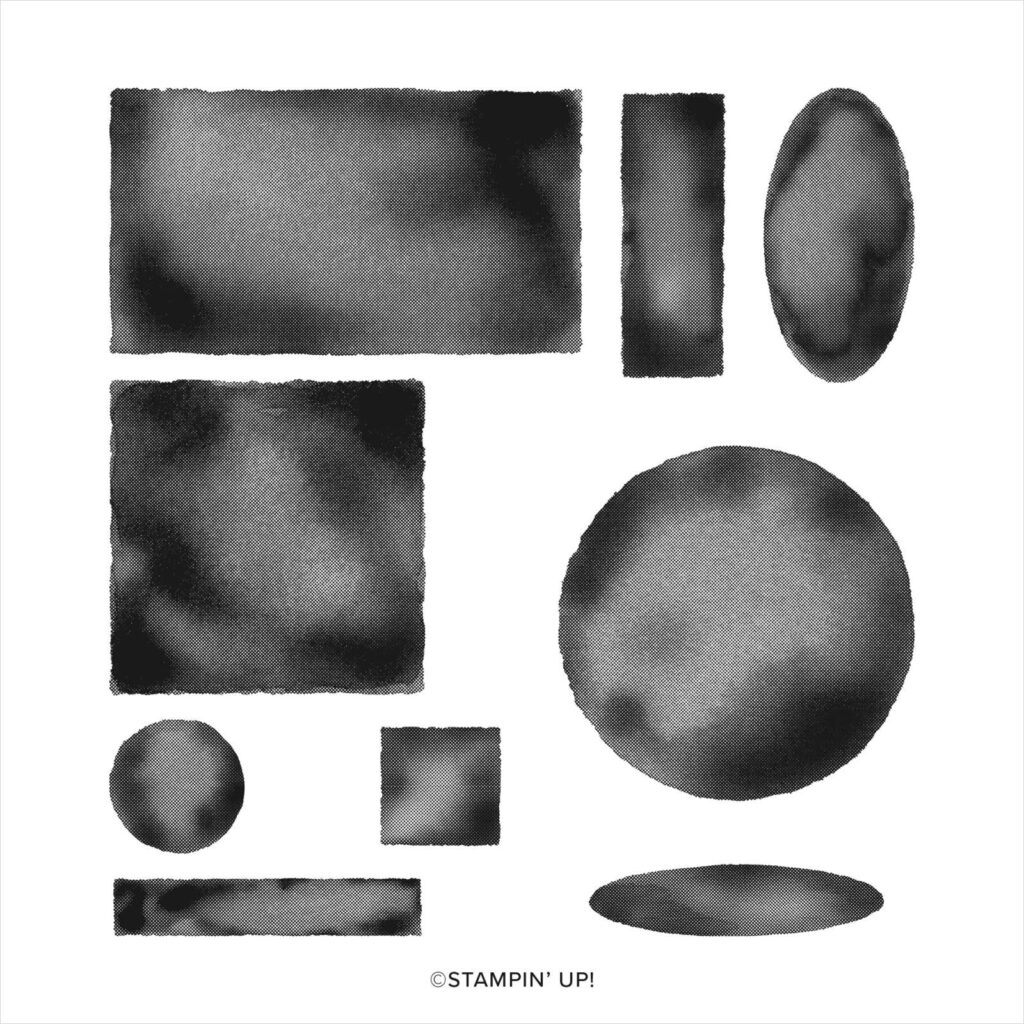
Another Quick & Easy #SimpleStamping card! Create your own background AND get your coloring fix with Stampin’ Blend Alcohol Markers. Flowers, background patterns, and greetings–you’ll find all these things in the Quiet Meadow Bundle. Put them all together for perfect projects! Choose one greeting, flower, and pattern or bring several of them together for a collage effect. You’re sure to convey a positive message. Re-create the look of a glorious meadow with the images in the Meadow Dies. It’s wildflowers galore with an abundance of beautiful blossoms. Mix and match the different pieces to get the right look for your creation.
Quiet Meadow Bundle – Save 10% when you buy the bundle.
Measurements
Full list of supplies needed, listed below. A die cutting machine is needed for this card.
Card Base: Petal Pink Cardstock 5 1/2″ h x 8 1/2″ w folded to 5 1/2″ h x 4 1/4″ w
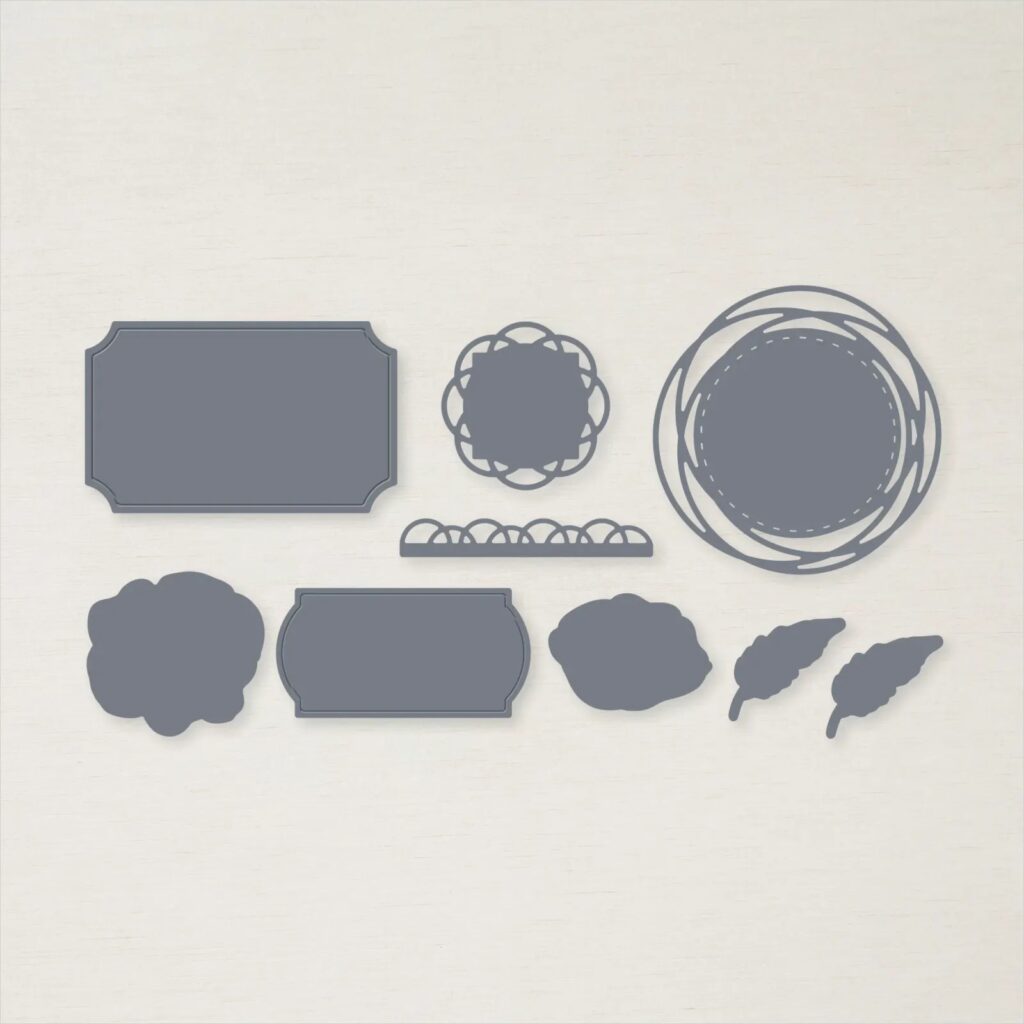
Background: Basic White Cardstock 4 3/4″ h x 2 3/4″ w trimmed with the wide leafy die.
Butterflies: Cinnamon Cider Scrap trimmed with the Butterfly dies
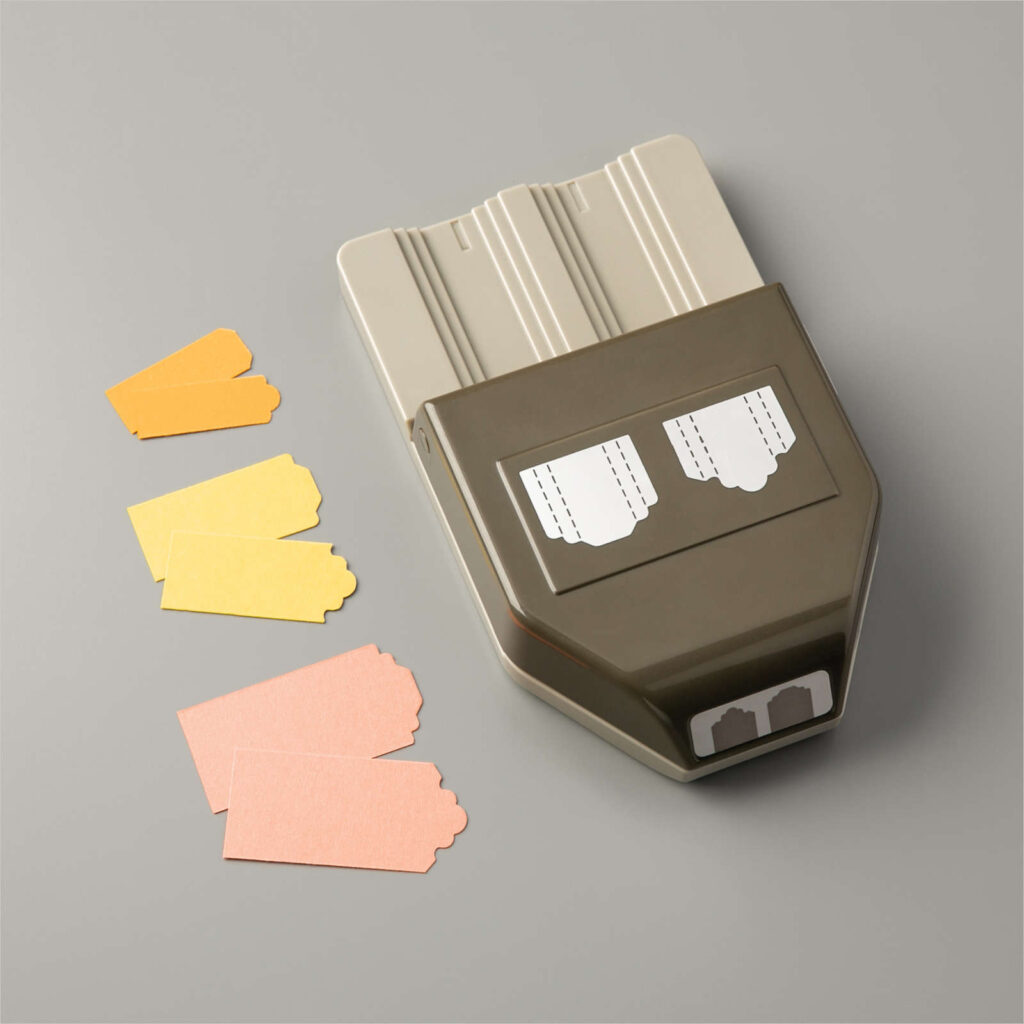
Sentiment Layer: Basic White Cardstock Scrap trimmed with the tag die.
Inside Layer: Basic White Cardstock 5 1/4″ h x 4″ w
Let’s Create
- Affix all stamps to Acrylic Blocks.
- Fold the Card Base in half using a Bone Folder to sharpen the crease.
- On the Basic White Background Layer, use the light shade from the Mossy Meadow Stampin’ Blends Combo Pack to color part of the panel. Stop halfway down the panel, then swap your Stampin’ Blends marker for the dark shade from the Soft Succulent Stampin’ Blends Combo Pack. Color the rest of the panel, starting slightly above the center to create an overlap of the two colors.
- Use the wide, leafy die from the Meadow Dies to cut the card panel. Adhere the negative piece to the card front using Stampin’ Dimensionals.
- Stamp the “You’re too kind” sentiment from the Quiet Meadow Stamp Set in Cinnamon Cider ink on the Sentiment Layer. Use the scalloped sentiment label die to cut the label, then adhere to the card front with Stampin’ Dimensionals.
- Stamp the paint splatter image in Cinnamon Cider ink on Cinnamon Cider Cardstock scrap. Align both butterfly dies onto the splatter-stamped cardstock, cut, and adhere to the card with Stampin’ Dimensionals.
- Stamp your inside Sentiment and Decorate the Inside Layer and attach with adhesive of your choice.
- So pretty! Now send it to someone special.
Shopping List
")


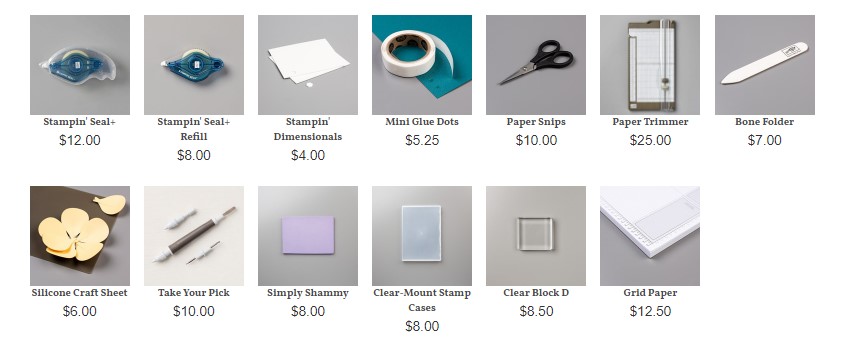
Stamper’s Toolkit
You will also need adhesive, acrylic blocks, scissors and other basic PaperCrafting items from the Stamper’s Toolkit


")


")


 Host Designer Series Paper")