For You

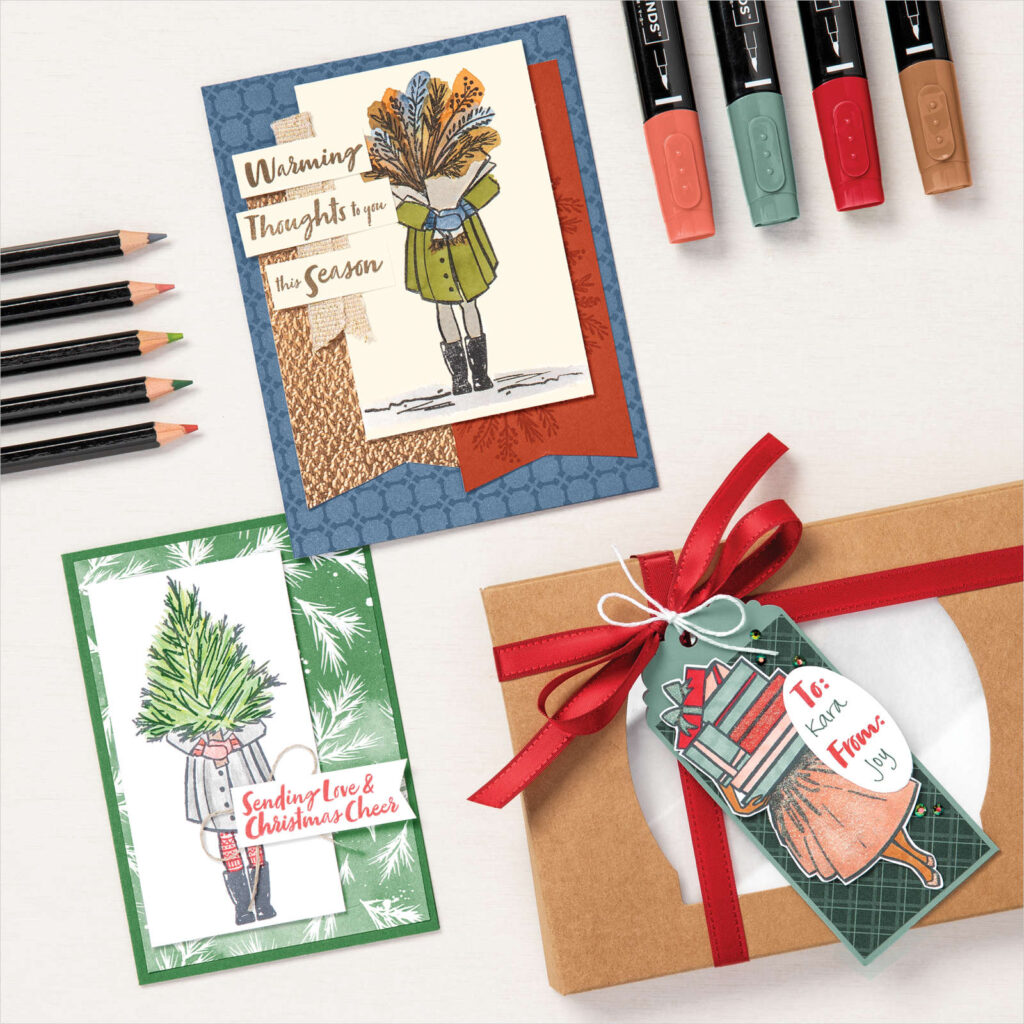
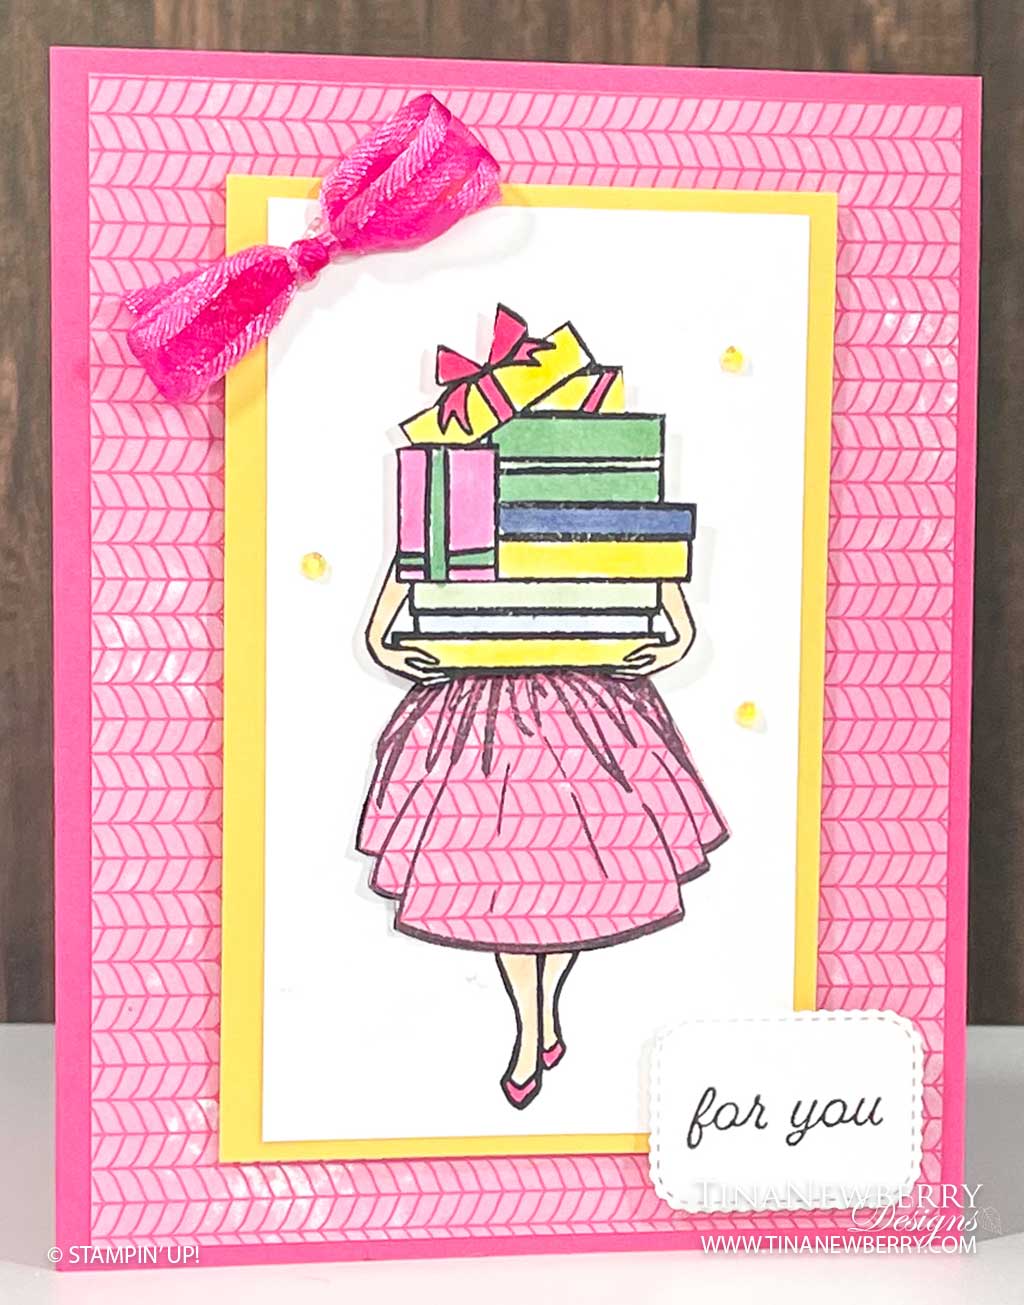
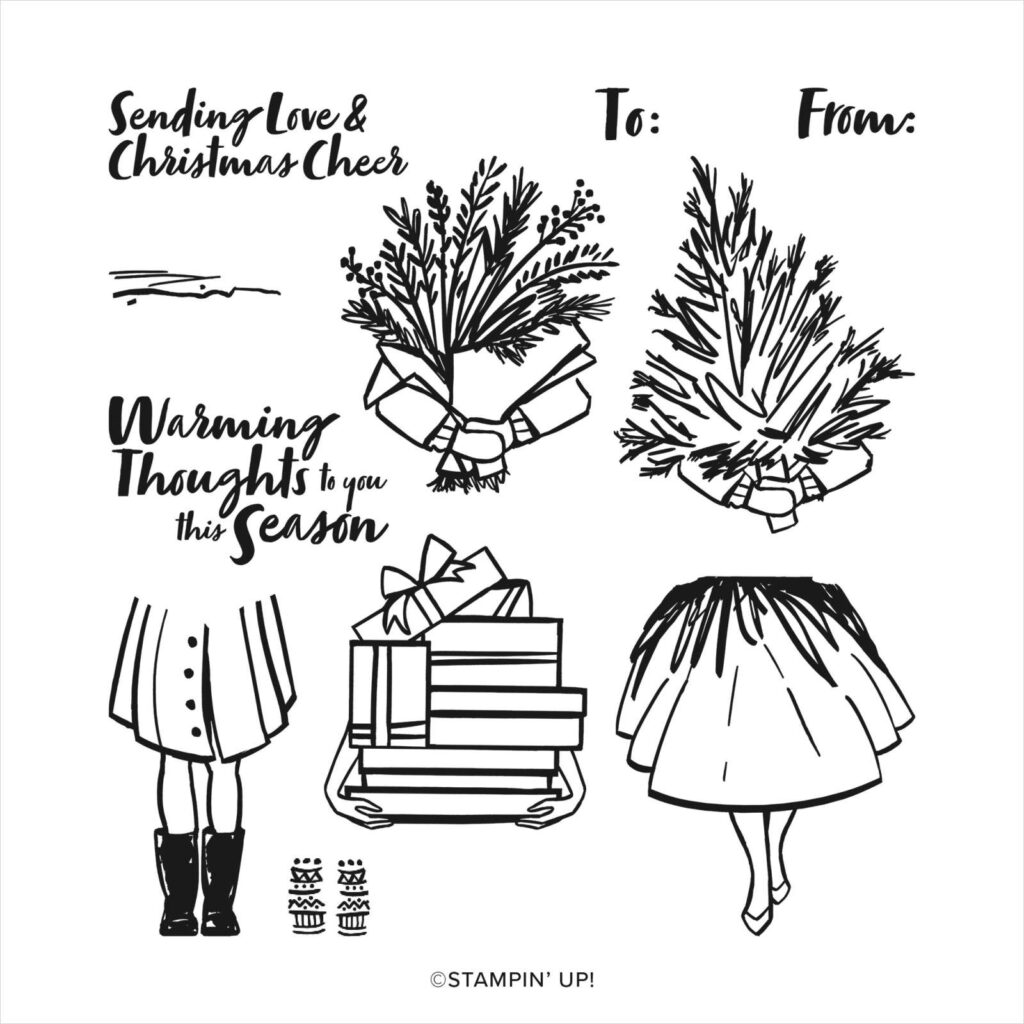
Ooh so cute! I just love the versatility of the Delivering Cheer Photopolymer Stamp Set. Birthdays, thoughtful wishes, Christmas Cheer and all occasion cards. You name it, you can make it with this set. So cute!

Measurements

Polished Pink

8 ½” x 5 ½”, scored at 4 ¼” Card Base

Basic White

Cardstock panel 2 ½” x 4 ¼”
3” x 3” label scrap
5” x 5” scrap top half of woman
5 1/4″ h x 4″ w Inside Layer: 

Whimsy and Wonder Designer Series Paper

Polished Pink Layer 4” x 5 ¼”
3” x 6” (envelope) Scrap
4” x 4” (skirt) Scrap

So Saffron

2 ¾” x 4 ½” Cardstock layer

Let’s Create

  1. Affix all stamps to acrylic blocks.
  2. Die-Cut label from Messages Die
  3. Stamp sentiment on label in Tuxedo Black Ink and set aside
  4. Align and stamp bottom half of woman on Basic White Cardstock panel.
  5. Stamp top half of woman on scrap of paper. Fussy cut.
  6. Stamp skirt on scrap of Designer Series paper and fussy cut.
  7. Use Blends and Color Lifter to color the images:
    1. Skin is done in skin tones (Ivory here)
    2. Shoes are done in Polished Pink dark
    3. Presents are done in varying colors and shades of Balmy Blue, Misty Moonlight, Mint Macaron, Polished Pink, So Saffron
  8. Adhere the Polished Pink DSP to the card front.
  9. Adhere colored image to So Saffron Cardstock layer.
  10. Adhere this panel to card front with Stampin’ Dimensionals.
  11. Adhere skirt with glue
  12. Adhere top half of colored image with Stampin’ Dimensionals
  13. Adhere sentiment with Stampin’ Dimensional
  14. Tie a bow and adhere in upper left corner with a Mini-Glue Dot.
  15. Stamp presents in the bottom right corner of inside layer.
  16. Stamp Happy Birthday sentiment on the inside layer
  17. Adhere decorated inside layer.
  18. Cut a piece of scrap Designer Series Paper to 3” x 6”. Adhere to back flap of envelope and follow around the edge of the envelope with snips to trim the paper into shape.
  19. Lovely! Who will you send it to?

Shopping List

Stamper’s Toolkit

You will also need adhesive, acrylic blocks, scissors and other basic PaperCrafting items from the Stamper’s Toolkit

Simple Stamping with Designer Series Paper

Do you have extra pieces of Designer Series Paper you’re not sure what to do with? Well, never fear! Here are a few ideas to help you use your Designer Series Paper in unexpected ways!

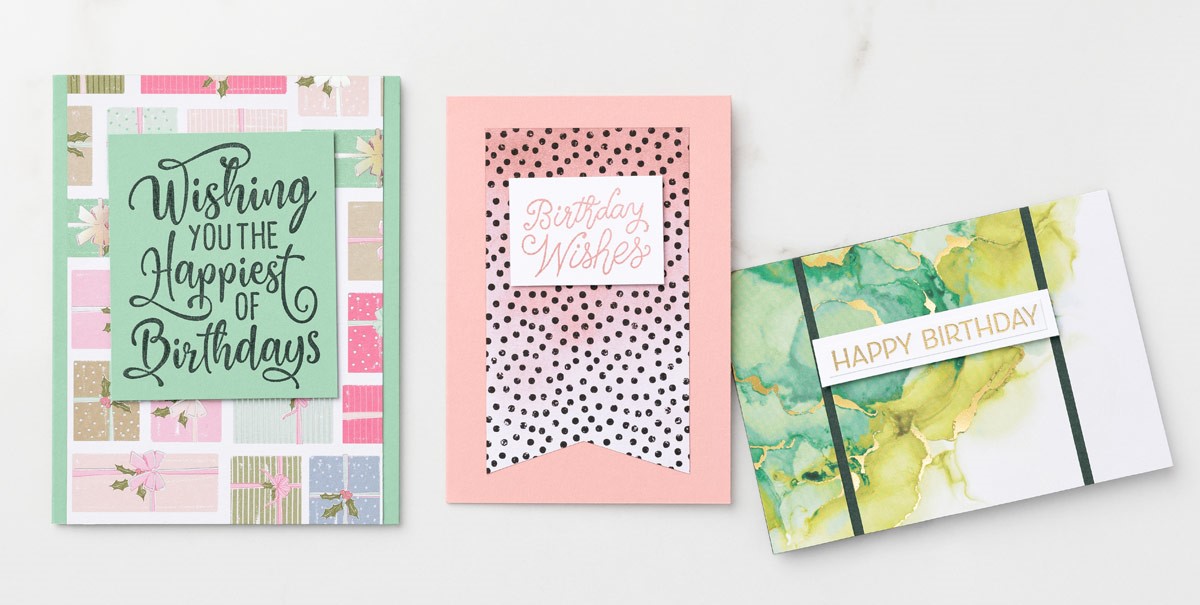
The Stampin’ Up! concept artist did just that to create the Happiest of Birthdays card. Simply take some Whimsy & Wonder Specialty Designer Series Paper, throw in some Mint Macaron cardstock and a sweet birthday sentiment, and voila! You have an adorable birthday card made from leftover Christmas paper, and it’s so cute, no one can even tell.

In the Happy Birthday card, we wanted to emphasize the gorgeous Expressions in Ink Designer Series Paper. And who wouldn’t? We decided to let the paper do the heavy lifting and embellished it only with a simple sentiment and some metallic heat embossing. You’re sure to wow anyone with this stunning paper.

In our Birthday Wishes card, we used some Cute Halloween Designer Series Paper and blended Blushing Bride Ink with Blending Brushes, and created a sweet birthday card. Who knew that Halloween-themed paper could be used any time of the year?

These techniques are perfect for beginner stampers, and they help get rid of that stash of awkward Designer Series Paper pieces we know you have. So, break out your extra scraps of paper, go make some fun cards, and share all your fun creations on my FaceBook Group Customer PaperCrafty Time Group!! I love to see what you come up with!

Shopping List

Grateful

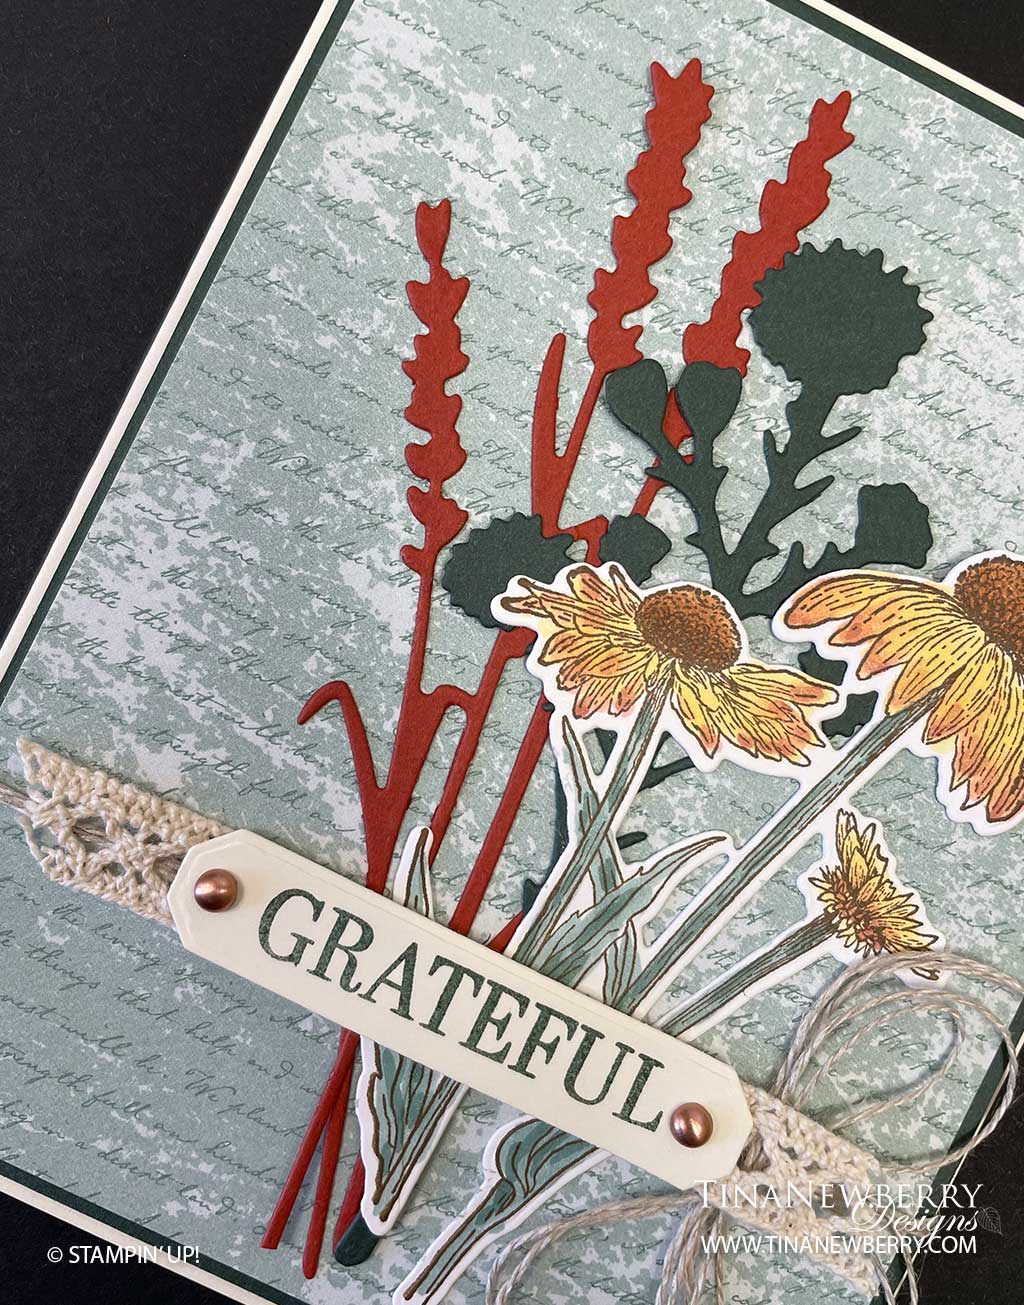
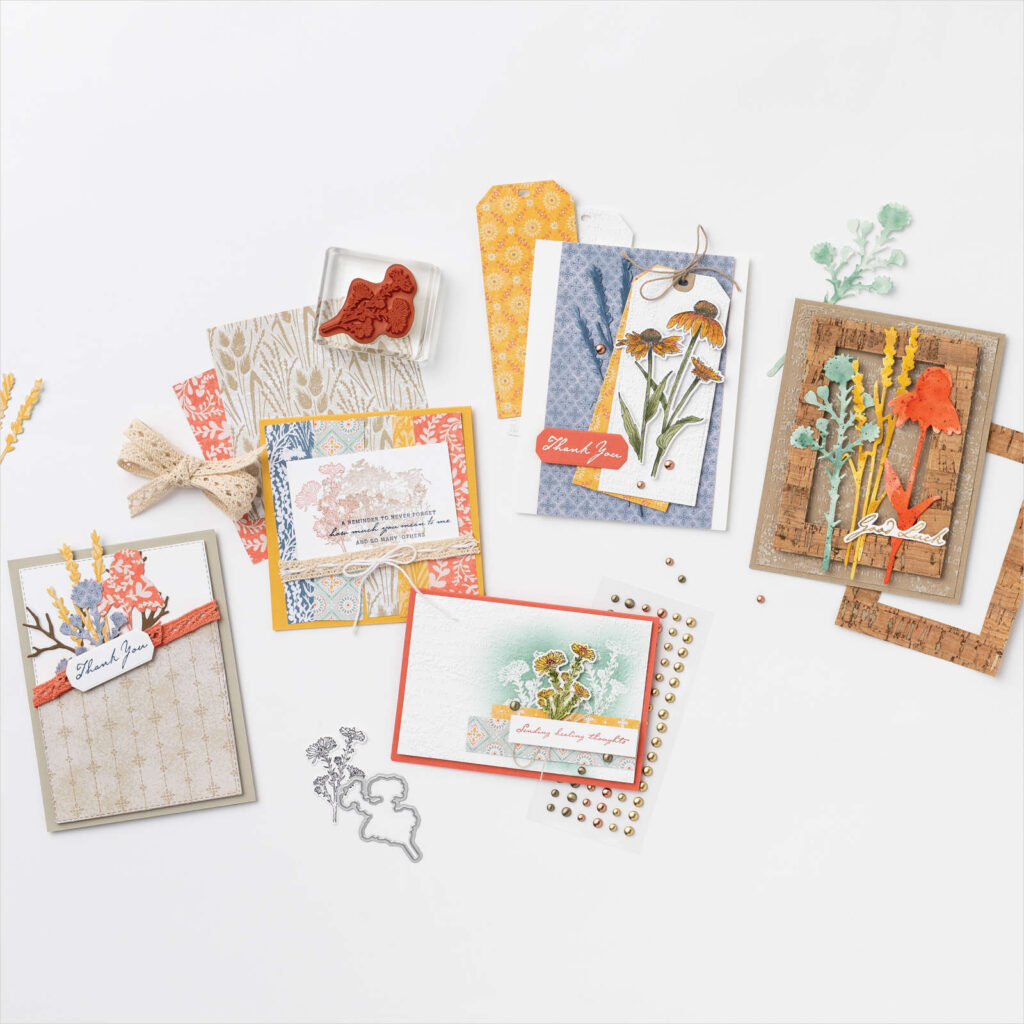
Who are you grateful for? Send them a pretty paper bouquet with this sweet card. I love the pop of Cajun Craze and the pretty lace diamond weave ribbon.

Measurements

Full list of supplies needed, listed below. A die cutting machine is needed for this card.

  • Very Vanilla:
    • 8 ½” w x 5 ½” h, scored at 4 ¼” (Card Base)
    • 4 ¼” x 3” (for stamping and Die Cutting flowers)
    • 2 ½” w  x 1” h (for stamping sentiment)
  • Evening Evergreen:
    • 5 ⅜” h x 4 ⅛” w
    • 4 ¾” x 2” (for die cutting stem)
  • DSP Harvest Meadow (Soft Succulent): 5 ¼” h x 4 ⅛” w
  • Cajun Craze: 5 ¼” x 2 ½” (for die cutting stem)

Let’s Create

  1. Affix all stamps to Acrylic Blocks.
  2. Fold the Card Base in half using a Bone Folder to sharpen the crease.
  3. Using Early Espresso ink pad, stamp the flowers on Very Vanilla Cardstock.  Color with Stampin’ Blends and Die cut.
  4. Die cut other stems using Cajun Craze Cardstock and Evening Evergreen Cardstock.
  5. Stamp the Sentiment using Evening Evergreen Ink onto Very Vanilla cardstock. Using the long tag die, cut leaving just a tad over ¼” on the end.  Reposition cut tag back into the die in order to cut the opposite end allowing the same distance from the end and put back through the die cutting machine.
  6. Tie a double bow by using 2 lengths of Linen Thread.
  7. Cut a piece of Diamond Weave Ribbon approximately 3 ¾” long. 
  8. Adhere the Soft Succulent DSP to the Evening Evergreen Panel.  Then adhere these layers to the folded Very Vanilla Card.
  9. Tape the die cut Cajun Craze stems and the Evening Evergreen stems to the card staggering them from each other.  
  10. Using Stampin’ Dimensionals, adhere the stamped die cut flowers to the card. 
  11. Using a few glue dots or multi purpose liquid glue, adhere the trim to over the lower part of the stems.  
  12. Adhere the sentiment over the trim.
  13. Using a mini glue dot, place the linen thread bow under the trim towards the right side of the card. 
  14. Place a copper brushed metallic dot on each end of the sentiment tag. 
  15. Stamp and decorate the inside and attach with Stampin’ Seal.
  16. Decorate your envelope.
  17. SO Pretty! Now make someone’s day. Put it in the mail.

Shopping List

Stamper’s Toolkit

You will also need adhesive, acrylic blocks, scissors and other basic PaperCrafting items from the Stamper’s Toolkit
Thank You

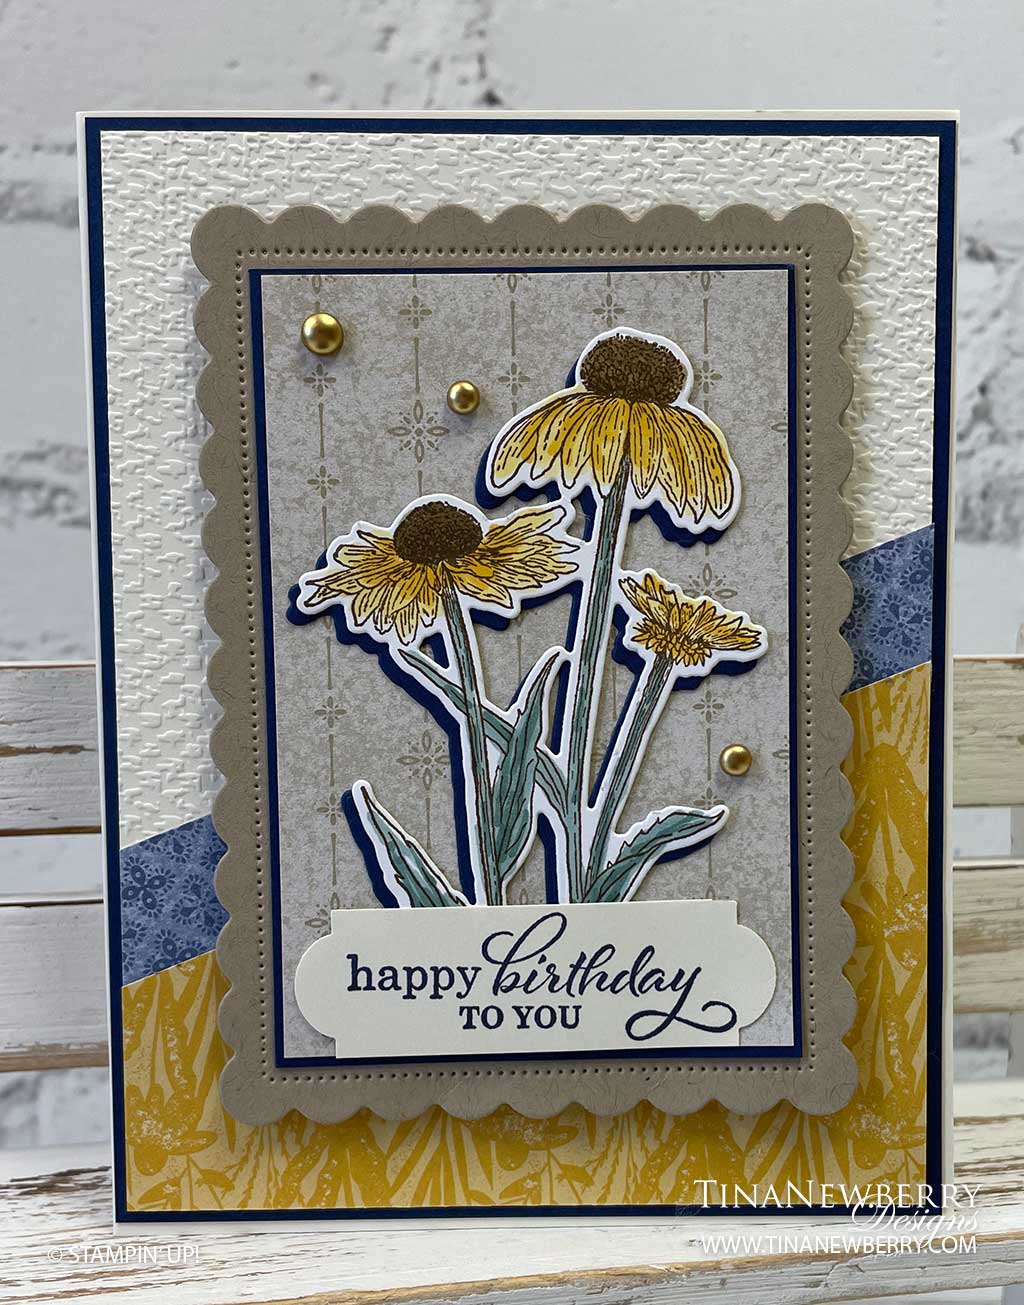
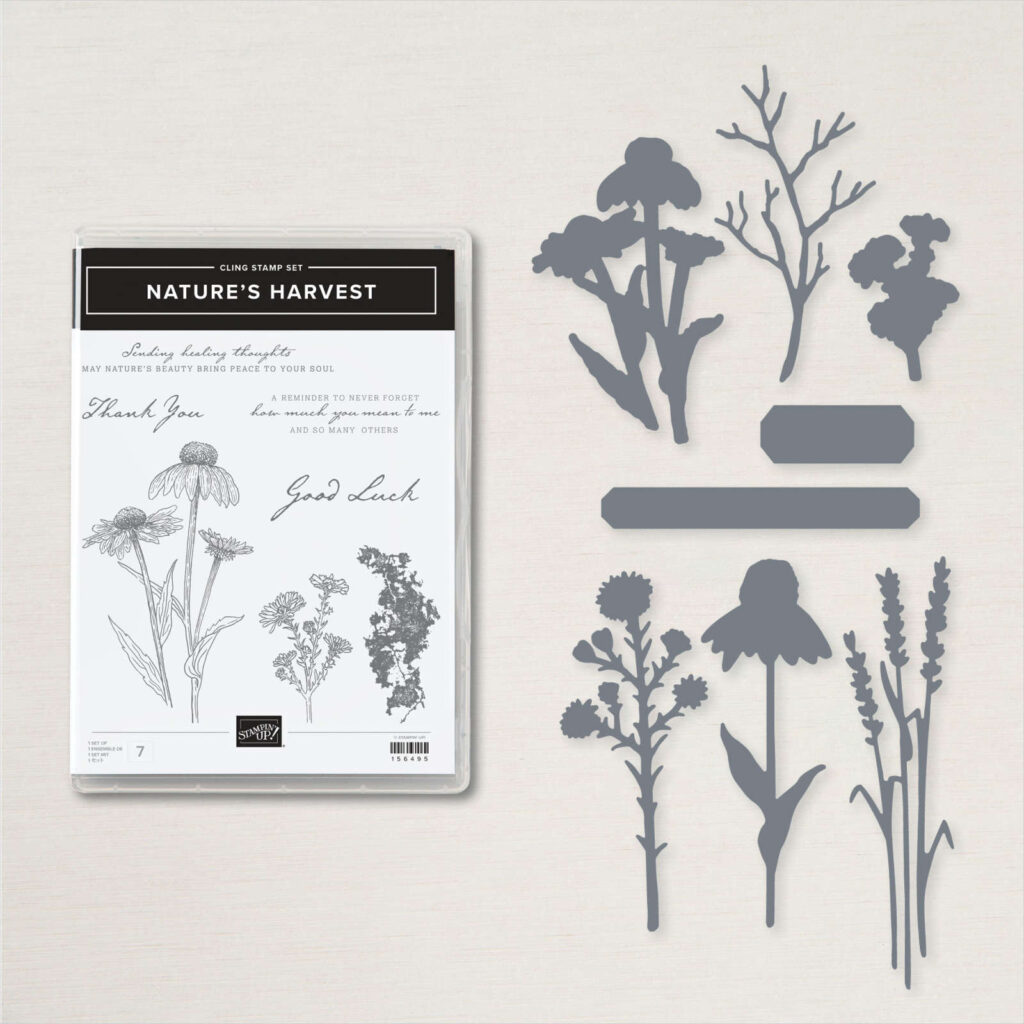
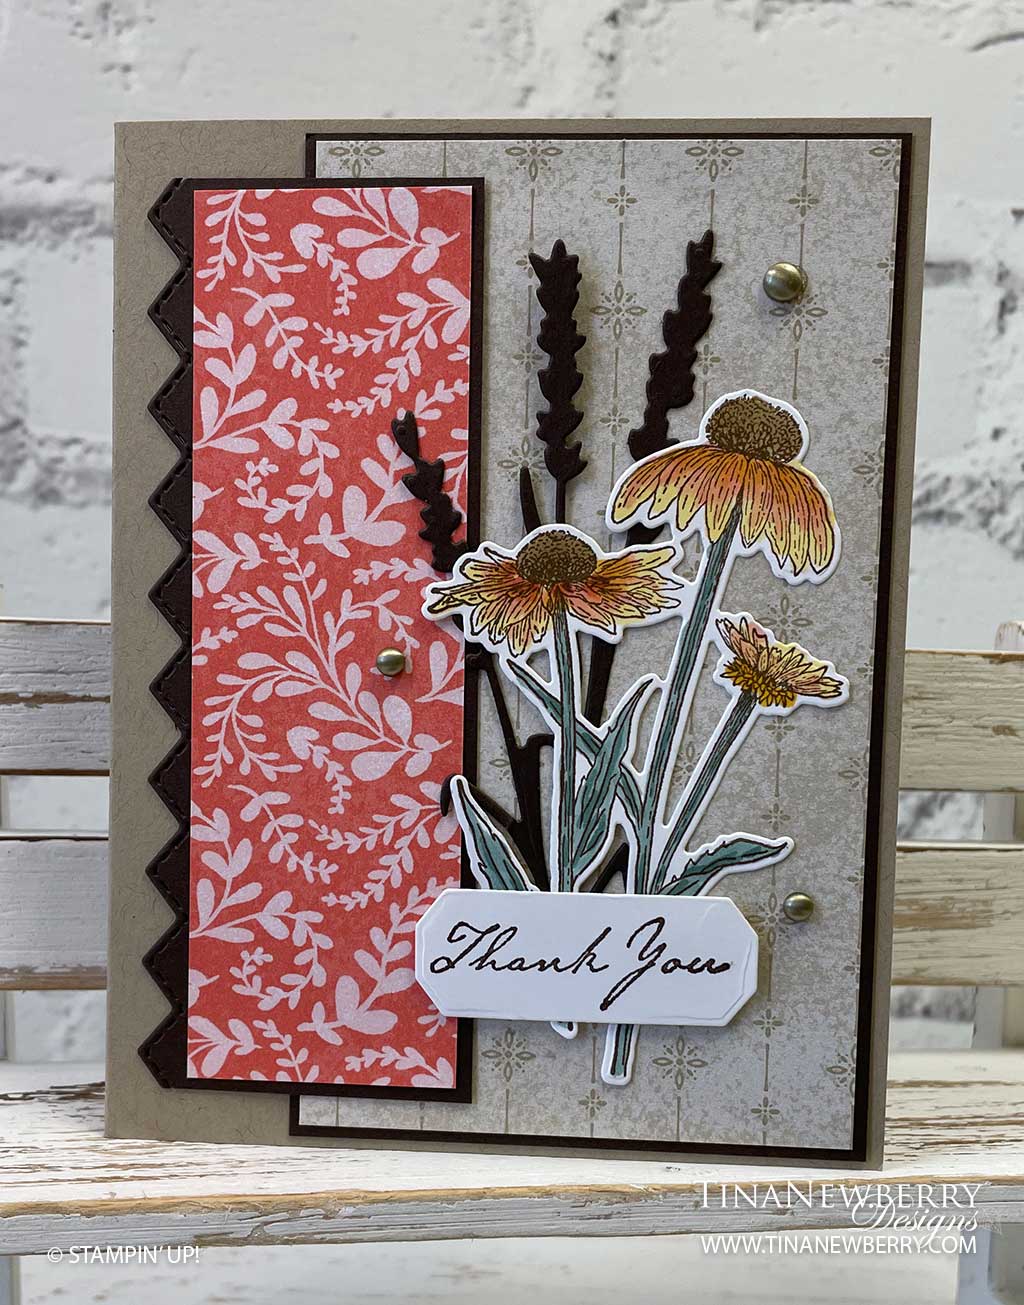
Such an elegant fall card with lots of layers showcasing the beautiful Harvest Meadow Designer Series Paper and setting off the black-eyed Susan. Are they not the iconic fall flower?

Measurements

Full list of supplies needed, listed below. A die cutting machine is needed for this card.
Card Base: Crumb Cake Cardstock 5 1/2″ h x 8 1/2″ w folded to 5 1/2″ h x 4 1/4″ w
Background Matte: Early Espresso Cardstock 5 1/8″ h x 3 1/8″ w
Background: Harvest Meadow Designer Series Paper 5 1/4″ h x 3″ w
Zig Zag Layer: Early Espresso Cardstock 4 7/8″ h x 1 7/8″ w
Calypso Coral Layer: Harvest Meadow Designer Series Paper 4 3/4″ w x 1 1/2″ w
Sentiment Layer: Basic White Cardstock scrap
Flowers: Basic White Cardstock scrap
Inside Layer: Basic White Cardstock 5 1/4″ h x 4″ w

Let’s Create

  1. Affix all stamps to Acrylic Blocks.
  2. Fold the Card Base in half using a Bone Folder to sharpen the crease.
  3. Using Early Espresso ink pad, stamp the flowers on Basic White Cardstock scrap. Color with Stampin’ Blends and Die cut.
  4. Die cut the long edge of the 5 ⅛” x 3” Early Espresso using the zig zag border die.
  5. Die cut the Early Espresso sprig in the center of the Early Espresso 4 ½” x 2” cardstock.
  6. Stamp the Sentiment using Early Espresso Ink onto Basic White cardstock and die cut using the small frame die.
  7. Adhere the DSP panels to their coordinating Early Espresso pieces, covering the hole you made from the die cut sprig.
  8. Attach the matted DSP layers.
  9. Use Mini Glue Dots and Multipurpose Glue to attach the Early Espresso die cut stems and then the Stamped and colored flowers to the card front.
  10. Adhere the Sentiment towards the lower part of the card over the stems using Stampin’ Dimensionals.
  11. Sprinkle on the Brushed Metallic Gold Dots.
  12. Stamp and decorate the inside and attach with Stampin’ Seal.
  13. Decorate your envelope.
  14. Lovely! Who will you send it to?

Shopping List

Stamper’s Toolkit

You will also need adhesive, acrylic blocks, scissors and other basic PaperCrafting items from the Stamper’s Toolkit