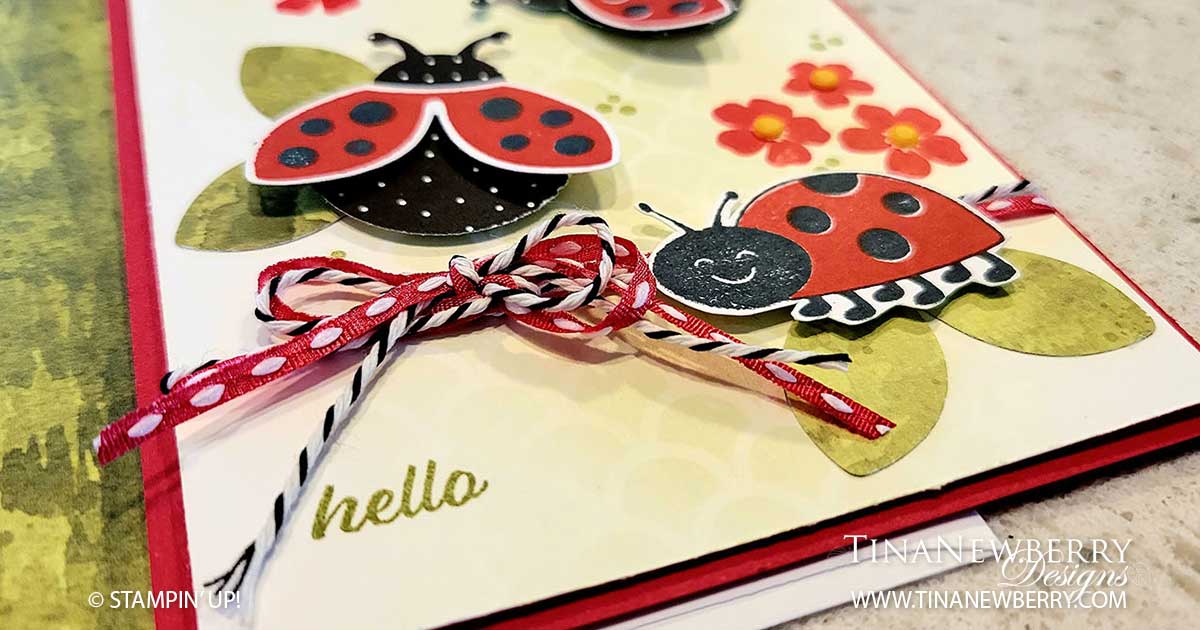
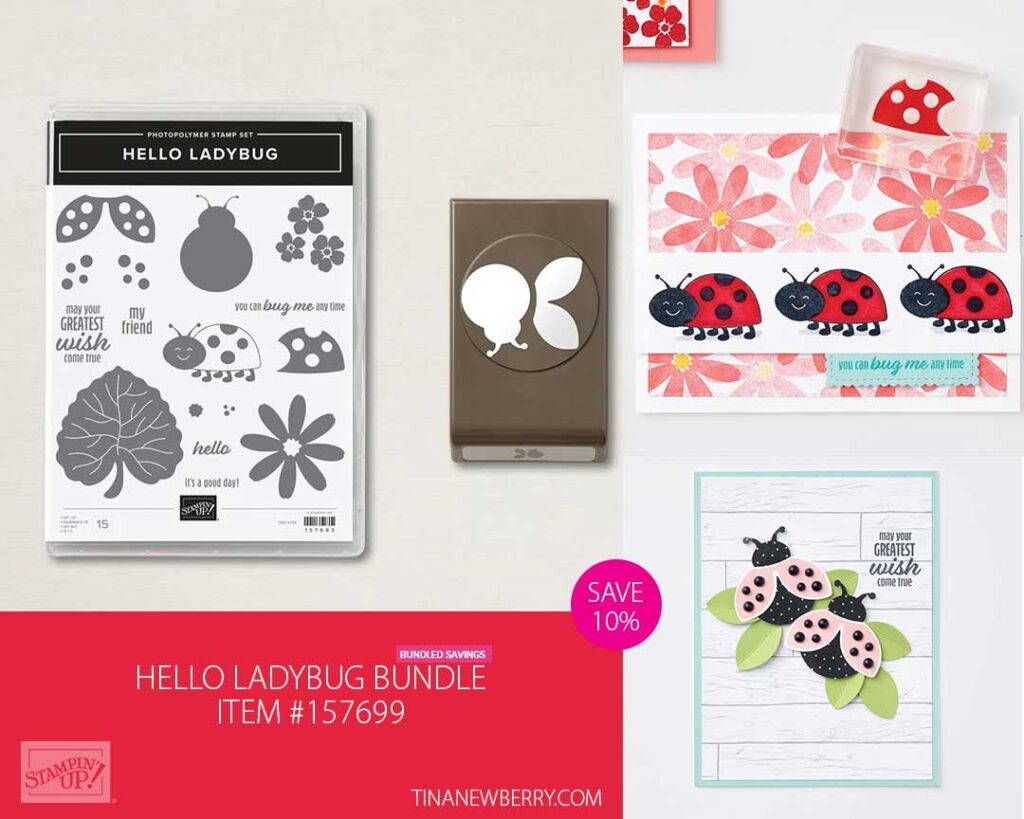
Get creative with a sweet “hello” greeting card made from the Hello Ladybug Bundle from Stampin’ Up! Use patterned Designer Series Paper for the Ladybug bodies and more for the leaves.

Measurements
Full list of supplies needed, listed below.
Real Red Cardstock:
- 5 ½” h x 8 ½” w score and folded on the long-side at 4 ¼”
Party Pattern Host Designer Series Paper:
- Scraps for ladybug bodies
Beauty of the Earth Designer Series Paper:
- Scrap for leaves
- 2 1/4″ h x 6″ w scrap for envelope flap
Basic White Cardstock:
- 5 1/4″ h x 4″ w (2) for front and inside
- Scrap for ladybug wings and small ladybug
Let’s Create
- Affix all stamps to Acrylic Blocks.
- Fold the Card Base at score line using a Bone Folder to sharpen the crease.
- Use the Ladybug Builder Punch to punch two bodies from the black with white dots piece of Pattern Party Designer Series Paper. Punch three sets of wings from the Old Olive Tree piece of Beauty of the Earth for the green leaves. Try to punch from parts that have very little distinct tree prints.
- On the scrap Basic White Cardstock, in Real Red Ink, stamp the wings twice and then in Tuxedo Black Ink, stamp the dots on the wings and the smaller ladybug. Add the smaller Ladybug body in Real Read Ink.
- Use the Ladybug Builder Punch to punch the wings and then use Paper Snips to fussy cut the smaller ladybug.
- Attach the wings to the Pattern Party ladybug bodies with Stampin’ Dimensionals.
- Use the Plenty of Patterns Decorative Mask and a Blending Brush to apply a faint Old Olive patterned background to one of the 5 1/4″ x 4″ w Basic White Cardstock panels.
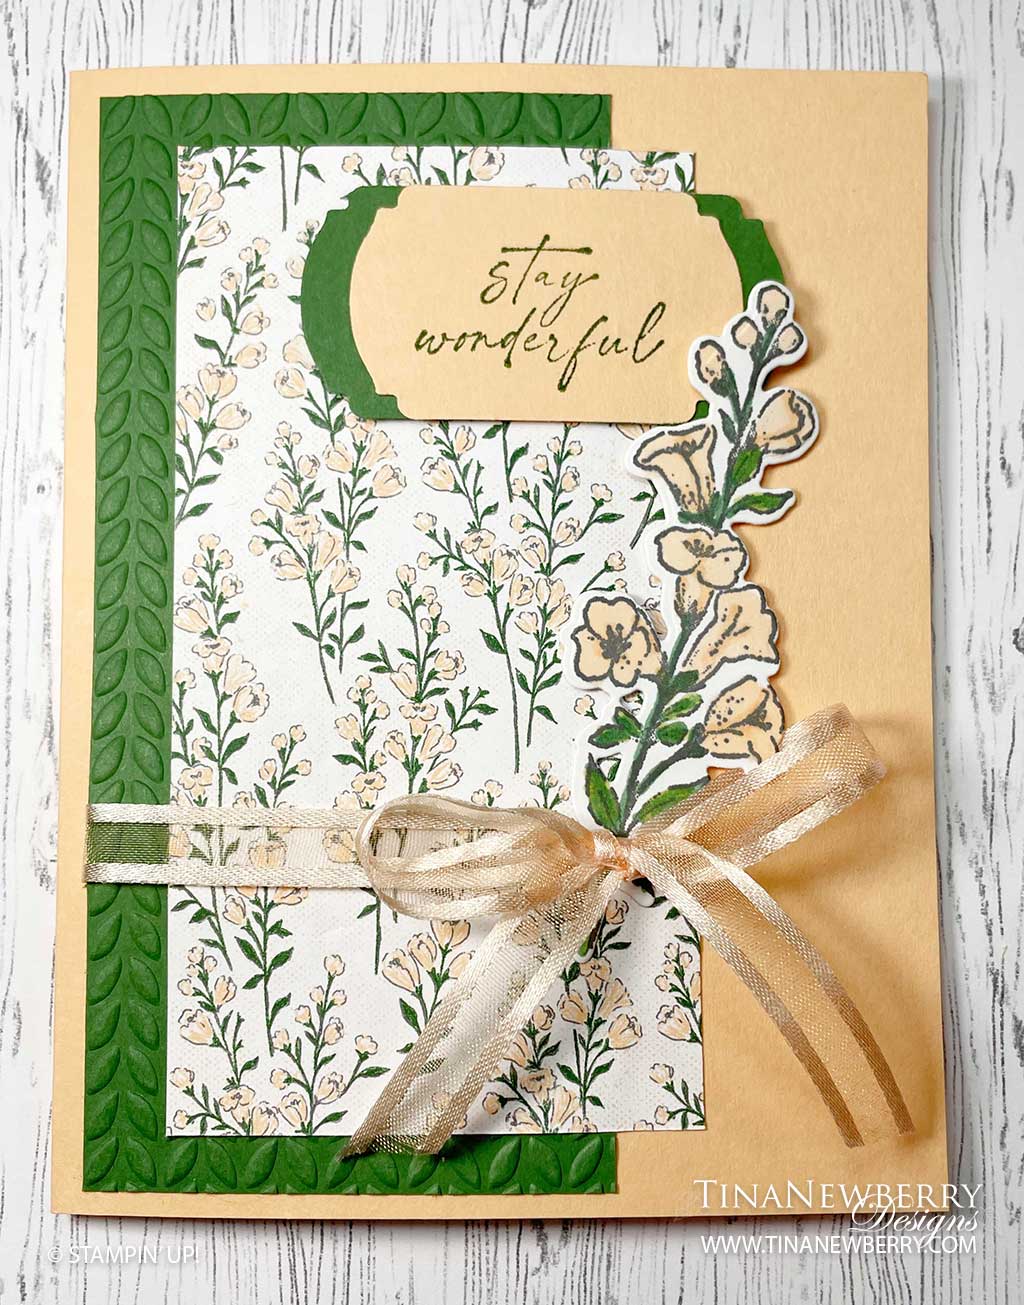
- Stamp the sentiment in the lower left of the Basic White panel in Old Olive Ink.
- Arrange the ladybugs and green leaves (wings) on the card in such a way as to leave space for two clusters of flowers. Remove the ladybugs and leaves and stamp two clusters of flowers in Real Red Ink, then attach all the leaves with Stampin’ Seal and the ladybugs with Dimensionals.
- Stamp the three dots stamp in Old Olive Ink in three to four spots.
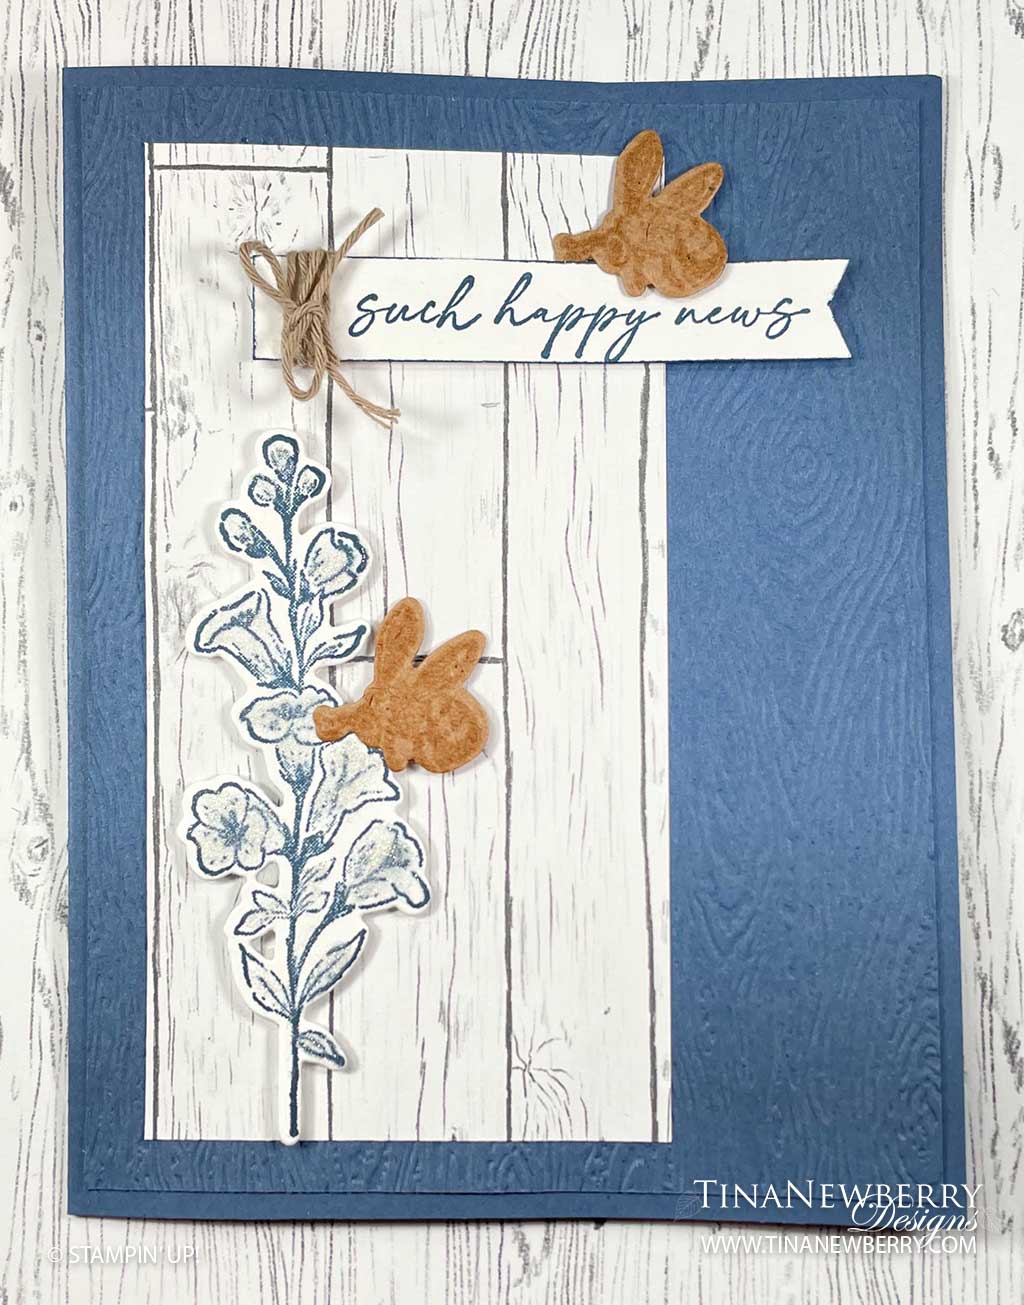
- Cut 9″ of both ribbons from the Playing With Pets Trim Pack. Wrap both strands around the Basic White panel, tie into a bow and attach the panel to the Card Base with Stampin’ Dimensionals.
- Sprinkle on some Playing with Patterns Resin dots in the center of the Real Red flowers.
- Decorate the remaining Basic White panel and attach to the inside with Stampin’ Seal.
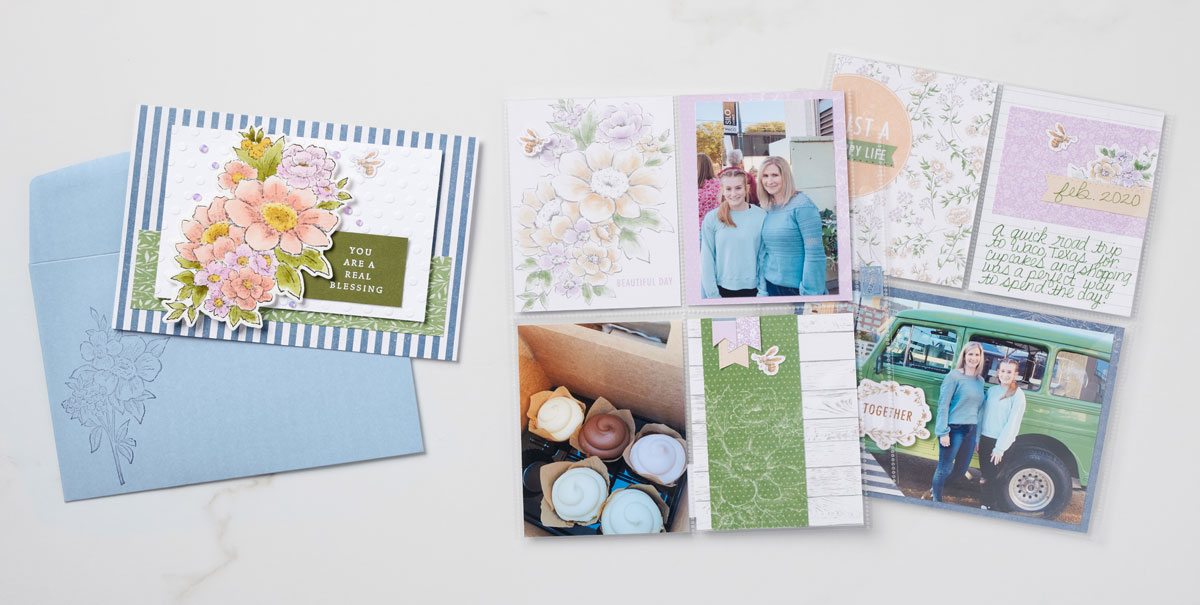
- Decorate your envelope.
- So fun!! Put it in the mail today and make someone’s day
Shopping List
")


 Host Designer Series Paper")
 Designer Series Paper")


$12.00
Recommended Stamper’s Toolkit
Product List
$12.00

$7.00

$4.25

$5.75

$5.50

$11.00

$26.00

$7.00

$6.50

$11.00

$20.00

$11.00

$80.75

$128.00

$16.00

$13.00


 Designer Series Paper")


 Designer Series Paper")
 Open Weave Ribbon")


")


 Paper Pack")
 Designer Series Paper")


