Coloring a Happy Birthday Card

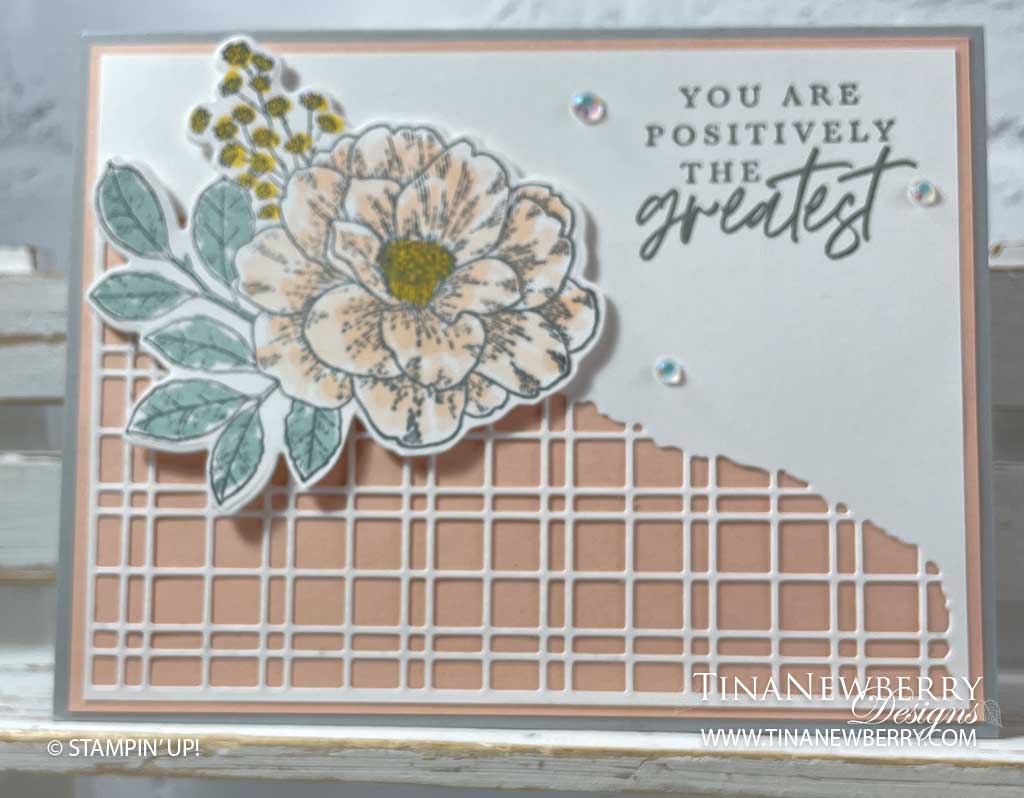
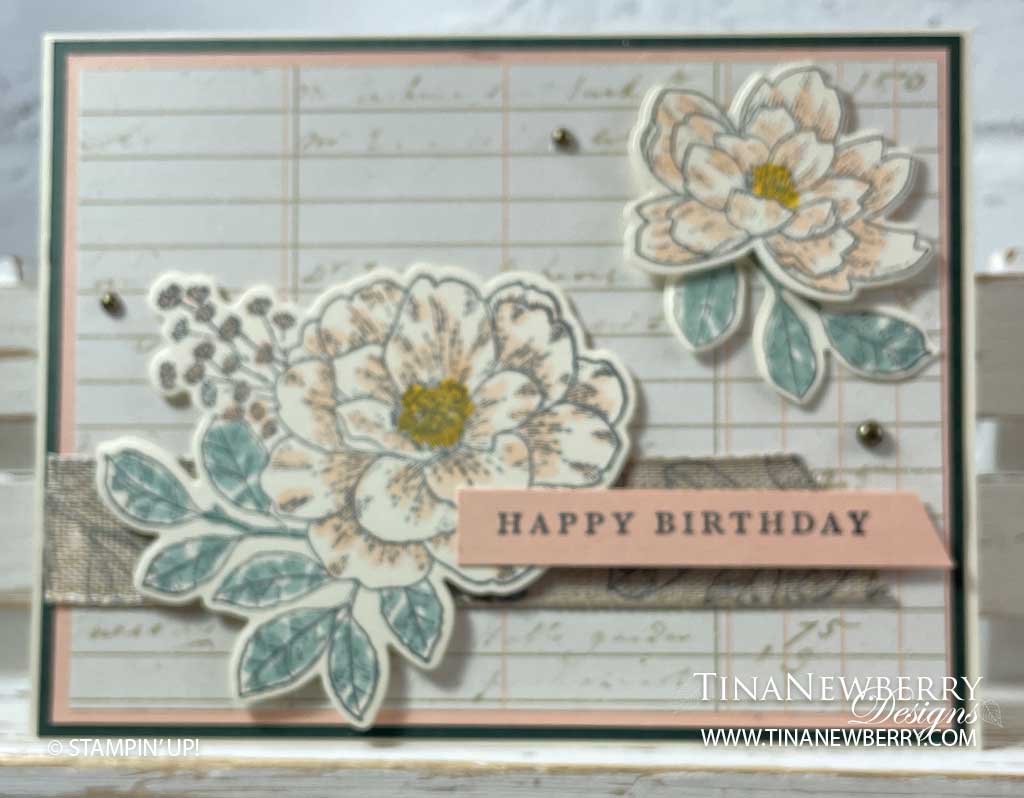
Coloring is so relaxing and you can choose your favorite color palette. Use this layout to make a whole bouquet of cards in any colors you like.

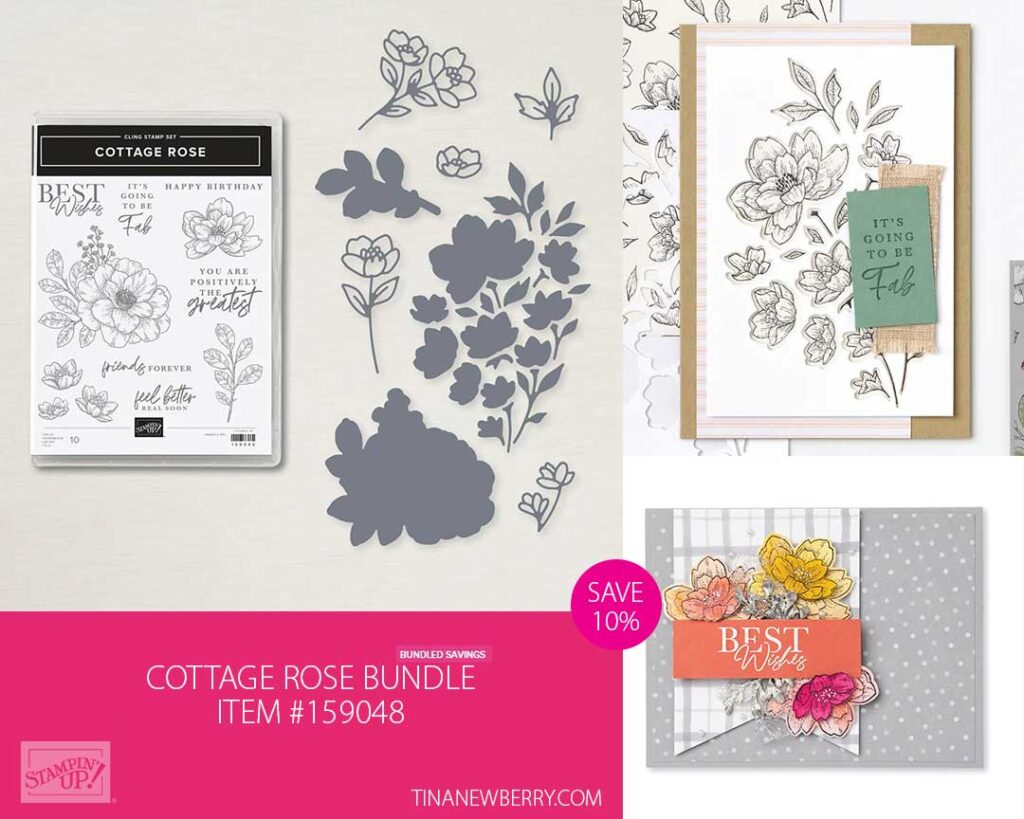
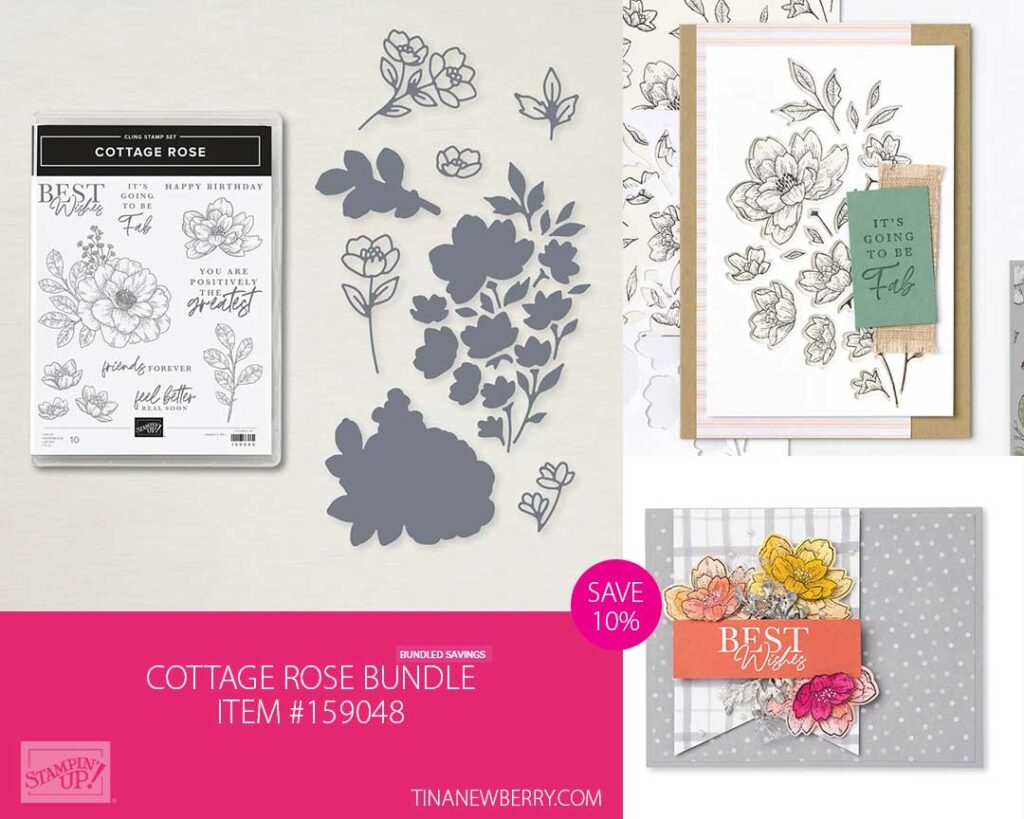
The Cottage Rose Bundle includes the Cottage Rose Stamp Set and the Cottage Flowers Dies.
Save 10% when you buy the Stamp Set and Die Set together
in the Cottage Rose Bundle

Measurements

Full list of supplies needed, listed below. A die cutting machine is needed for this card.
Very Vanilla Thick Cardstock:

  • 8 ½” x 5 ½” (scored at 4 ¼”) for card base
  • ~5 ½” x 4 ¼” scrap for Stamping and die cutting flowers

Evening Evergreen Cardstock: 5 ⅜” x 4 ⅛”

Petal Pink Cardstock:

  • 5 ¼” w  x 4” h
  • 3”w x ½” h (for stamping the sentiment)

Abigail Rose Designer Series Paper (DSP) – lined print:  5 ⅛” x 3 ⅞”

Very Vanilla Cardstock:

  • 5 ¼” w  x 4” h


Let’s Create

  1. Affix all stamps to Acrylic Blocks.
  2. Fold the Card Base in half using a Bone Folder to sharpen the crease.
  3. Using Black Memento Ink, stamp the large floral image and the smaller flower and 1 set of the leaves on the scrap Very Vanilla Thick Cardstock .  Color these images using Stampin’ Blends.  I used Petal Pink, Soft Succulent and Daffodil Delight.  Using the Cottage Flowers Dies, die cut these images.
  4. Using Black Memento Ink Pad, stamp the leaves repeatedly on a 5” length of the Natural Finish ⅞” Ribbon. 
  5. Stamp the sentiment on the ½” strip of Petal Pink with Memento Black Ink Pad and cut the left edge at an angle.
  6. Use Stampin’ Seal to adhere
    1. the Evening Evergreen to your Very Vanilla folded card base.
    2. the Petal Pink layer to your card
    3. then the Abigail Rose DSP panel to the Petal Pink layer.
  7. Cut the left edge of the Ribbon at an angle and use Tear & Tape to attach to the lower edge of the card leaving about ⅝” at the bottom of the DSP showing and even with the left edge of the Petal Pink panel.
  8. Use Stampin’ Dimensionals to adhere
    1. the large floral die cut image towards the lower left of the card. 
    2. the smaller flower to the upper right of the card. 
  9. Use Stampin’ Seal to tape flat the die cut leaves slipping them under the smaller flower.
  10. Adhere the Sentiment using Stampin’ Dimensionals.
  11. Embellish with 3 Rustic Metallic Adhesive backed dots.
  12. Stamp and decorate the inside and attach with Stampin’ Seal.
  13. Decorate your envelope.
  14. Lovely! Who will you send this birthday wish to?

Shopping List

Recommended Stamper’s Toolkit

Product List
Order online from the convenience of your own home or send me your order and I’ll take care of you. ❤ Either way, please use the host code ZZTXP2EM. Order online AND, if your order is $50 or more using host code ZZTXP2EM between now and the end of the month you’ll receive a free pack of embellishment as a THANK YOU gift from me. ❤ If your order is over $150, skip the host code, earn Stampin’ Rewards for free stuff yourself and I’ll still send you a free pack of embellishment as a THANK YOU gift from me. ❤

Color A Heartfelt Best Wishes Card

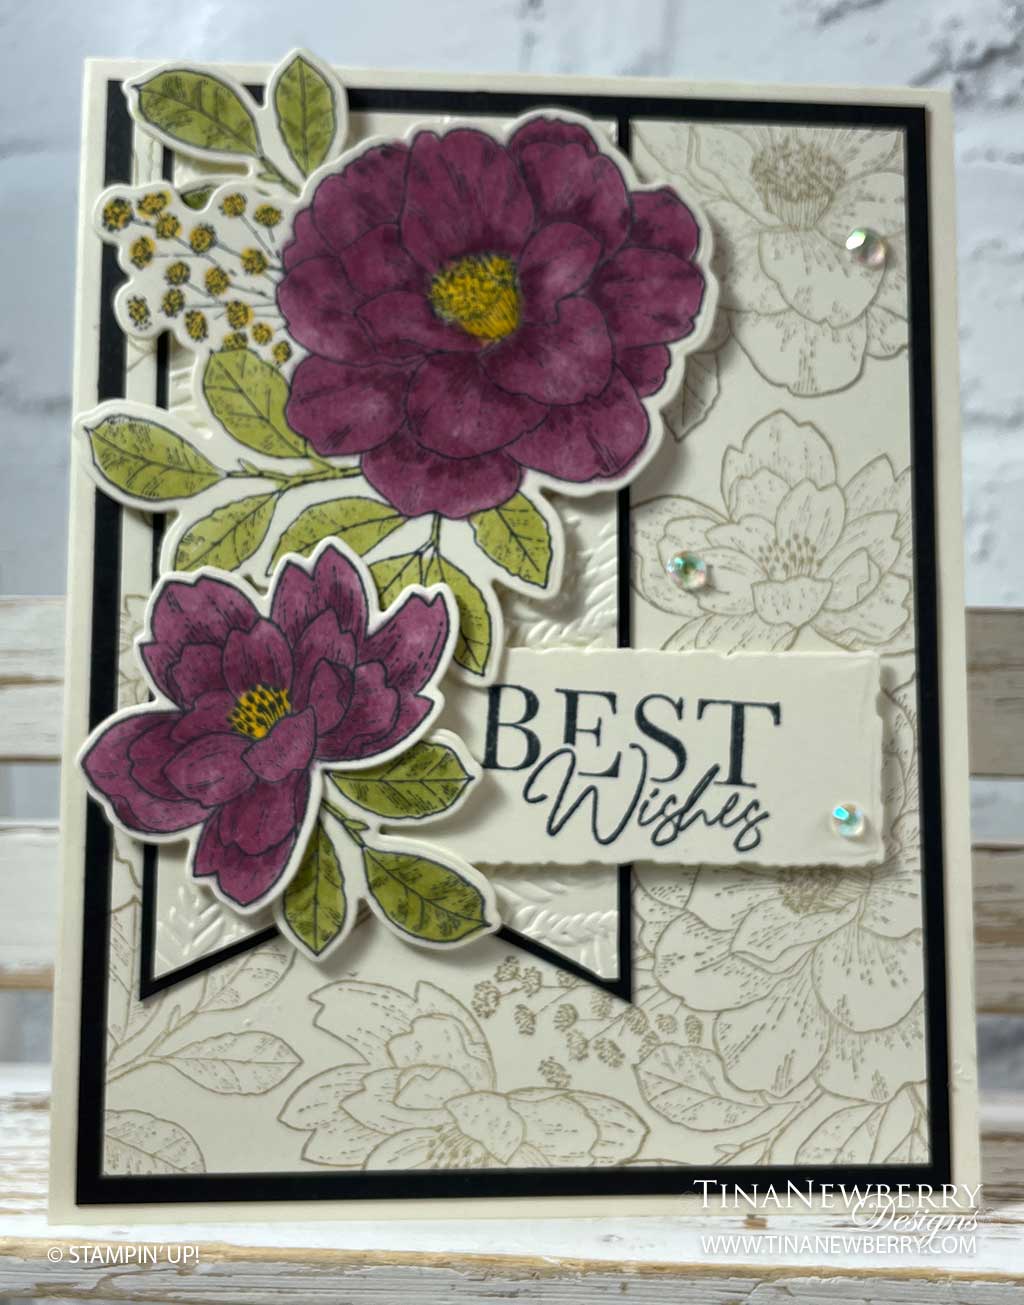
Send beautiful Best Wishes and get your coloring fix with the stunning roses in the Cottage Rose bundle. This card uses a rich color palette of very vanilla, old olive and rich razzleberry, but you can change it up to suit your tastes. Color coordination is made easy with the Stampin’ Up! Color Families – Regals, Brights, Subtles or Neutral. You pick!

The Cottage Rose Bundle includes the Cottage Rose Stamp Set and the Cottage Flowers Dies.
Cottage Rose Bundle
Save 10% when you buy the stamp set and dies as a bundle.

Measurements

Full list of supplies needed, listed below. A die cutting machine is needed for this card.

Very Vanilla Thick Cardstock:

  • 11” h x 4 ¼” w (score at 5 ½”) for Card Base
  • ~5 ½” x 3 ½” scrap for stamping and die cutting flowers

Basic Black Cardstock:

  • 5 ¼” h x 4” w
  • 4 ¼” h x 2 ¼” w

Very Vanilla:

  • 5” h x 3 ¾” w
  • 4 ¼” h x 2 ⅛” w
  • 3″ w x 1 ¼” h scrap for sentiment
  • 5 ¼” h x 4” w for inside

Let’s Create

  1. Affix all stamps to Acrylic Blocks.
  2. Fold the Card Base in half using a Bone Folder to sharpen the crease.
  3. Using Sahara Sand Ink Pad and stamps from the Cottage Rose Stamp set, randomly create a background on the 5 ¼” x 4” Very Vanilla panel.
  4. Flag the bottom edge of the 4 ¼” x 2 ⅛” Very Vanilla.  An easy way to do this is to find the center (just over 1”) and make a slit about ¾” up.  Cut from each bottom corner up to the slit. This will give you even tails on your flag.  Emboss this piece using the Fern 3D Embossing Folder.  Adhere to the Basic Black 4 ¼” x 2 ¼” layer with the top edges even.  Flag the bottom of the Basic Black panel.
  5. Stamp the large floral image, the smaller flower and 2 sets of leaves onto the Very Vanilla Thick Cardstock 5 ½” x 3 ½” scrap using Black Memento Ink Pad.  Color these images using Stampin’ Blends.  I used Rich Razzleberry, Old Olive and Daffodil Delight. Then die cut these images using the Cottage Flower Dies.
  6. Using Black Memento Ink Pad, stamp the sentiment and die cut using the smallest rectangle in the Deckled Rectangles Die Set.  
  7. Use Stampin’ Seal to adhere:
    1. the 5 ¼” h x 4” w Basic Black Layer to your folded Very Vanilla card base
    2. your stamped Very Vanilla background layer. 
    3. the “flag” layers toward the left side of your card lining up the top edge with the Very Vanilla background layer.
  8. Use Stampin’ Dimensionals to adhere:
    1. your flowers using Stampin’ Dimensionals, placing leaves to fill in where you like.
    2. the sentiment being careful not to use Dimensionals where the sentiment overlaps the flag layers. Instead use a little Multipurpose Glue in that area.
  9. Embellish with 3 Iridescent Rhinestone Basic Jewels.
  10. Stamp and decorate the inside and attach with Stampin’ Seal.
  11. Decorate your envelope.
  12. So pretty! Who will you send it to?

Shopping List

Recommended Stamper’s Toolkit

Product List
Order online from the convenience of your own home or send me your order and I’ll take care of you. ❤ Either way, please use the host code ZZTXP2EM. Order online AND, if your order is $50 or more using host code ZZTXP2EM between now and the end of the month you’ll receive a free pack of embellishment as a THANK YOU gift from me. ❤ If your order is over $150, skip the host code, earn Stampin’ Rewards for free stuff yourself and I’ll still send you a free pack of embellishment as a THANK YOU gift from me. ❤

Sending All the Hugs

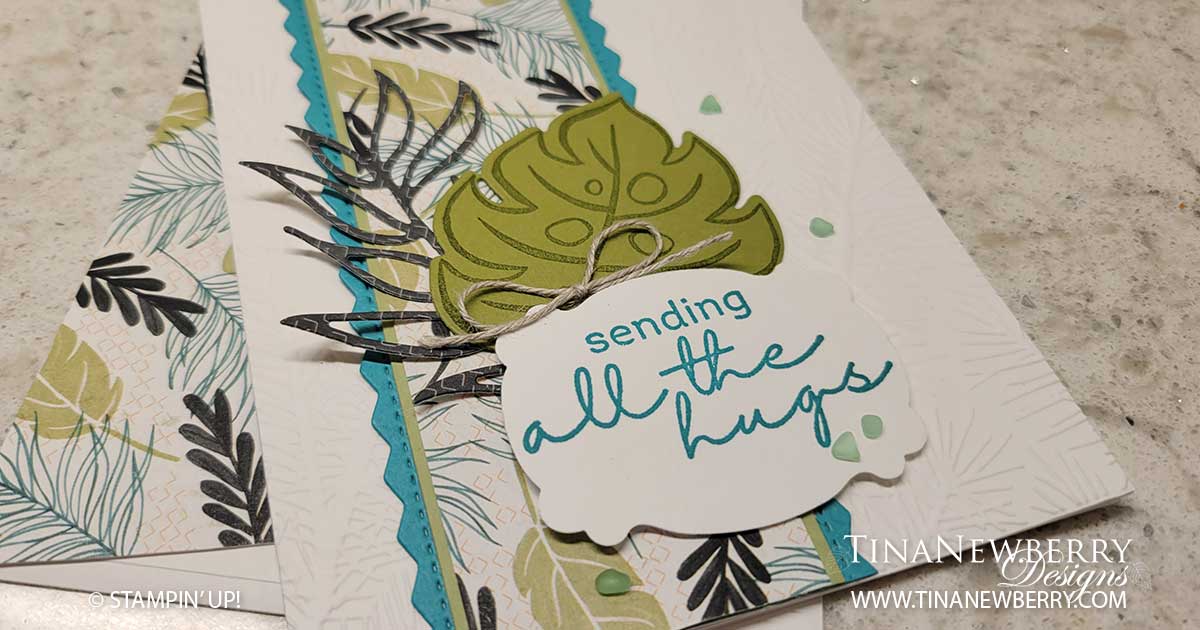
When I saw a card similar to this from Karen Henderson in the UK, I just HAD to make it. I love the way she used the Wintry 3D embossing folder to tie in the various leaf shapes. And well I do love me a white card base! The colors, patterns and textures just pop on this pretty card.

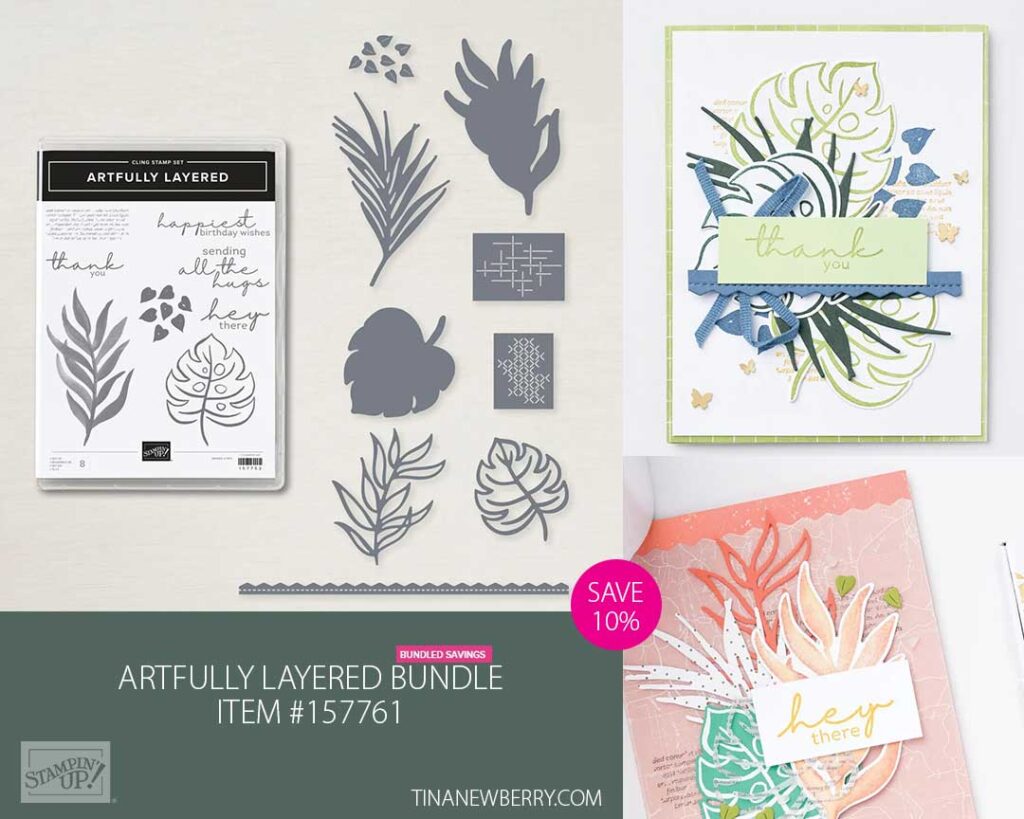
Artfully Layered – save 10% when you buy the stamp set and die bundle

Measurements

Full list of supplies needed, listed below. A die cutting machine is needed for this card.
Basic White Thick Cardstock 5 1/2″ h x 8 1/2″ w folded to 5 1/2″ h x 4 1/4″ w
Basic White Cardstock 5 1/4″ h x 4″ w
Follow the directions in the kit for stamping the Sentiment and making the arrangement

Let’s Create

  1. Affix all stamps to Acrylic Blocks.
  2. Fold the Card Base in half using a Bone Folder to sharpen the crease.
  3. Run the 5 ½” h x 4 ¼” w Basic White panel through the Stampin’ Cut & Emboss Machine with the Wintry 3D Embossing Folder embossing the outer edges. Then attach to Card Base with Stampin’ Seal.
  4. Run the Bermuda Bay panel through the Stampin’ Cut & Emboss Machine to die cut the edges. 
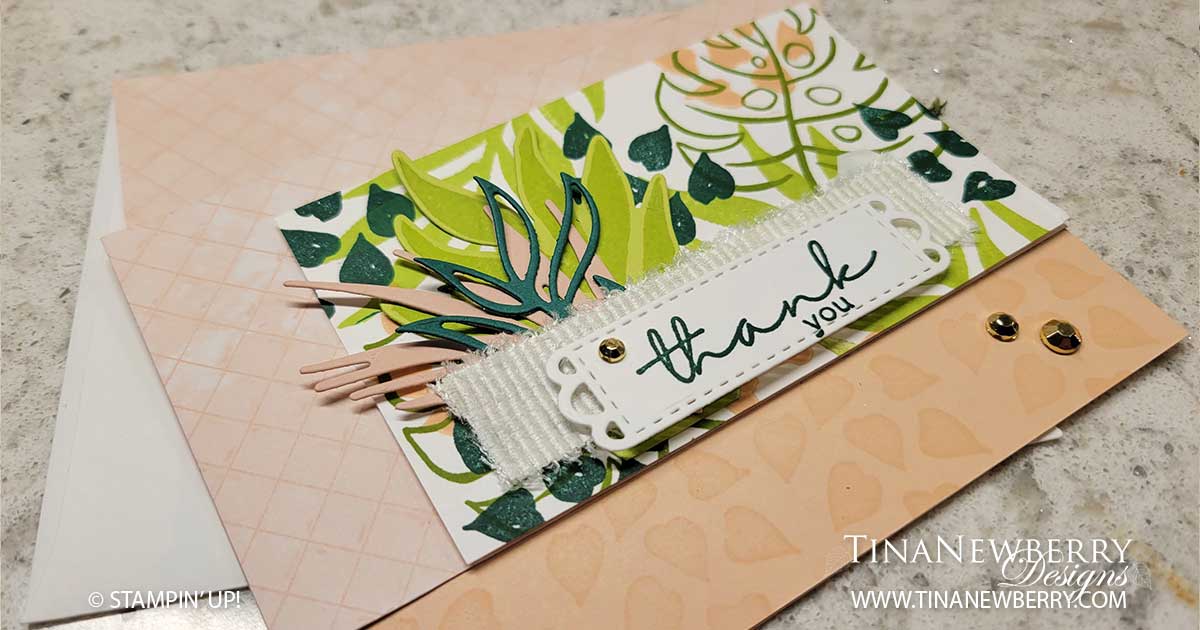
  5. Layer the Pear Pizzazz and Artfully Composed DSP onto the Bermadu Bay layer and adhere with Stampin’ Seal, then attach to the card with Stampin’ Seal.
  6. Stamp the broad leaf with Old Olive Ink and die cut.
  7. Die cut the leafy branch outline with Artfully Composed DSP.
  8. Attach both leaves to the front with Mini Glue Dots.
  9. Stamp the sentiment on Basic White Cardstock scap and punch out with the Lasting Label Punch.Attach with Stampin’ Dimensionals
  10. Tie a bow with Linen Thread and attach with a Mini Glue Dot.
  11. Sprinkle on the Faux Sea Glass Shapes
  12. Stamp and decorate the 4″ h x 5 1/4″ w Basic White inside and attach with Stampin’ Seal.
  13. Decorate your envelope.
  14. So pretty! Who needs some cheer today?

Shopping List

Recommended Stamper’s Toolkit

Product List
Order online from the convenience of your own home or send me your order and I’ll take care of you. ❤ Either way, please use the host code ZZTXP2EM. Order online AND, if your order is $50 or more using host code ZZTXP2EM between now and the end of the month you’ll receive a free pack of embellishment as a THANK YOU gift from me. ❤ If your order is over $150, skip the host code, earn Stampin’ Rewards for free stuff yourself and I’ll still send you a free pack of embellishment as a THANK YOU gift from me. ❤