Jingle All the Way

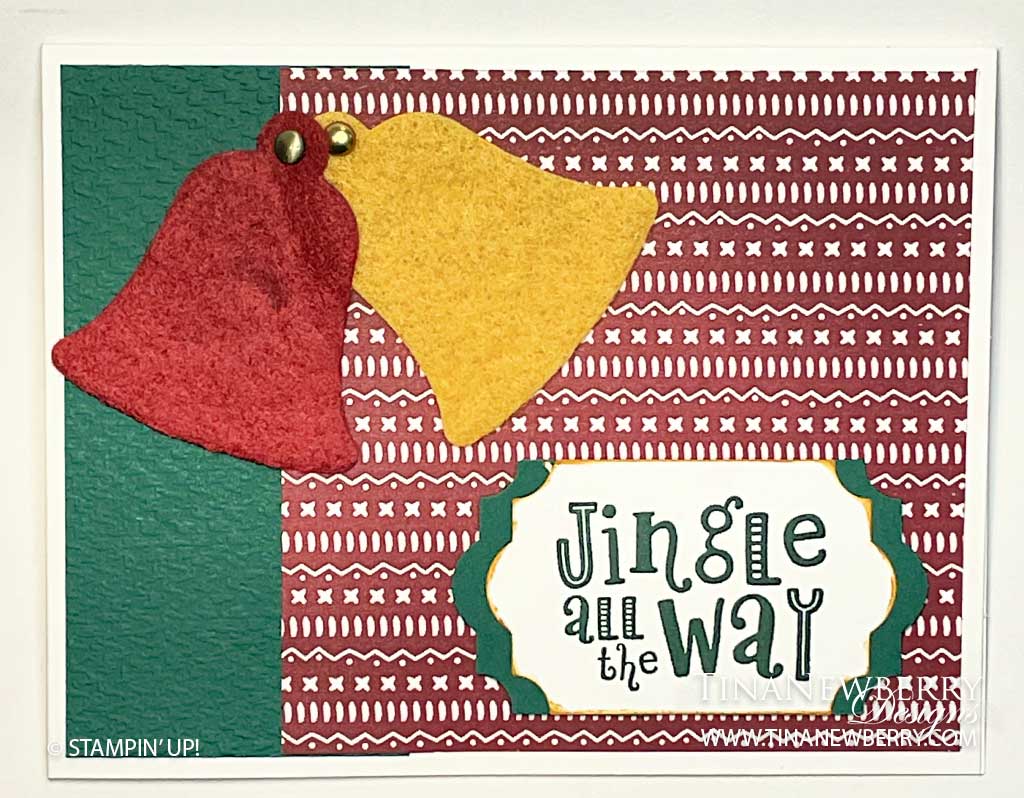
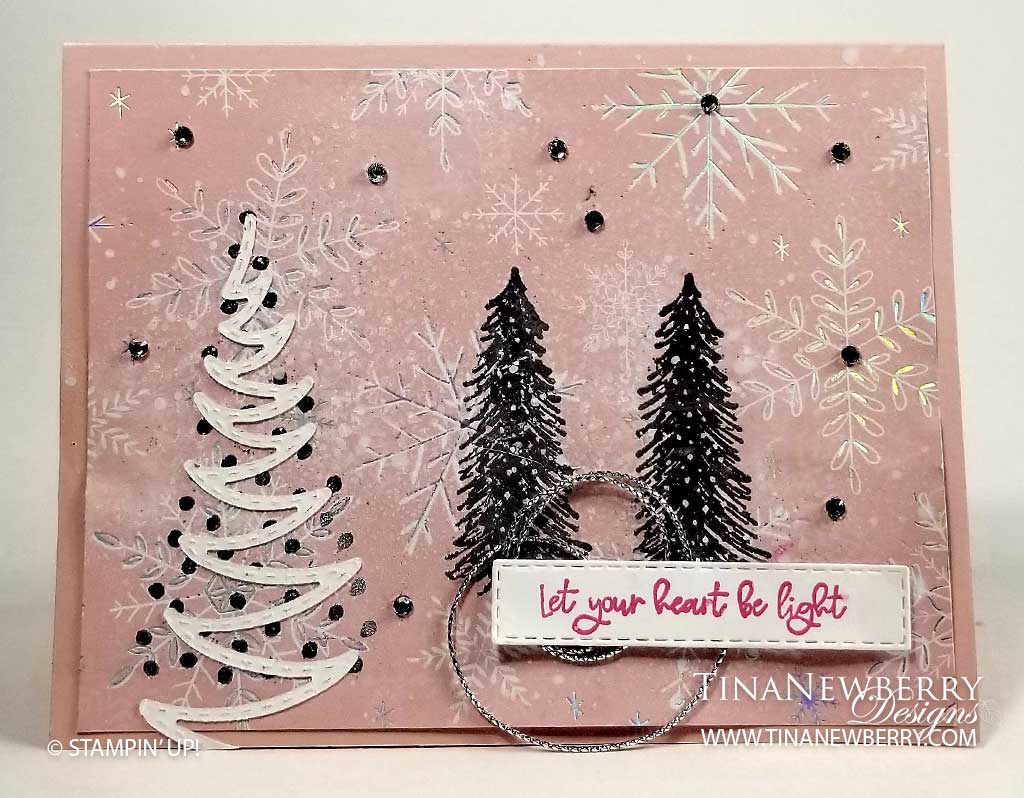
Yes those ARE felt bells! So fun and perfect for the Jingle All the Way sentiment in traditional Christmas colors. Make this #simplestamping card in just a few minutes.

Measurements

Full list of supplies needed, listed below. A die cutting machine is needed for this project.

Card Base: Thick Basic White Cardstock 4 ¼” h  x  11” w,  folded to 4 1/4″ h x 5 1/2″ w
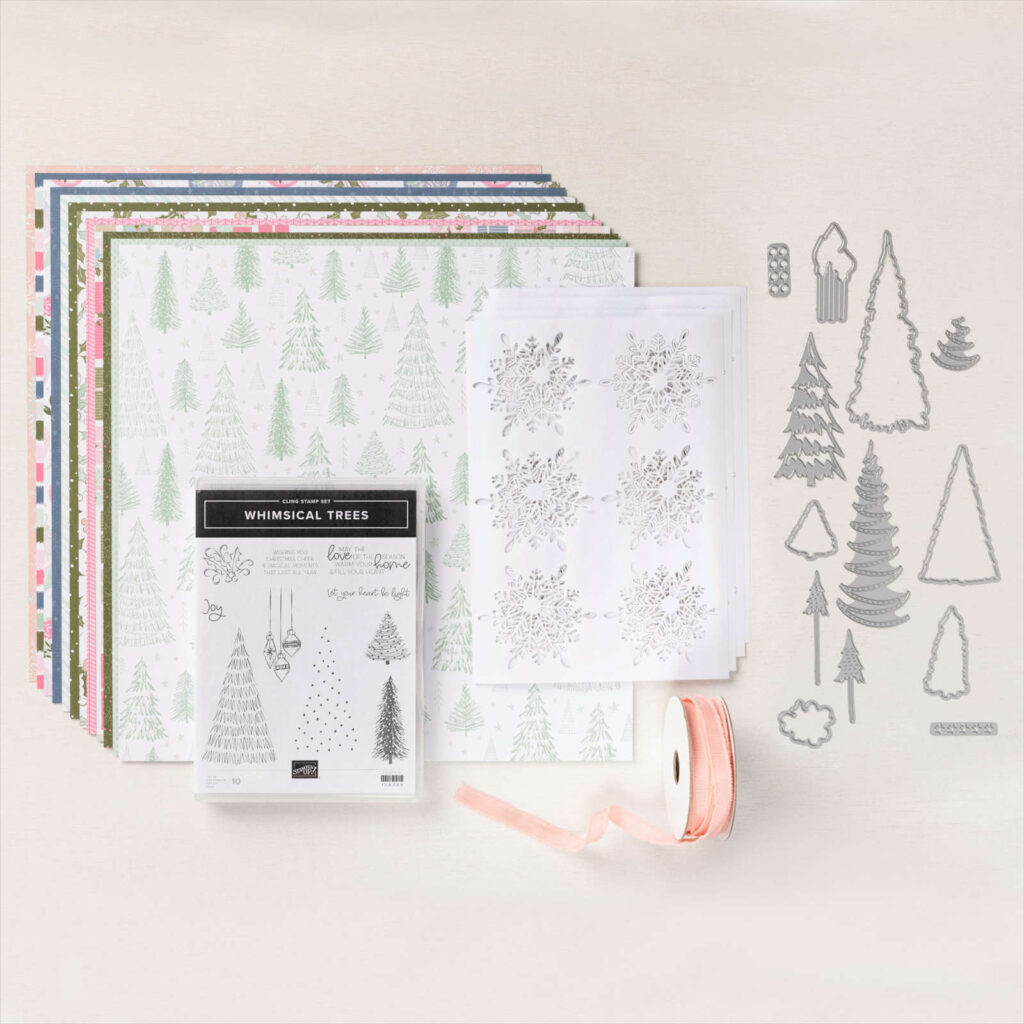
Background:  Sweet Stocking DSP  4″ h x 4 ¼” w and  4” h x 1 ¼” w
Sentiment Layer: Basic White Cardstock scrap
Sentiment background label: Shaded Spruce scrap
Inside Layer: Basic White Cardstock 4″ h x 5 1/3″ w

Let’s Create

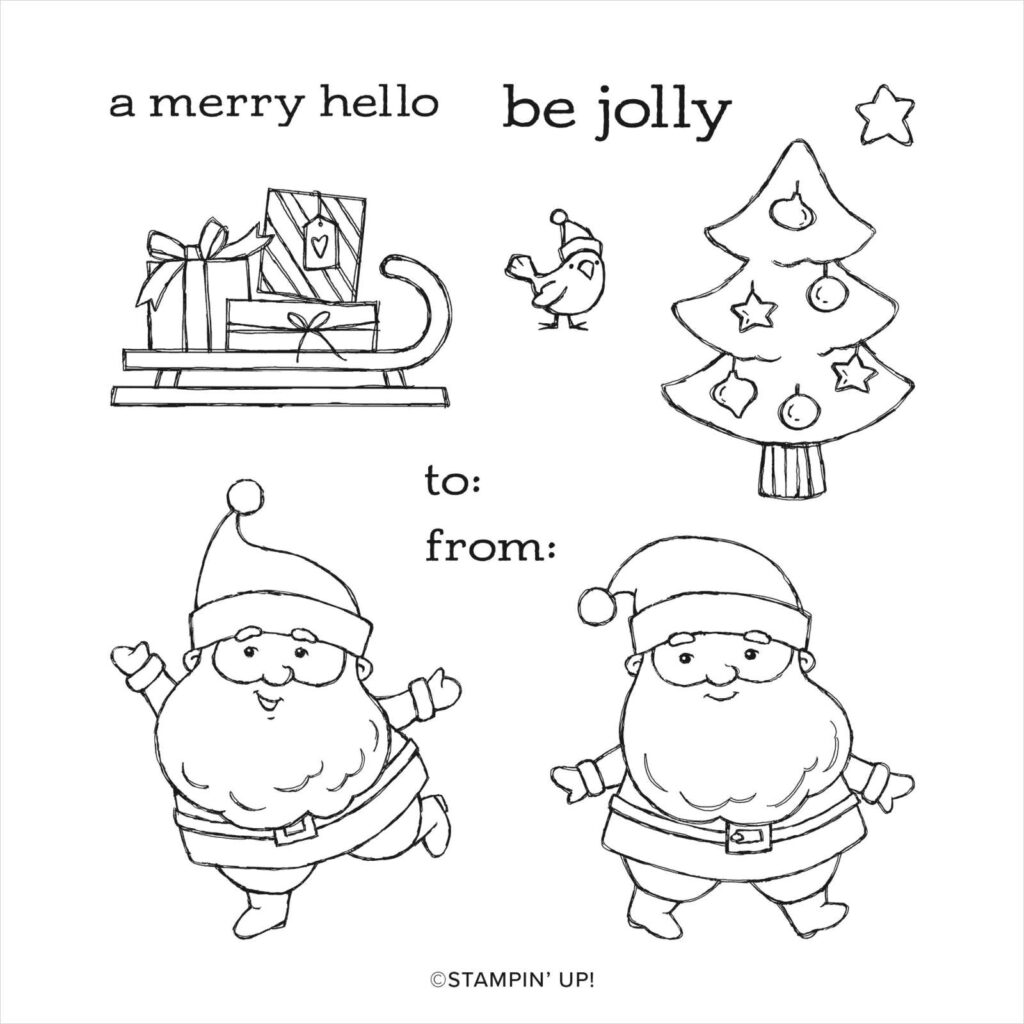
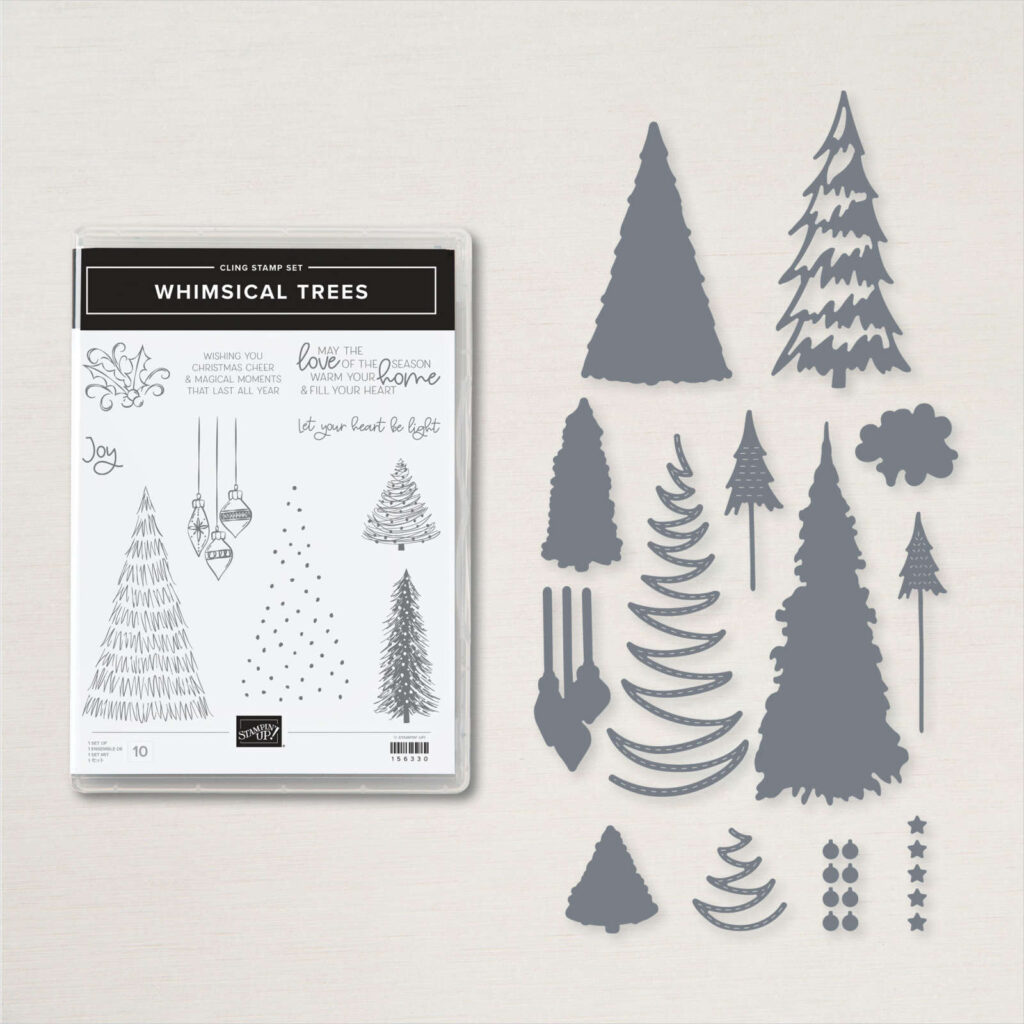
  1. Affix all stamps to acrylic blocks.
  2. Fold the Card Base and crease the fold with a Bone Folder
  3. Emboss the Shaded Spruce layer with the Tasteful Textiles embossing folder.
  4. Adhere the Sweet Stockings DSP and embossed Shaded Spruce layers onto the card front.
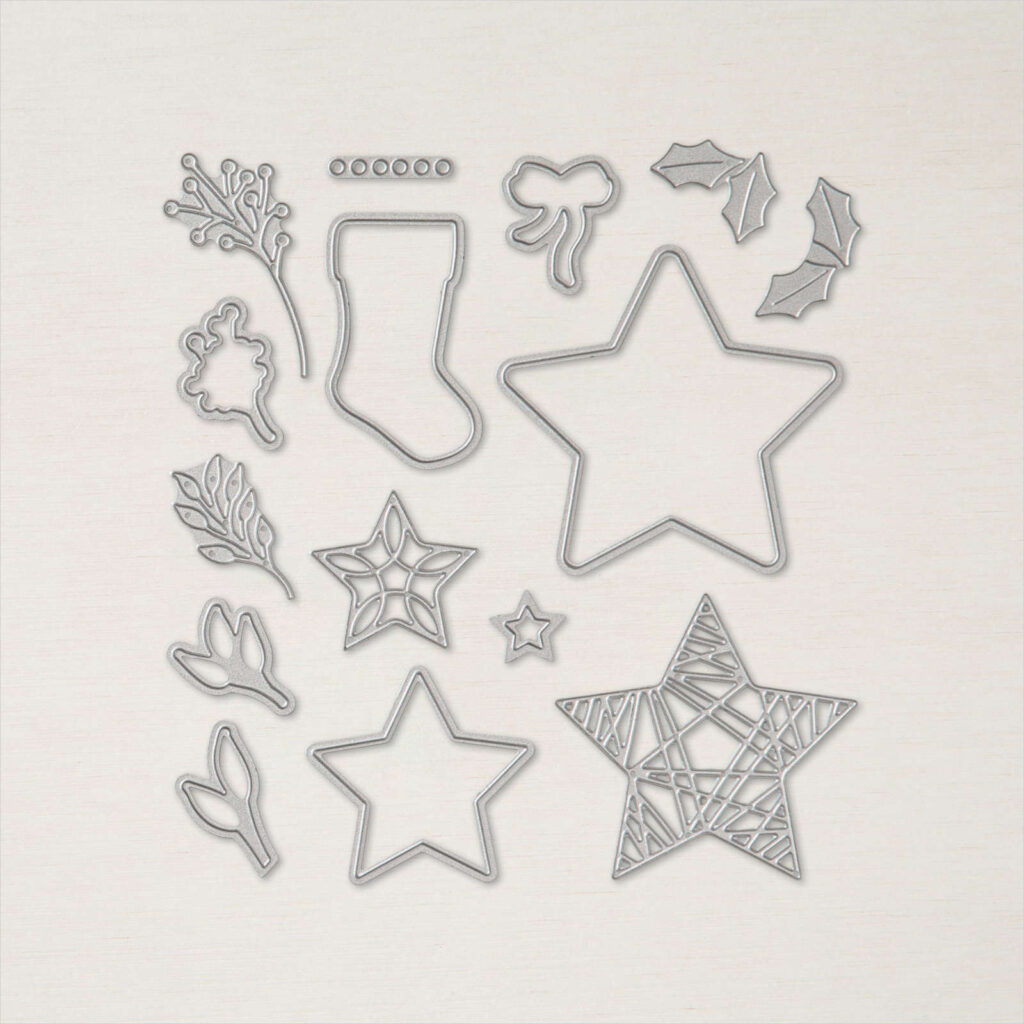
  5. Die cut two felt bells: one Crushed Curry and one Cherry Cobbler.
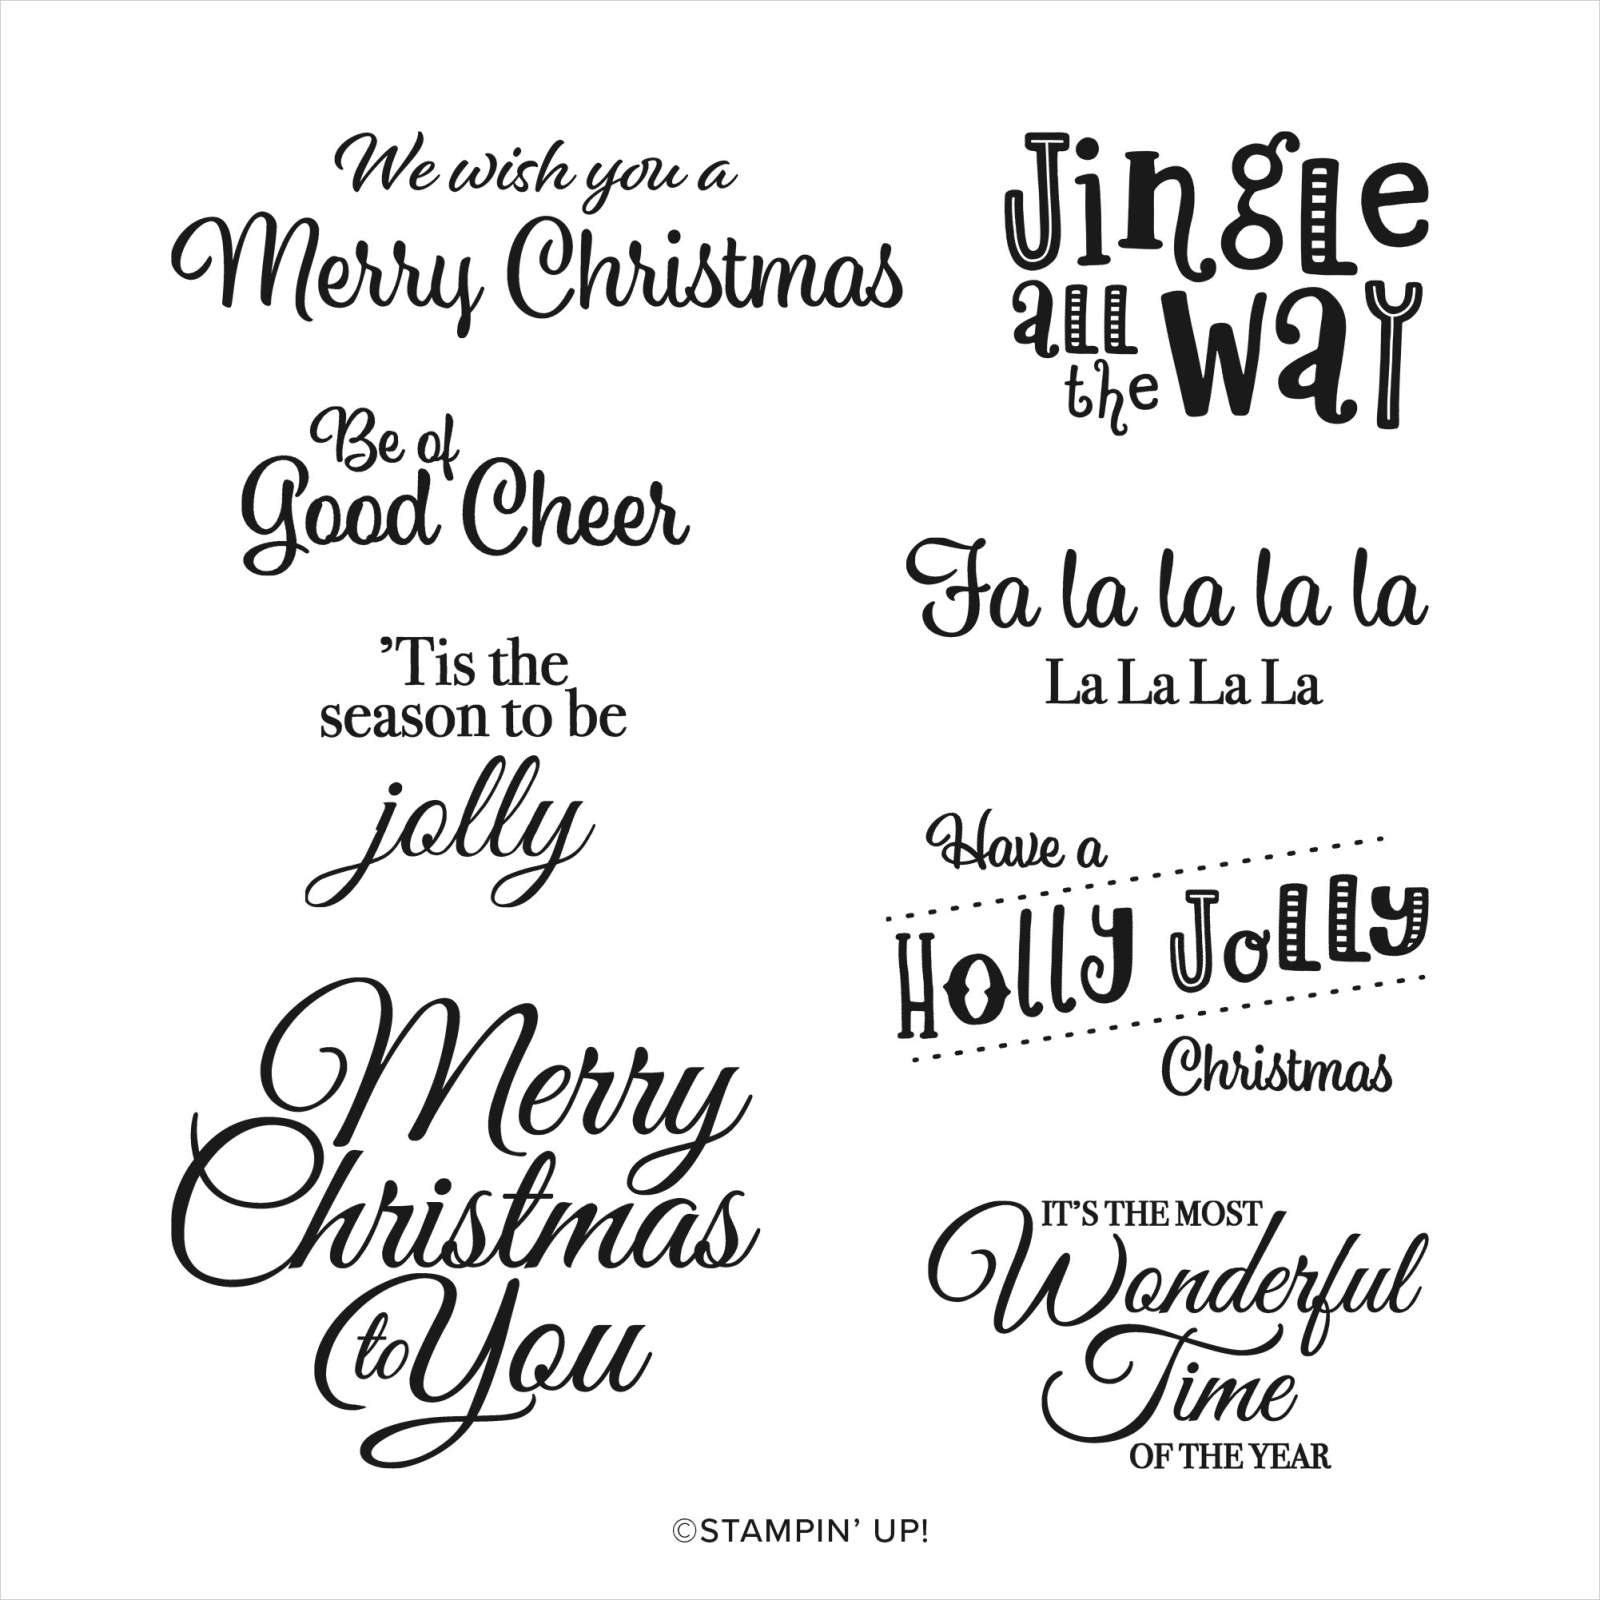
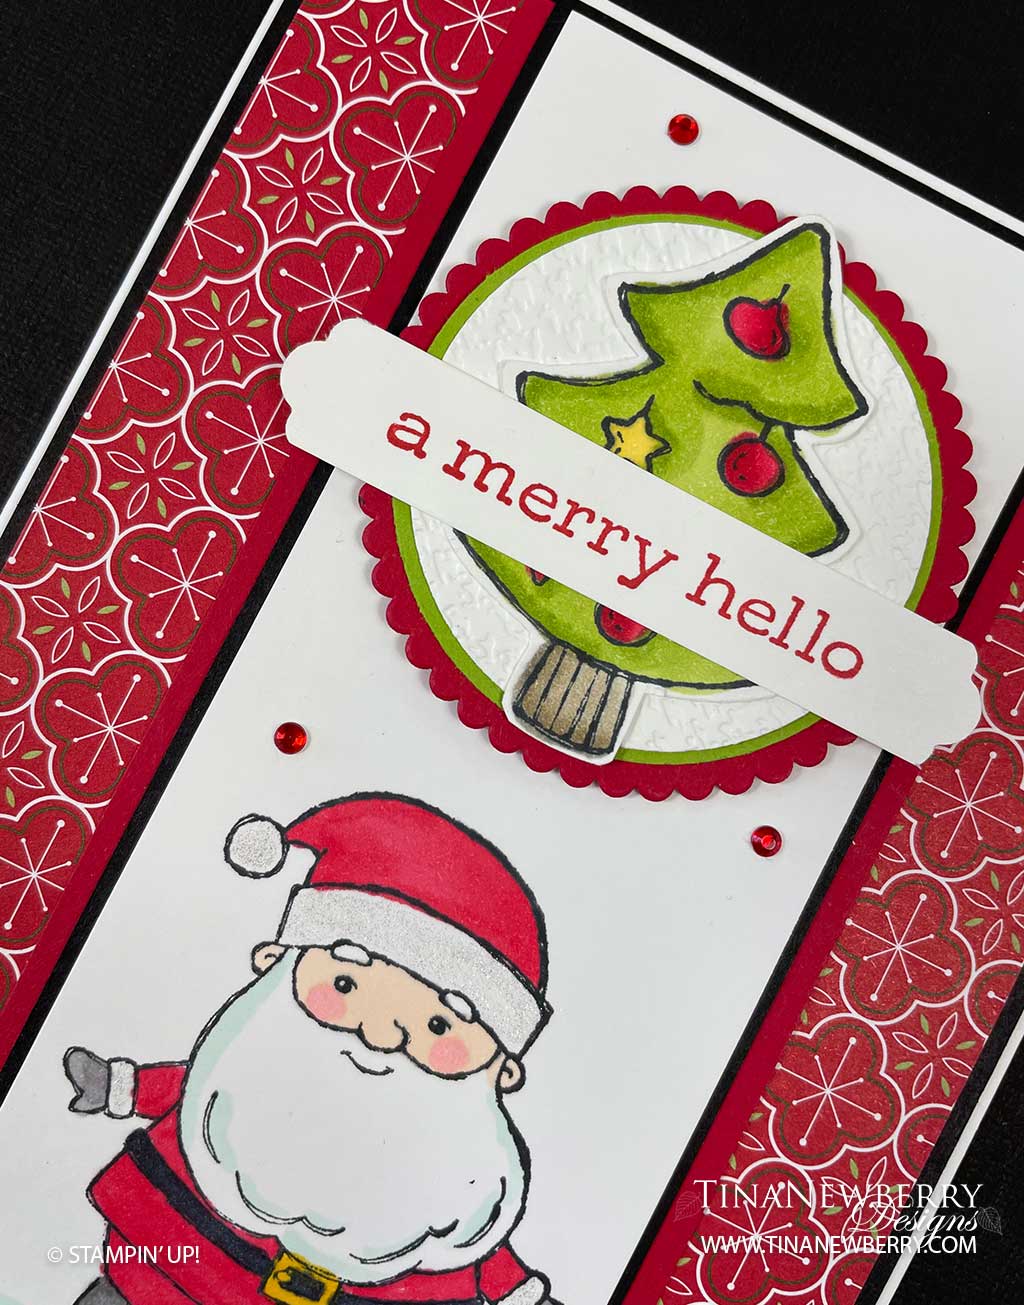
  6. Use the Shaded Spruce Stampin’ Pad to stamp the sentiment onto the Basic White card stock scrap.
  7. Punch around the stamped sentiment with the Everyday Label Punch.
  8. Use a sponge dauber tapped into Crushed Curry Stampin’ Pad and apply ink to the edges of the Basic White sentiment label.
  9. Punch a blank label from the Shaded Spruce scrap with the Everyday Label Punch.
  10. Cut the Shaded Spruce label in half from straight edge to straight edge. Adhere these pieces onto the back of the sentiment label so that they frame behind the right and left edges of the Basic White sentiment label.
  11. Adhere the felt bells onto the card front.
  12. Adhere the layered labels onto the card front with Dimensionals.
  13. Embellish the bells with Brushed Metallic Adhesive Backed Dots.
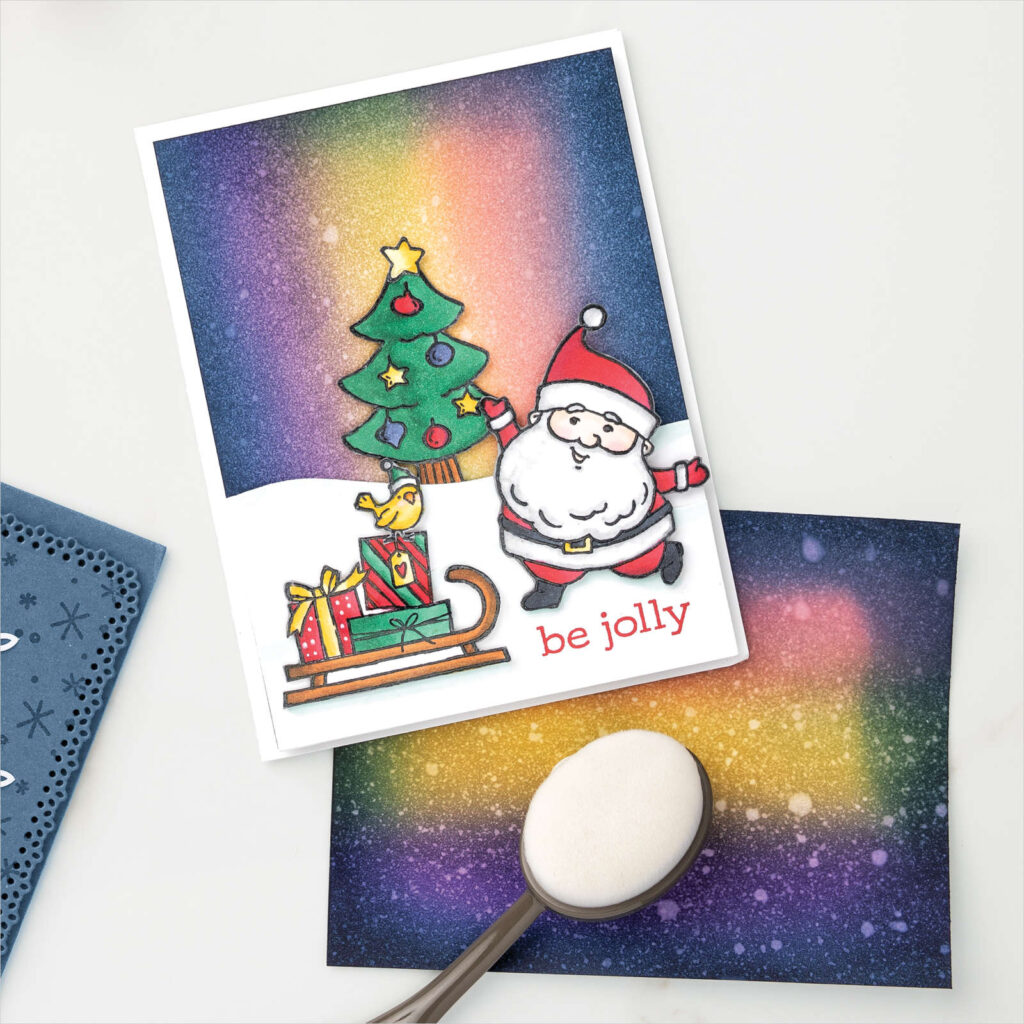
  14. Stamp and Decorate the inside layer, then attach with Stampin’ Seal.
  15. Decorate your envelope as you prefer.
  16. Who will you send it to?

Shopping List

Stamper’s Toolkit

You will also need adhesive, acrylic blocks, scissors and other basic PaperCrafting items from the Stamper’s Toolkit

A Merry Hello

This adorable Santa with his cute little bird, festive tree and sleigh full of presents in the Be Jolly Stamp Set, is sure to get you in the Christmas spirit. This set is made for coloring! Change up the color and no two cards will be the same, but be sure to add this to your collection soon, because it’s available while supplies last.

Measurements

Full list of supplies needed, listed below. A die cutting machine is needed for this card.

Basic White:

  • 5 ½” h x 8 ½” w, scored at 4 ¼” Card Base
  • 5 ¼”h x 2 ¼” w for stamped layer
  • 2 ¼” x 2 ¼” for die cutting circle
  • 2 ½” h x 2” w for stamping and fussy cutting Christmas Tree
  • ½” h x 3” w for sentiment
  • 5 ¼” h x 4″ w for inside

Basic Black:

  • 5 ⅜” h x 4 ⅛” w Background
  • 5 ¼” h x 2 ⅜” w

DSP Heartwarming Hugs: 5 ¼” h x 4″ w

Real Red:

  • 5 ¼” h x 2 ⅝” w
  • 2 ½” x 2 ½” small square for die cutting scalloped circle

Granny Apple Green: 2” Circle Punch

Let’s Create

  1. Affix all stamps to Acrylic Blocks.
  2. Fold the Card Base in half using a Bone Folder to sharpen the crease.
  3. Using the scallop circle measuring 2 ¼” from the Layering Circles Dies cut a Real Red scallop circle.
  4. Using the circle die measuring 1 ⅞” from the Layering Circles Dies, cut a Basic White Circle. Then using the Tasteful Textile 3D embossing folder, emboss the circle.
  5. Using a 2″ circle punch, punch out a Granny Apple Green Circle.
  6. Stamp the Christmas Tree using Tuxedo Black Memento Ink onto a Basic White scrap. Using the Stampin’ Blends, color the tree and then use Paper Snips to fussy cut.
  7. Stamp the Sentiment in Real Red ink on the ½” h x 3” w Basic White piece and trim the ends with the lovely Labels Pick a Punch
  8. Use Stampin’ Seal to layer the circles with the Real Red scallop on the bottom, then the Granny Apple Green, then the textured Basic White. Attach the fussy cut Christmas Tree center on the Basic White circle with Stampin’ Seal.  Then attach the sentiment across the front of the tree with Stampin’ Seal. 
  9. Using Black Memento Ink, stamp the Santa at the bottom of the Basic White 5 ¼” x 2 ¼” layer and color using Stampin’ Blends. Use a little Wink of Stella on his hat and cuffs. 
  10. Assemble your card using Stampin’ Seal: Adhere the stamped Santa layer to the Basic Black matte, then the Real Red Matte. Attach these layers to the DSP, centering side to side, the tops and bottoms will be even. Attach the DSP to the Black card background, then to the folded card.
  11. Using Stampin’ Dimensionals, adhere the scallop circle layers towards the top of the card.
  12. Sprinkle with a few Red Rhinestones.
  13. Stamp and decorate the inside and attach with Stampin’ Seal.
  14. Decorate your envelope.
  15. Adorbs! Send off to someone to with them a Merry Hello!

Shopping List

Stamper’s Toolkit

You will also need adhesive, acrylic blocks, scissors and other basic PaperCrafting items from the Stamper’s Toolkit

Cheers!

Paper Gingerbread Cookies!! Oh what fun! Kraft paper makes it easy. A fun piece of Designer Series Paper brings it all together on this quick and easy card.

Measurements

Full list of supplies needed, listed below. A die cutting machine is needed for this card.

Real Red Cardstock: 4 ¼” h x 11”  w scored and folded on the long side at 5 ½”

Heartwarming Hugs DSP: 3 ½” h x 5 ½” w

Basic White Cardstock:

  • ¼” h x 5 ½” w (2)
  • 1 ½” h x 2 ½” w scrap
  • 3” x 3” scrap
  • 2” x 2” scrap (2)

Kraft Paper: 

  • 3” x 3” scrap
  • 2” x 2” scrap (2)

Let’s Create

  • Affix all stamps to Acrylic Blocks.
  • Use a Bone Folder to sharpen the crease on the Card Base.
  • Use Stampin’ Seal to attach the Heartwarming Hugs DSP layer and the two ¼” x 5 ½” strips.
  • Attach Adhesive Sheets to the back of the Basic White 3” x 3” scrap and two 2” x 2” scraps.
  • Die cut:
  • One large and two small stars from Kraft Paper
  • One large and two small detailed stars from Basic White Cardstock scraps with Adhesive Sheets on the back.
  • Remove the adhesive backing and attach the Basic White detailed stars to the Kraft stars.
  • Use Stampin’ Seal to attach the two small stars and Stampin’ Dimensionals to attach the one large star.
  • Stamp the Sentiment in Real Red ink on 1 ½” h x 2 ½” w Basic White scrap then punch with the Label Me Fancy punch.
  • Use Stampin DImensionals to attach the Sentiment.
  • Cut 9” of the red Pampered Pets Trim and the Crinkle Seam Binding. Holding both pieces together, tie a bow.
  • Attach the bow with a Mini Flue Dot
  • Sprinkle on some Red Rhinestones
  • Stamp Inside Layer and attach.
  • Decorate your Envelope.
  • Love it! Who will you send it to?!

Shopping List

Stamper’s Toolkit

You will also need adhesive, acrylic blocks, scissors and other basic PaperCrafting items from the Stamper’s Toolkit

Let Your Heart Be Light

Pink for Christmas! Such a refreshing take on the season and so pretty in the The Whimsy & Wonder Suite. For this card, I embossed in silver right on the Pink Snowflake Designer Series Paper and then I used White Craft Ink and a Water Painter to ‘flick’ some snow flurries on the background. Some Snowy White Velvet Garland, Basic Rhinestones and a bit of Silver Trim complete this fun card.

Measurements

Full list of supplies needed, listed below. A die cutting machine is needed for this card.
Card Base: Blushing Bride Cardstock 8 1/2″ h x 5 1/2″ w scored and folded to 4 1/4″ h x 5 1/2″ w
Background: Whimsy & Wonder Designer Specialty Series Paper 4″ h x 5 1/4″ w
Sentiment Layer: Basic White Cardstock scrap
Garland: Snowy White Velvet Sheets scrap
Inside Layer (optional): Basic White Cardstock 4″ h x 5 1/4″ w

Let’s Create

  1. Affix all stamps to Acrylic Blocks.
  2. Stamp three trees – one large dots and two small- on the Background with Versamark Ink, sprinkle with Silver Embossing Powder and Heat Emboss.
  3. Attach Adhesive Sheets to the back of the Snowy White Velvet Sheet scrap and die cut the Garland Die.
  4. Remove the backing on the Garland and attach to the largest tree.
  5. Stamp the Sentiment in Polished Pink ink on Basic White Cardstock scrap.
  6. Die cut the Sentiment with the Stitched Rectangle Die
  7. Use a Mini Glue dot to attach the Silver Trim to the back of the Sentiment and then attach Sentiment with Stampin’ Dimensionals.
  8. Sprinkle on Basic Rhinestones.
  9. Stamp Inside Layer and attach.
  10. Decorate your Envelope.
  11. Pretty!!Put it in the mail!

Shopping List

Stamper’s Toolkit

You will also need adhesive, acrylic blocks, scissors and other basic PaperCrafting items from the Stamper’s Toolkit