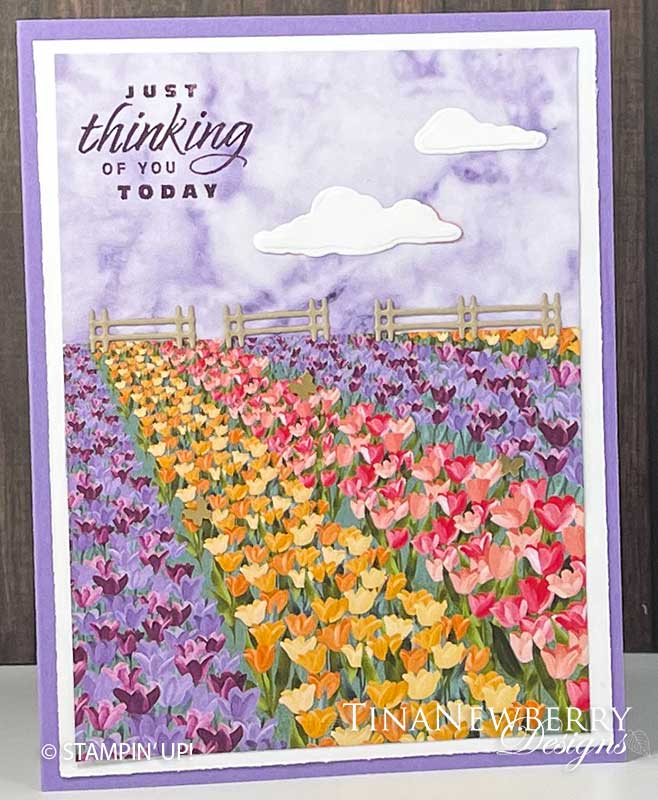
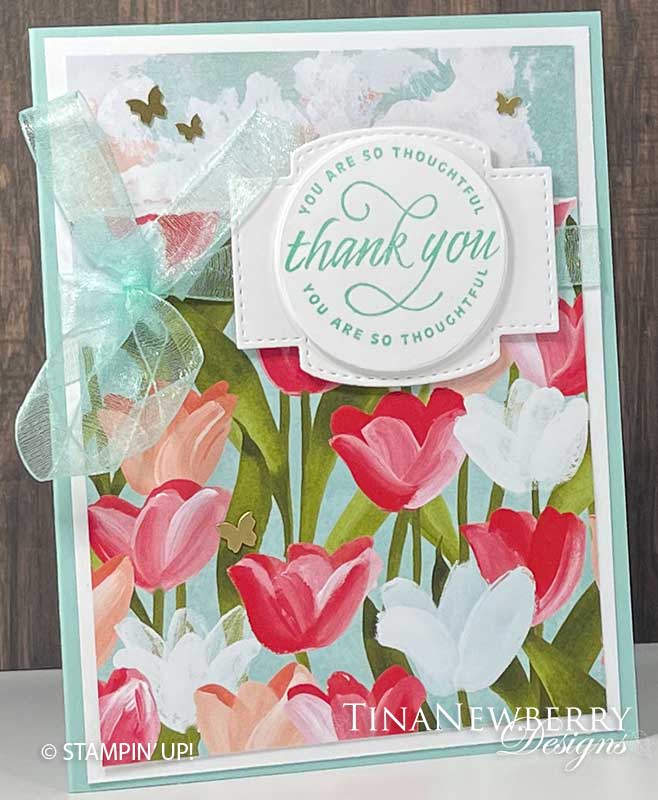
Create a pretty vibrant Thinking of You greeting card in a jiffy using the Simply Marbelous Free Sale-a-bration paper and the Flowering Fields Designer Series Paper.
Measurements
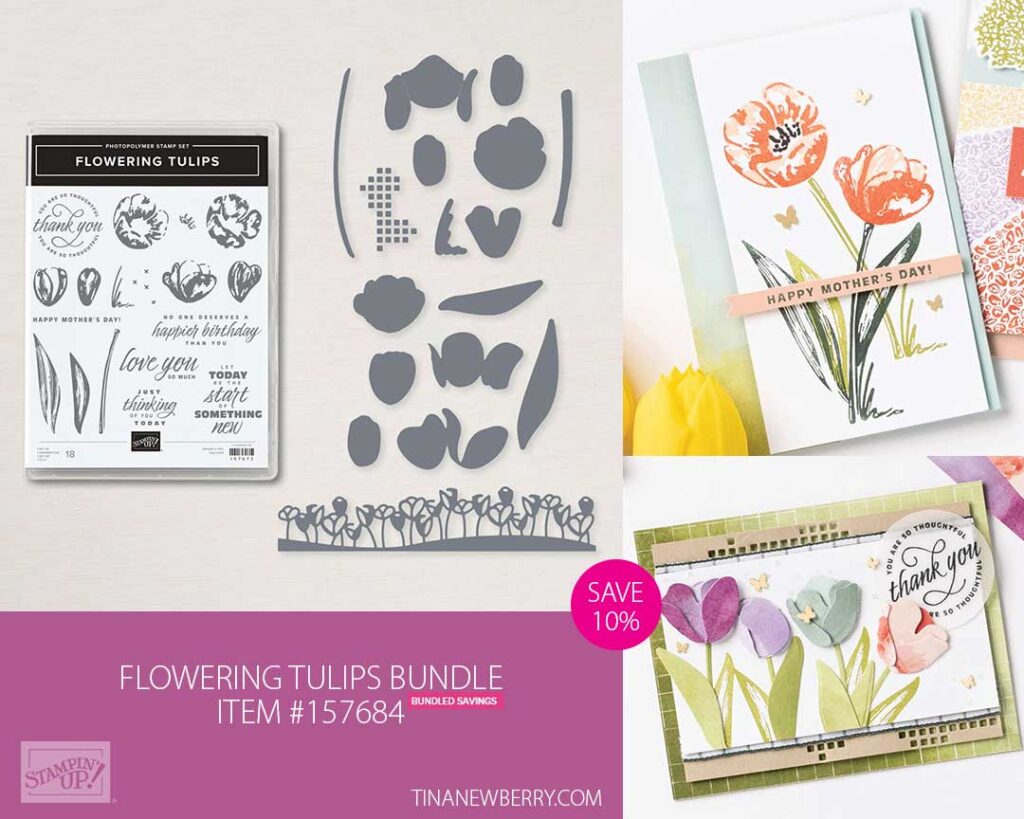
Full list of supplies needed, listed below. A die cutting machine is needed for this card.
Highland Heather Cardstock: 8 ½” x 5 ½”, Score at 4 ¼” for Card Base
Basic White:
- 4” x 5 ¼” for Inside Layer
- 4” x 5 ¼”
- Scrap for cloud die-cuts from Windmill Fields dies
Flowering Fields Designer Series Paper: 3 ¾” x 3” field
Simply Marbelous Sale-a-bration Designer Series Paper: 3 ¾” x 2” sky
Crumb Cake Cardstock: scraps – fence die-cuts from Windmill Fields dies
Let’s Create
- Affix all stamps to Acrylic Blocks.
- Fold the Card Base in half using a Bone Folder to sharpen the crease
- Die-cut fences from Crumb Cake scraps from Windmill Fields dies
- Die-cut clouds from Basic White scraps from Windmill Fields dies
- Assemble card by adhering Basic White layer and the Flowering Fields and Simply Marbelous DSP layers with Stampin’ Seal.
- Stamp sentiment in upper left corner of Simply Marbelous DSP in Blackberry Bliss.
- Adhere fences with small dots of Multipurpose liquid glue.
- Adhere clouds with Multipurpose liquid glue.
- Sprinkle on the Brass Butterflies..
- Stamp and decorate the inside and attach with Stampin’ Seal.
- Decorate your envelope.
- It’s Lovely! Now send it to someone special.
Shopping List
")


 Designer Series Paper")
 Designer Series Paper")

$10.00

$33.00
Recommended Stamper’s Toolkit ❤

$12.00

$7.00

$4.25

$5.75

$5.50

$11.00

$26.00

$7.00

$6.50

$11.00

$20.00

$11.00

$80.75

$128.00


$16.00

$13.00


 Sheer Ribbon")


")
 Specialty Designer Series Paper")


")


 Designer Series Paper")
 Specialty Paper")


 Host Designer Series Paper")

 Crinkled Seam Binding Ribbon")
