Carousel Happy Birthday

When I saw the Carousel Horses bundle, I knew I had to make some cards for Mum. She loves carousel horses so much she even once wrote a paper on their history. She has an antique real wooden carousel in their house. Did you know the wooden carved carousel horses were built with removeable ears? Yup. The ears were prone to breaking when transported, so they built them to be removed. Neato.
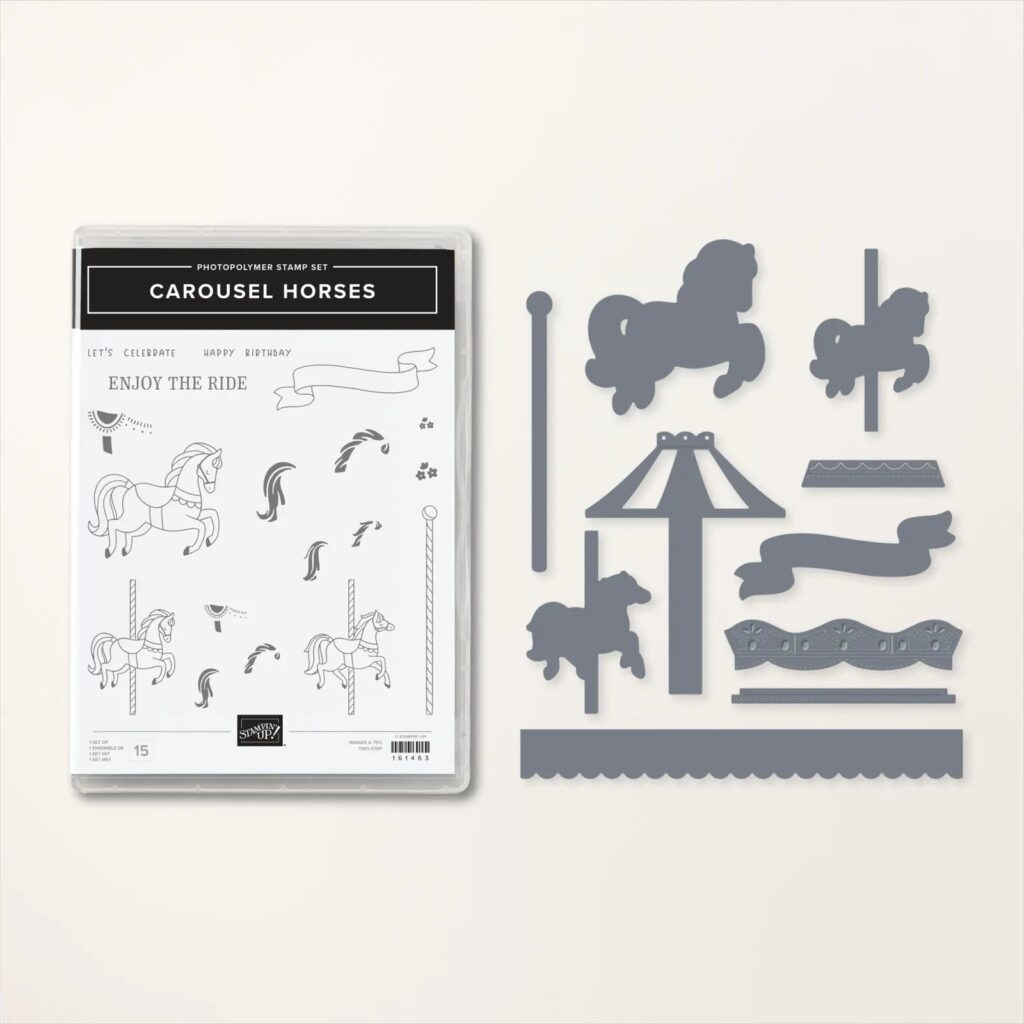
The Carousel Horses Bundle comes with Two-Step Stampin’ pieces, which means you can customize your carousel and horses however you want by mixing and matching manes, flowers, and saddles. The dies will cut out each of these pieces perfectly so you can add layers and depth to your crafts. It includes greetings for birthdays and celebratory sentiments for all your friends and family. This magical set is perfect for coloring and paper piecing techniques on projects for all your horse-loving friends!

Measurements

Full list of supplies needed, listed below. A die cutting machine is needed for this card.

Basic White Thick Cardstock: 

  • 5 1/2″ h x 8 1/2″ w folded to 5 1/2″ h x 4 1/4″ w
  • Scrap for carousel horse

Basic White Cardstock: 

  • 5 1/4″ h x 4″ w (2)
  • Scrap for sentiment banner

More Dazzle Specialty: scrap for stand


Let’s Create

  1. Affix all stamps to Acrylic Blocks.
  2. Fold the Card Base in half using a Bone Folder to sharpen the crease.
  3. Using a Blending Brush, lay down a bit of Bubble Bath ink in the center of one of the the  5 ¼” w x 4” h Basic White panels then run through the Stampin’ Cut & Emboss machine with the Merry Melody Embossing Folder.
  4. Stamp the large Carousel Horse in Crumb Cake ink on Basic White Thick Cardstock scap. Use Ivory, Balmy Blue, Melon Mambo, and Flirty Flamingo Stampin’ Blends to color the Carousel Horse. Die Cut.
  5. Die cut the Pole and Stand in the More Dazzle Specialty Paper. 
  6. Assemble the Pole, Stand, and Carousel Horse and attach with Stampin’ Dimensionals.
  7. Stamp the sentiment in Melon Mambo ink on scrap Basic White and then die cut with the banner die. 
  8. Attach the sentiment with Stampin’ Dimensionals and Stampin’ Seal.
  9. Double over and tie a knot into the top of a 8” piece of Azure Afternoon and attach to the top of the pole with a Mini Glue Dot.
  10. Sprinkle on some Opaque Ovals
  11. Stamp and decorate the remaining 5 ¼” w x 4” h for inside
  12.  Decorate your envelope.
  13. How fun! Send it today.

Shopping List

Recommended Stamper’s Toolkit

Product List
Order online from the convenience of your own home or send me your order and I’ll take care of you. ❤ Either way, please use the host code ANTD9UHS. Order online AND, if your order is $50 or more using host code ANTD9UHS between now and the end of the month you’ll receive a free pack of embellishment as a THANK YOU gift from me. ❤ If your order is over $150, skip the host code, earn Stampin’ Rewards for free stuff yourself and I’ll still send you a free pack of embellishment as a THANK YOU gift from me. ❤

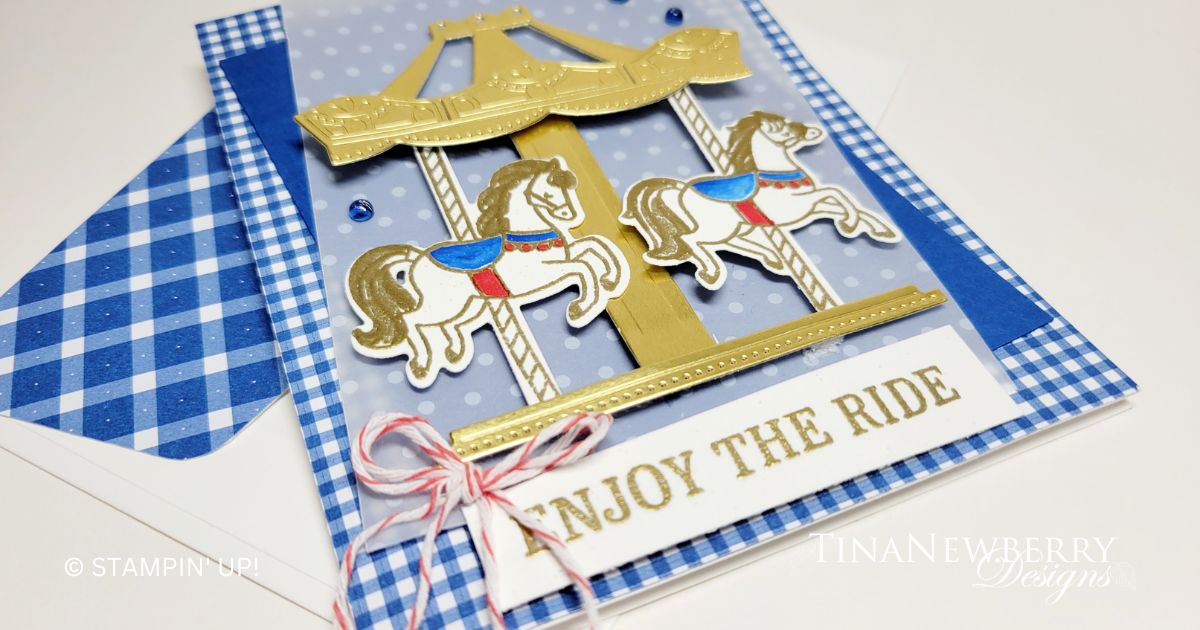
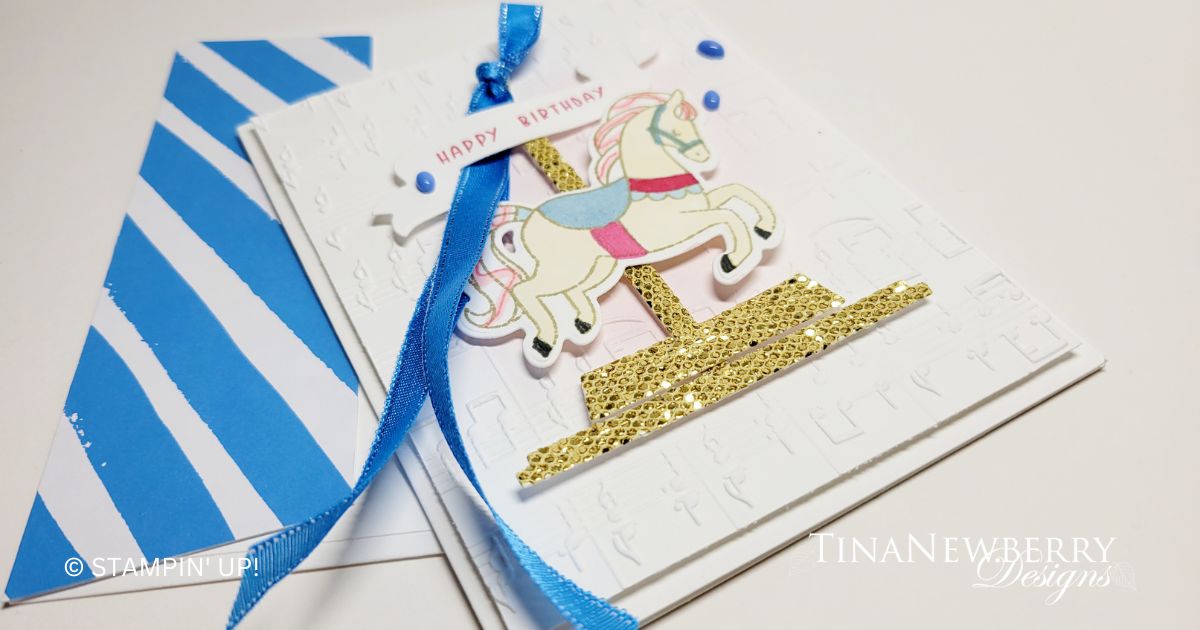
Enjoy the Ride Carousel Horse Greeting Card

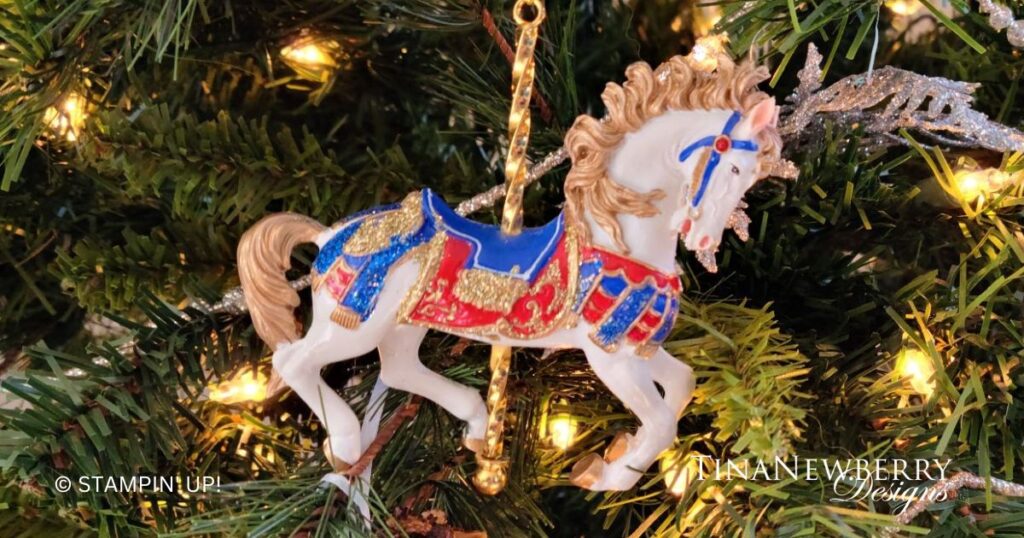
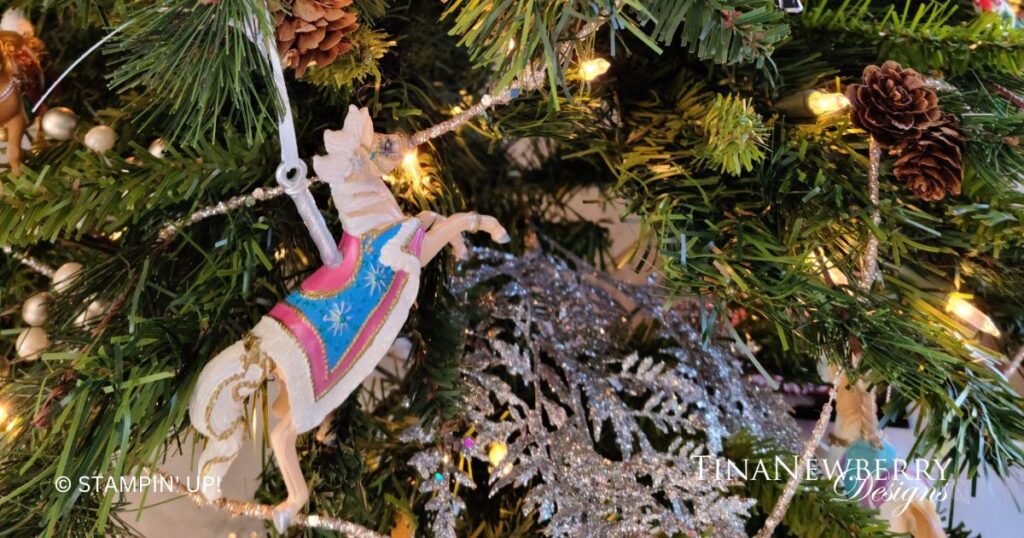
Some of the most beautiful carousels are shiny with gold. I was inspired to recreate the look and mimicked these ornaments from Mum’s tree.

The Carousel Horses Bundle comes with Two-Step Stampin’ pieces, which means you can customize your carousel and horses however you want by mixing and matching manes, flowers, and saddles. The dies will cut out each of these pieces perfectly so you can add layers and depth to your crafts. It includes greetings for birthdays and celebratory sentiments for all your friends and family. This magical set is perfect for coloring and paper piecing techniques on projects for all your horse-loving friends!

Measurements

Full list of supplies needed, listed below. A die cutting machine is needed for this card.

Basic White Thick Cardstock: 5 ½” h x 8 ½” w scored and folded at 4 ¼” w

Basic White Cardstock:

  • 5 ½” h x 4 ¼” w
  • Scrap for Carousel Horses and sentiment

Blueberry Cardstock:4 ¾” h x 3 ½” w

Vellum Basics: 4 ¾” h x 3 ½” w

Glorious Gingham Designer Series Paper (DSP): 5 ½” h x 4 ¼” w

Gold Foil Sheets: scrap for Carousel

Let’s Create

  1. Affix all stamps to Acrylic Blocks.
  2. Fold the Card Base in half using a Bone Folder to sharpen the crease.
  3. Attach the Glorious Gingham to the Card Base with Stampin’ Seal.
  4. Offset the Blueberry Bushel Cardstock and Vellum Basics panels. Attach with Stampin’ Seal. Adhesive shows behind vellum, so be careful to position the adhesive behind the Carousel and Carousel Horses.
  5. Die cut the Carousel in Gold Foil. 
  6. Stamp the Carousel Horses on scrap Basic White Cardstock in Versamark and heat emboss in gold. Color with Blueberry Bushel and Real Red Stampin’ Blends.
  7. Stamp the Sentiment on scrap Basic White Cardstock in Versamark and heat emboss in gold. Trim to size.
  8. Assemble the Carousel and Horses. Attach with Stampin’ Dimensionals.
  9. Attach the sentiment with Stampin’ Dimensionals
  10. Tie a double bow from the Sweet Sorbet Baker’s Twine and attach with a Mini Glue Dot.
  11. Sprinkle on Tinsel Gems Four Pack
  12. Stamp and decorate the remaining 5 ¼” w x 4” h for inside
  13. Decorate your envelope.
  14. Cute! Who will you send it to?

Shopping List

Recommended Stamper’s Toolkit

Product List
Order online from the convenience of your own home or send me your order and I’ll take care of you. ❤ Either way, please use the host code ANTD9UHS. Order online AND, if your order is $50 or more using host code ANTD9UHS between now and the end of the month you’ll receive a free pack of embellishment as a THANK YOU gift from me. ❤ If your order is over $150, skip the host code, earn Stampin’ Rewards for free stuff yourself and I’ll still send you a free pack of embellishment as a THANK YOU gift from me. ❤

Countryside Inn – For You

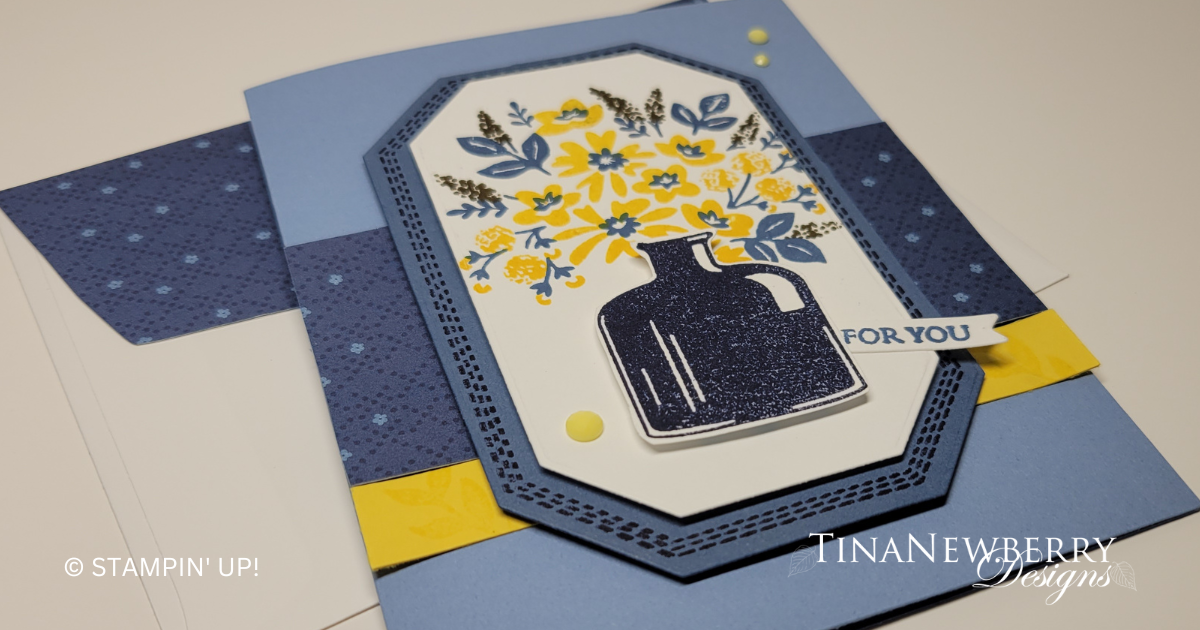
A bit of an advanced card using die cutting, two-step stamping, watermarking, coloring stamps, and fussy cutting! Had a fun time making a version with some of the Moose Friends!

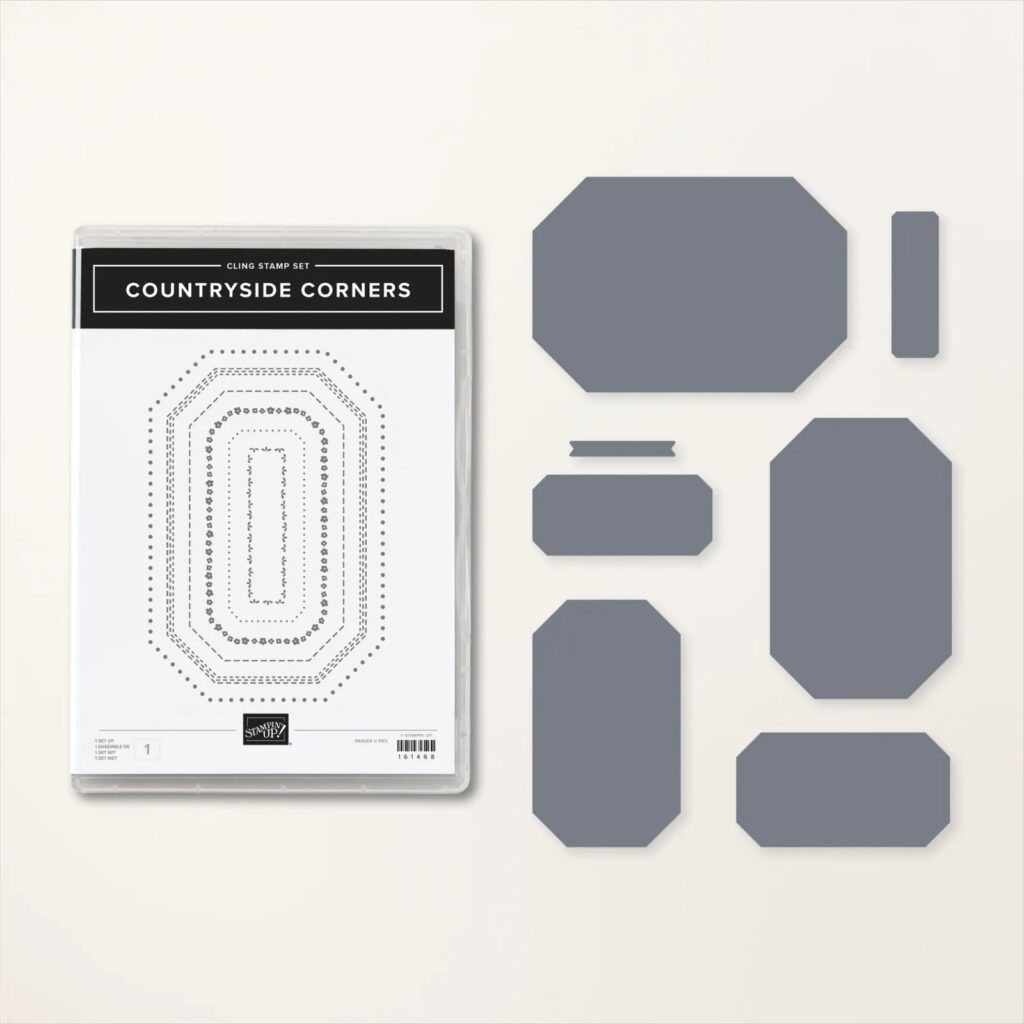
The Countryside Corners Bundle has everything you need to take your crafts to the next level. The image-only stamp comes with several elegant borders that can be transformed into beautiful projects. The borders can be cut out using the Countryside Corners Dies. When you use them together, you can add layers and texture, and create frames, peek-through frames, centerpieces, and so much more!

Measurements

Full list of supplies needed, listed below. A die cutting machine is needed for this card.

Boho Blue Cardstock: 

  • 5 1/2″hw x 8 1/2″ w folded to 5 1/2″ h x 4 1/4″ w

Misty Moonlight

  • 5” h x 3 ½” h 

Basic White Cardstock: 

  • 4 ½” h x 3” w 
  • Scrap for tag, and bottle
  • 5 ¼” h x 4” w for inside

Daffodil Delight

  • ½” x 4 ¼” w

Countryside Inn Designer Series Paper (DSP)

  • 2” h x 4 ¼” w

Let’s Create

  1. Affix all stamps to Acrylic Blocks.
  2. Fold the Card Base in half using a Bone Folder to sharpen the crease
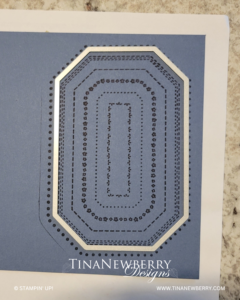
  3. Stamp the Countryside Corners Stamp in Misty Moonlight Ink on the Misty Moonlight and die cut down to the 3 dashed lines (see picture). 
  4. Stamp the bottle in Night of Navy Ink on Basic White scrap and use Paper Snips to fussy cut. 
  5. Die cut the 4 ½” h x 3” w Basic White with the die smaller than than the Misty Moonlight.
  6. Ink the Flower Stamp with Daffodil Delight and then color the tall flowers with Early Espresso Stampin’ Write marker. Huff on the stamp to re-wet the ink and stamp on the Basic White tag. Stamp the leaves and flower centers stamp over the flowers stamp withBoho Blue ink to finish the image.
  7. Stamp the For You sentiment on Basic White scrap and die cut with the flagged tag die. 
  8. Use Versamark ink to stamp the edges of the Daffodil Delight strip. 
  9. Attach the Versamarked strip and the DSP to the front of the Card Base using Stampin’ Seal. 
  10. Attach the die cut Misty Moonlight stamped layer with Stampin’ Dimensionals. 
  11. Attach the Stamped Basic White layer with Stampin Dimensionals.
  12. Attach the Bottle with Stampin’ Dimensionals.
  13. Trim the sentiment tag and attach with Multipurpose glue. 
  14. Sprinkle on some gems
  15. Attach a ribbon (optional)
  16. Stamp and decorate the remaining 5 1/4″ w x 4″ h for the inside and attach with Stampin’ Seal.
  17. Decorate your envelope. 
  18. Pretty! Who will you send it to?!

Shopping List

Recommended Stamper’s Toolkit

Product List
Order online from the convenience of your own home or send me your order and I’ll take care of you. ❤ Either way, please use the host code ANTD9UHS. Order online AND, if your order is $50 or more using host code ANTD9UHS between now and the end of the month you’ll receive a free pack of embellishment as a THANK YOU gift from me. ❤ If your order is over $150, skip the host code, earn Stampin’ Rewards for free stuff yourself and I’ll still send you a free pack of embellishment as a THANK YOU gift from me. ❤

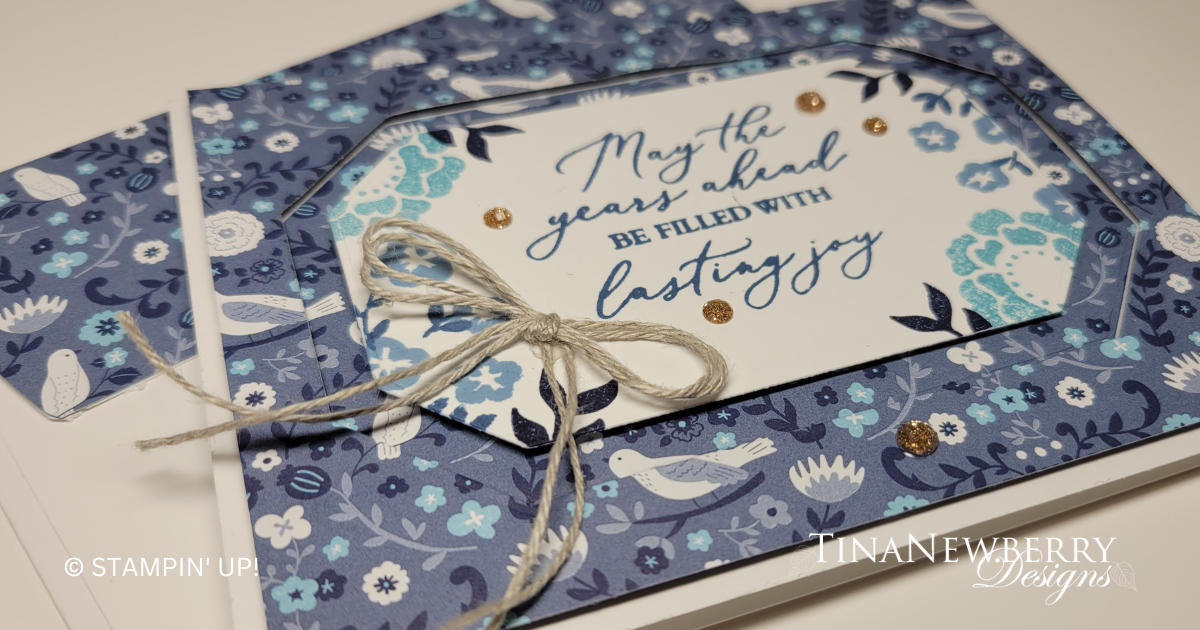
May the Years Ahead Be Filled With Lasting Joy

Show off your Designer Series Paper with this layout! I’m using the beautiful Countryside Inn, DSP. Copy me or use paper from your stash.

The Countryside Corners Bundle has everything you need to take your crafts to the next level. The image-only stamp comes with several elegant borders that can be transformed into beautiful projects. The borders can be cut out using the Countryside Corners Dies. When you use them together, you can add layers and texture, and create frames, peek-through frames, centerpieces, and so much more!

Measurements

Full list of supplies needed, listed below. A die cutting machine is needed for this card.

Basic White Thick Cardstock: 

  • 5 1/2″h w x 8 1/2″ h folded to 5 1/2″ w x 4 1/4″ h

Basic White Cardstock: 

  • 4 ½” h x 3” w 
  • 5 ¼” h x 4” w for inside

Countryside Inn Designer Series Paper (DSP)

  • 5 ½” w x 4 ¼” h

Let’s Create

  1. Affix all stamps to Acrylic Blocks.
  2. Fold the Card Base in half using a Bone Folder to sharpen the crease
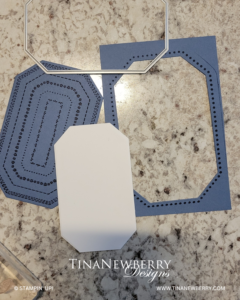
  3. Die cut the DSP with the 2nd largest die.
  4. Die cut the 4 ½” x 3” Basic White. 
  5. Lay the two nested DSP pieces onto the card base and line up with the edges of the card.
  6. Press firmly to hold the outer piece  into place and remove the inside piece. 
  7. Carefully lift each corner to add a Stampin’ Dimensional the outside DSP piece. And then carefully add 4 more Stampin’ Dimensionals under the four sides. 
  8. Use Stampin’ Seal to attach the inside piece of the DSP. 
  9. Use Balmy Blue, Boho Blue, Misty Moonlight and Night of Navy to stamp sentiment, flowers, leaves and stems on the die cut piece of Basic White. Attach to the inside piece of DSP with Stampin’ Dimensionals. 
  10. Double up about 12” of Linen Thread and tie a small bow. Attach with a Mini Glue Dot.
  11. Sprinkle on some Adhesive Backed Sparkle gems
  12. Stamp and decorate the remaining Basic White piece and attach to the inside.
  13. Decorate your envelope. 
  14. So fun! Send it.
Product List

Recommended Stamper’s Toolkit

Product List
Order online from the convenience of your own home or send me your order and I’ll take care of you. ❤ Either way, please use the host code ANTD9UHS. Order online AND, if your order is $50 or more using host code ANTD9UHS between now and the end of the month you’ll receive a free pack of embellishment as a THANK YOU gift from me. ❤ If your order is over $150, skip the host code, earn Stampin’ Rewards for free stuff yourself and I’ll still send you a free pack of embellishment as a THANK YOU gift from me. ❤