Check out the cute fruity drinks you can make with the Nothing’s Better Than Stamp Set and Love You More Dies! They look so refreshing with their little umbrellas even. LOL. This another Quick & Easy #SimpleStamping card from the ’21-’22 Stampin’ Up! Annual Catalog to have you have completing this project in a few minutes.
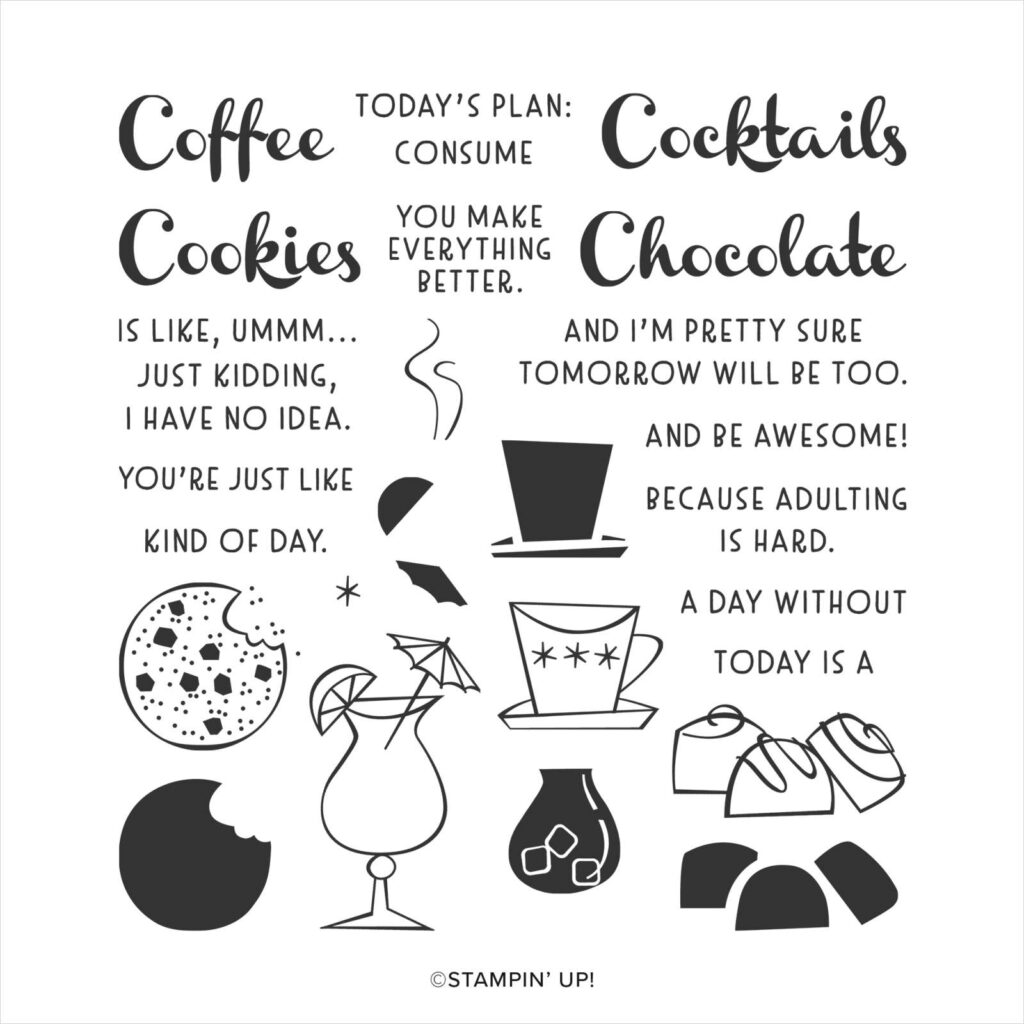
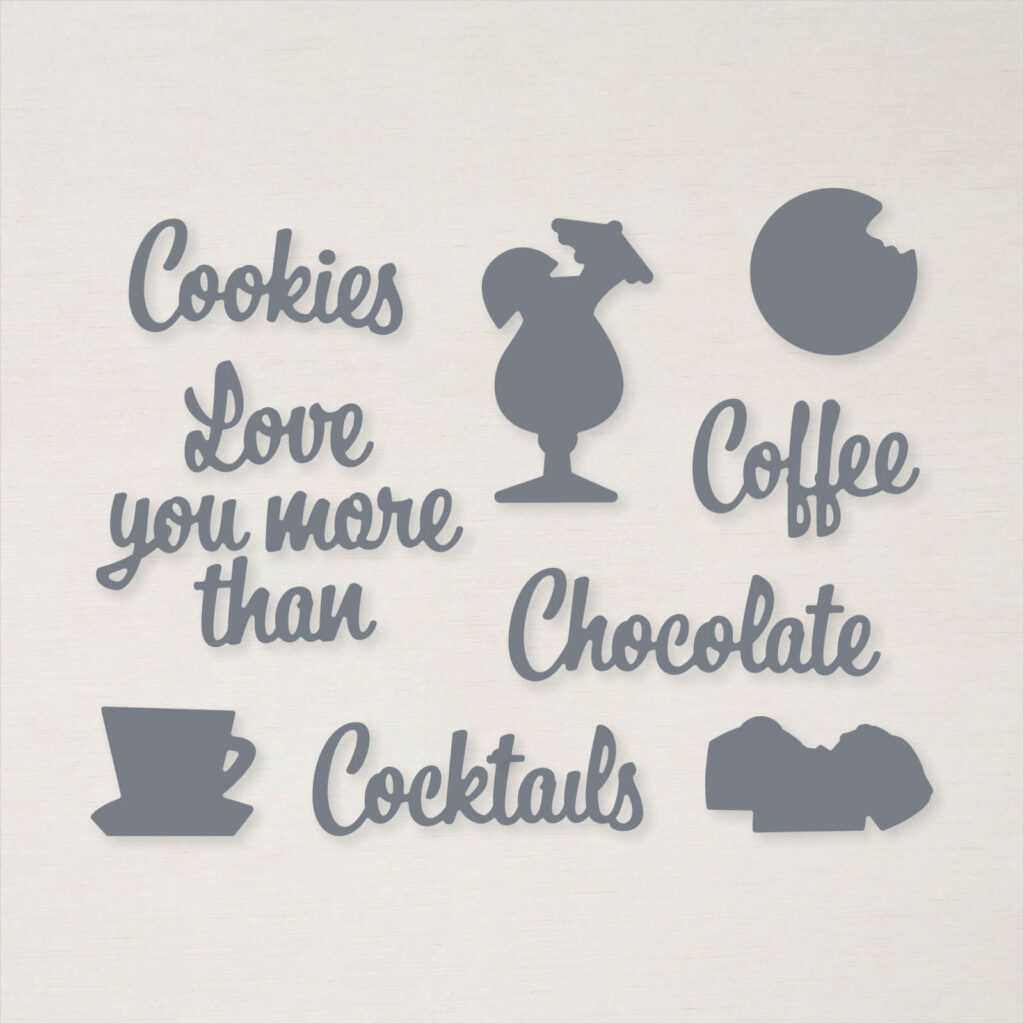
Nothing’s Better Than Stamp Set coordinates with the Love You More Than Dies.
Measurements
Full list of supplies needed, listed below. A die cutting machine and dies or scissors are needed for this card.
Card Base: Pool Party Cardstock 5 1/2″ h x 8 1/2″ w folded to 5 1/2″ h x 4 1/4″ w
Background: Granny Apple Green Brights Designer Series Paper 4 1/2″ h x 3″ w
Stamped Background: Soft Sea Foam Cardstock trimmed to 4″ h x 3 3/4″ w
Drinks: Basic White Cardstock scrap
Sentiment Layers: Basic White and Flirty Flamingo Cardstock scraps
Let’s Create
- Affix all stamps to Acrylic Blocks.
- Fold the Card Base in half using a Bone Folder to sharpen the crease. Set aside.
- Protect your work surface. Use Granny Apple Green ink and the drink stamp randomly on the Soft Seafoam Stamped Background piece. Set. Aside.
- Stamp two drinks on Basic White scrap cardstock and then use Flirty Flamingo, Pool Party, Granny Apple Green and Daffodil Delight to stamp the filled in images. Die cut drinks and set aside.
- Stamp the first and last parts of the Sentiment in Tuxedo Black ink on Basic White scrap and the middle part on Flirty Flamingo Cardstock scrap. Trim to size and set aside.
- Attach the Background to the Card Base.
- Use Stampin’ Dimensionals to attach the Stamped Background to the Background and the Sentiment pieces and Drinks to the Stamped Background.
- Voila! Now send it to someone special.
Shopping List
")


 Designer Series Paper")


Stamper’s Toolkit
You will also need adhesive, acrylic blocks, scissors and other basic PaperCrafting items from the Stamper’s Toolkit


")


")


")