One of the things people love best about stamping is that no experience is required to enjoy a satisfying creative experience. Over time, skills build—and meanwhile, everything you do looks amazing!
Stamping Off
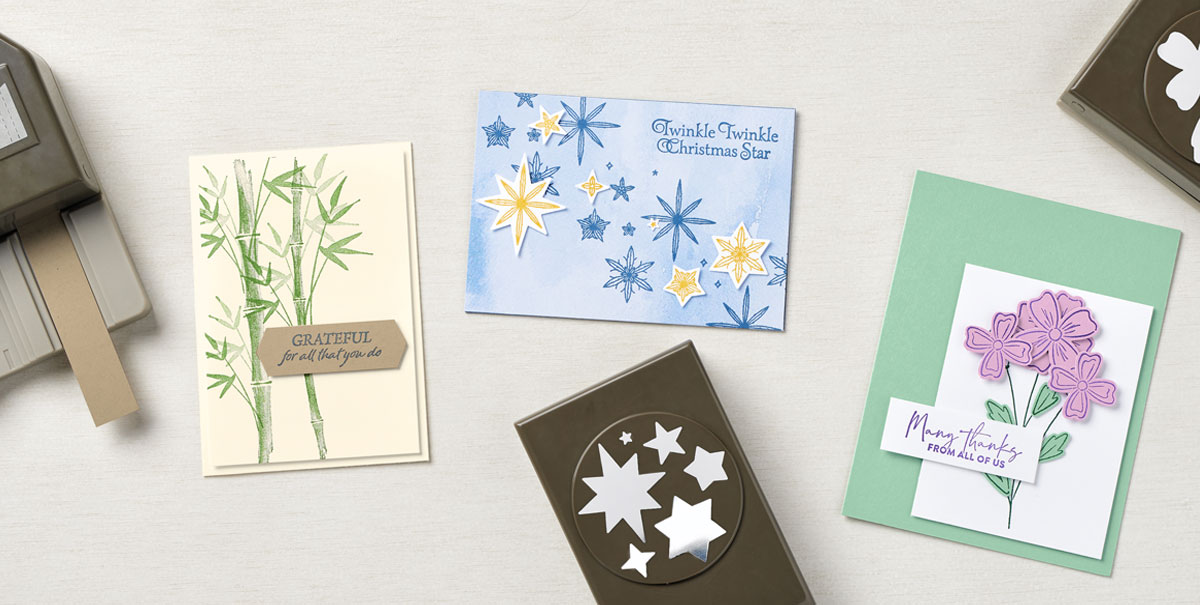
A favorite beginner stamping hack is known as “stamping off.” (See the leaves on our Grateful for All You Do card for an illustration.) Simply ink the stamp, “stamp off” on a piece of scrap paper, then stamp your image. It’s such a simple trick, yet when combined with darker images it lets you achieve a professional-looking illusion of depth.
Tone-on-Tone
For our Many Thanks card, we used a variation of tone-on-tone stamping by choosing ink with a hue that is slightly darker than the cardstock. You could also use VersaMark ink or the coordinating ink color to achieve a lighter tone-on-tone look.
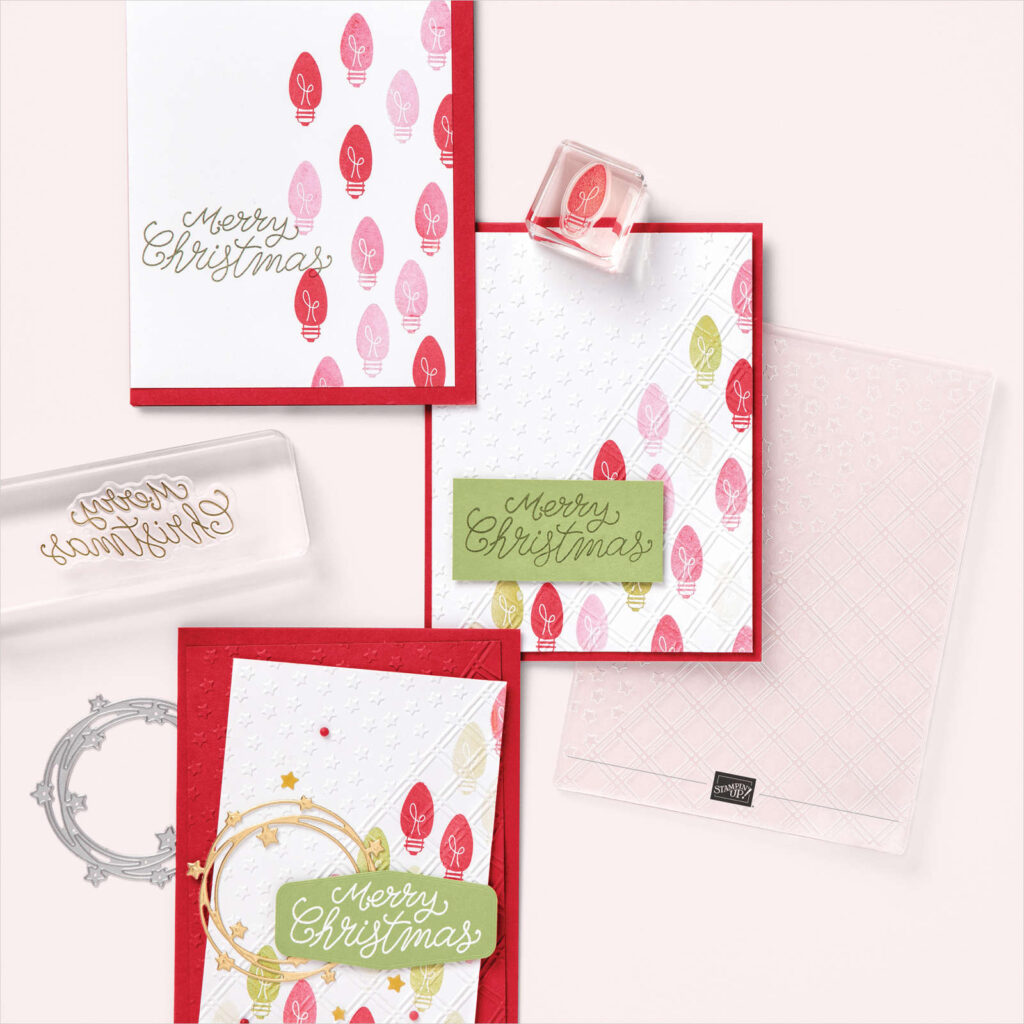
Designer Series Paper
Our Twinkle card highlights a simple cardmaking classic with its impactful Designer Series Paper background. Looks like a lot of work, doesn’t it? No way! Just add stamped stars plus the whimsical sentiment and you have a make-it-in-minutes Christmas card!
Got simple stamping projects you’d like to share? Use the social media hashtag #simplestamping and post them on PaperCrafty Time with Tina Newberry Share and Connect Customer Facebook Group! We’d love to see them!


 Designer Series Paper")

 Faux Suede Trim")


")


 Designer Series Paper")