A sweet Christmas can be yours with our July–December 2022 Mini Catalog Sweet Gingerbread Bundle, which includes the charming Sweet Gingerbread Stamp Set and Gingerbread House Dies. Use this bundle to create a festive Christmas cottage with gumdrops, lollipops, pine trees, and a cozy curl of smoke that doubles as an adorable speech bubble—where you can stamp loving sentiments for family and friends.
To duplicate this month’s “technique focus,” fold Thick Basic White Cardstock in half to create a 4-1/4″ x 5-1/2″ (10.8 x 14 cm) card, then add texture to the card front using the detailed border die pieces. Ink the stamps in a lighter color, stamp off once, then use Sponge Daubers to add shading in a darker color before stamping and die cutting. Heat emboss the sentiment on Basic Black Cardstock using white Basics Embossing Powder, cut a tag shape, then adhere the sentiment to the card front using Stampin’ Dimensionals.
What can you make with this super-fun bundle? Post your projects on social media and use the #SweetGingerbread hashtag so we can see your work!
Use the notecards and envelopes as the base for this super cute card. Much of the cutting and punching and die-cutting has been done for you. Simply gather your ink pads, stamps, blocks, snips and adhesives.
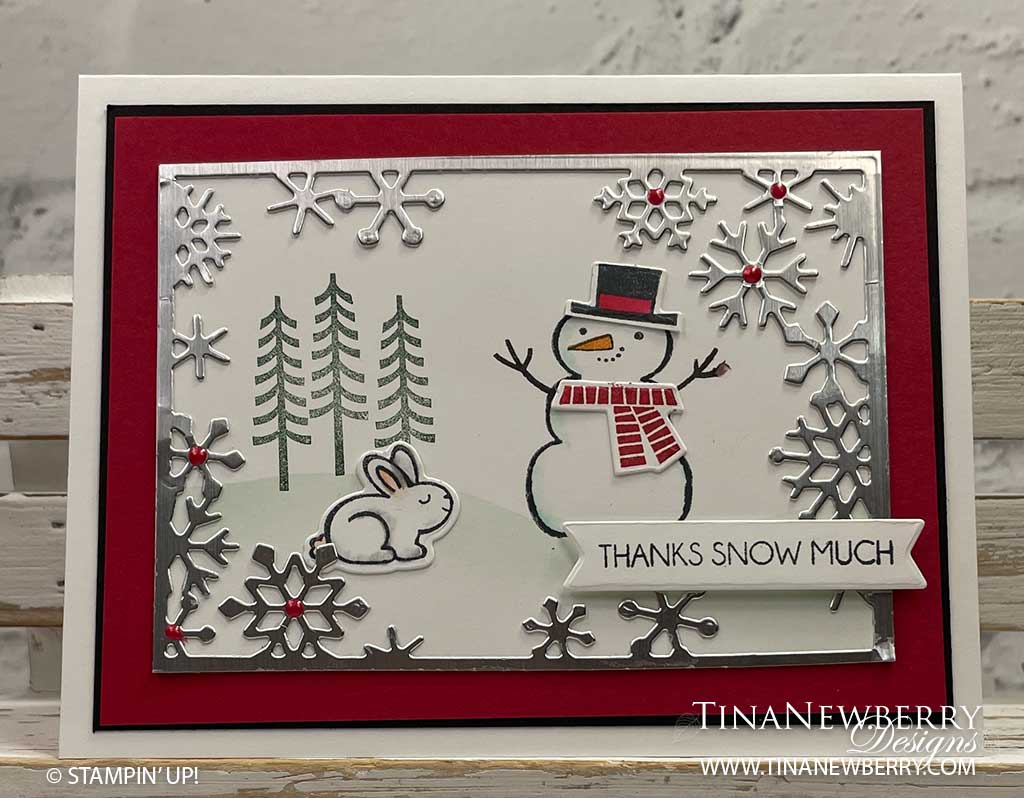
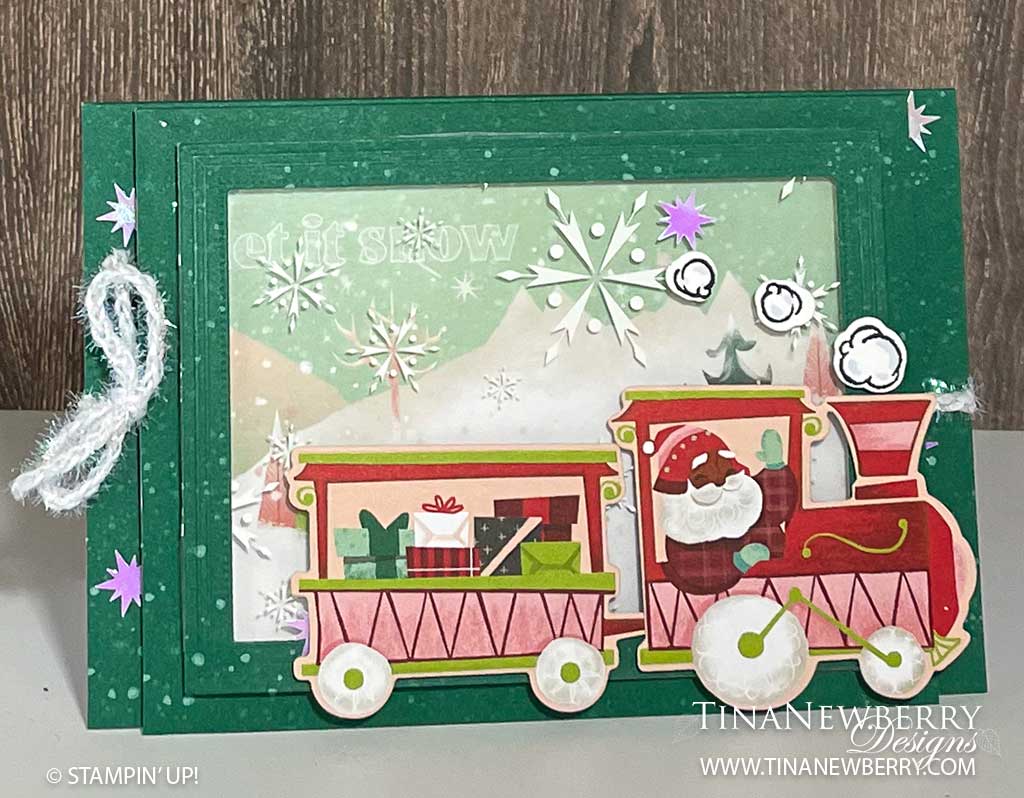
All aboard the Santa Express! Santa has a new way to deliver Christmas cheer with the Santa Express Suite Collection, which means you have a fun and playful way to express your holiday wishes! Build a train full of Christmas supplies and send cards decorated with North Pole friends. This collection is the perfect way to celebrate a wonderfully jolly season.
Measurements
Full list of supplies needed, listed below. A die cutting machine is needed for this card.
The following cutting and scoring instructions are provided for when you want to repeat these instructions for your own use. You may need to cut the Designer Series Paper, and fussy-cut some of the images.
Card Bases Shaded Spruce Memories and More Note Card
Card Frame Shaded Spruce Memories and More Note Card (cut to 5 ½” x 8 ½”, scored at 4 ¼”)
DIe-Cut Fabulous Frame
Memories and More Card Pack (Let it Snow pattern)
Memories and More Card Pack (Snowflake Window Sheet)
Let’s Create
Start with two Shaded Spruce Memories and More note cards. Wrap trim around the larger note card and tie a bow. Sprinkle a few snowflakes near the edges. Set larger note card aside.
Cut second note card to 5 ½” x 8 1/2”, score at 4 ¼”.. Open this note card, and roll it through the Stampin’ Cut & Emboss Machine with the largest Fabulous Frames die centered on the front of the card.
Set the small rectangle aside and use it for another card.
Cut down the Memories and More Card Pack window card (snowflake pattern) to size. Adhere Memories and More Card Pack window card to frame with Tear-n-Tape. Place Foam Strips all along the back of the frame.
Cut down one of the Memories and More Card Pack cards (Let it Snow pattern) and adhere it to the inside of the Memories and More note card with the image showing through the frame in a pleasing manner. Adhere the edges of note card to the inside so that this smaller card is now one layer.
Adhere the frame to the opening in the center. It should fit perfectly.
Adhere smaller note card to larger note card with Stampin’ Dimensionals.
Die-cut two train cars out of Designer Series Paper. Adhere to card front with Stampin’ Dimensionals.
Stamp puffs of smoke in Memento Black on Basic White. Die-cut little puffs of smoke, and highlight with Balmy Blue Light Blend. Adhere puffs to card front with Mini Stampin’ Dimensionals.
Sprinkle on the snowflakes.
Stamp and decorate the inside and attach with Stampin’ Seal.
Order online from the convenience of your own home or send me your order and I’ll take care of you. ❤ Either way, please use the host code ANTD9UHS. Order online AND, if your order is $50 or more using host code ANTD9UHS between now and the end of the month you’ll receive a free pack of embellishment as a THANK YOU gift from me. ❤ If your order is over $150, skip the host code, earn Stampin’ Rewards for free stuff yourself and I’ll still send you a free pack of embellishment as a THANK YOU gift from me. ❤
Cards comes together in jiff with the Memories & More card pack. Add a bit of cardstock and be on your way.
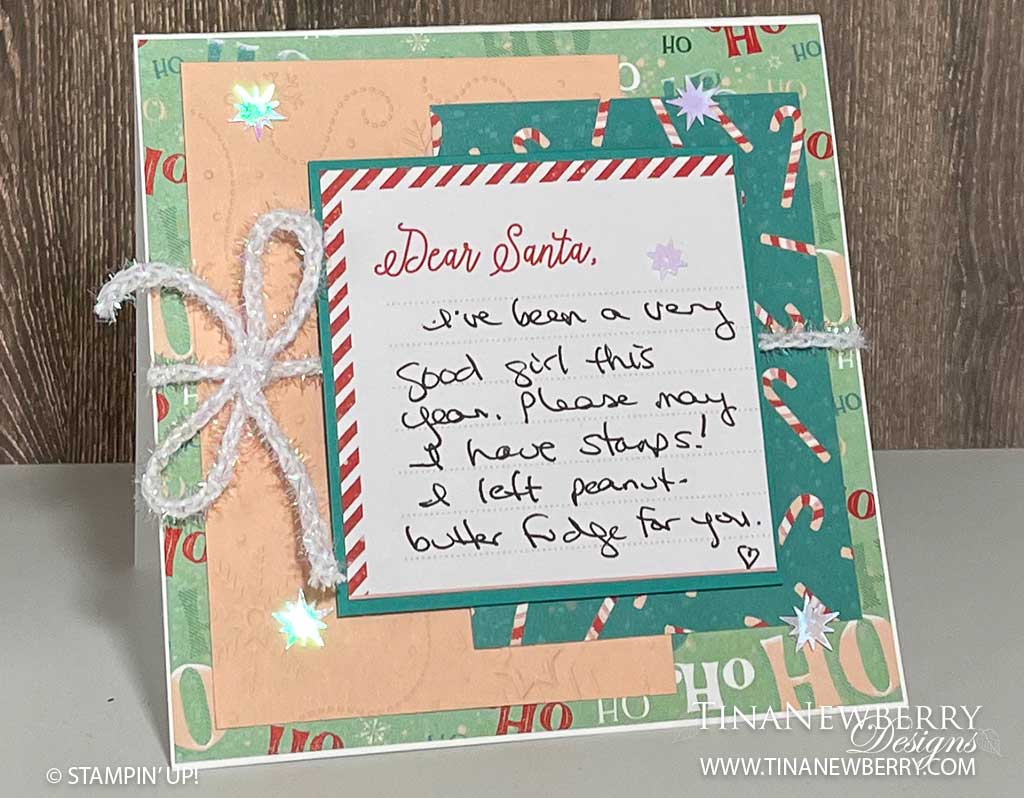
All aboard the Santa Express! Santa has a new way to deliver Christmas cheer with the Santa Express Suite Collection, which means you have a fun and playful way to express your holiday wishes! Build a train full of Christmas supplies and send cards decorated with North Pole friends. This collection is the perfect way to celebrate a wonderfully jolly season.
Measurements
Full list of supplies needed, listed below. A die cutting machine is needed for this card.
When you open the Santa Express Memories & More Card Pack, you will see much of the cutting and punching and die-cutting has been done for you. Simply gather your ink pads, stamps, blocks, snips and adhesives. The following cutting and scoring instructions are provided for when you want to repeat these instructions for your own use. You may need to cut the Designer Series Paper, and fussy-cut some of the images.
Basic White Thick Cardstock: 5 ¼” x 10 ½”, score at 5 ¼”
Petal Pink Cardstock: at 3 ¼” x 4 ¾”
Bermuda Bay Cardstock: 3 ¼” x 3 ¼”
Santa Express Designer Series Paper (DSP): 5 ⅛” x 5 ⅛”
Santa Express Memories & More Card Pack (M&M):
2 ⅞” w x 4” h (candy cane pattern)
3 ⅛” x 3 ⅛” (Dear Santa pattern)
Let’s Create
Affix all stamps to Acrylic Blocks.
Fold the Card Base in half using a Bone Folder to sharpen the crease.
Run Petal Pink cardstock through Stampin’ Cut & Emboss Machine with the Wintry 3D Embossing Folder (snowy pattern). . Use Stampin Seal to adhere to card front.
Adhere 2 ⅞” x 4” M&M card (candy cane pattern) to card front with Stampin’ Seal.
On the 3 ⅛” x 3 ⅛” Dear Santa M&M write a little note to Santa, and adhere to Bermuda Bay layer with Stampin’ Seal.
Wrap Iridescent Trim around card front, and tie a bow on the left side.
Adhere Dear Santa panel to card front with Stampin’ Dimensionals.
Sprinkle on the gems.
Stamp and decorate the inside and attach with Stampin’ Seal.
Square Card fits into a 5 ½” x 5 ½” Square Envelope from your M&M Pack.
Order online from the convenience of your own home or send me your order and I’ll take care of you. ❤ Either way, please use the host code ANTD9UHS. Order online AND, if your order is $50 or more using host code ANTD9UHS between now and the end of the month you’ll receive a free pack of embellishment as a THANK YOU gift from me. ❤ If your order is over $150, skip the host code, earn Stampin’ Rewards for free stuff yourself and I’ll still send you a free pack of embellishment as a THANK YOU gift from me. ❤
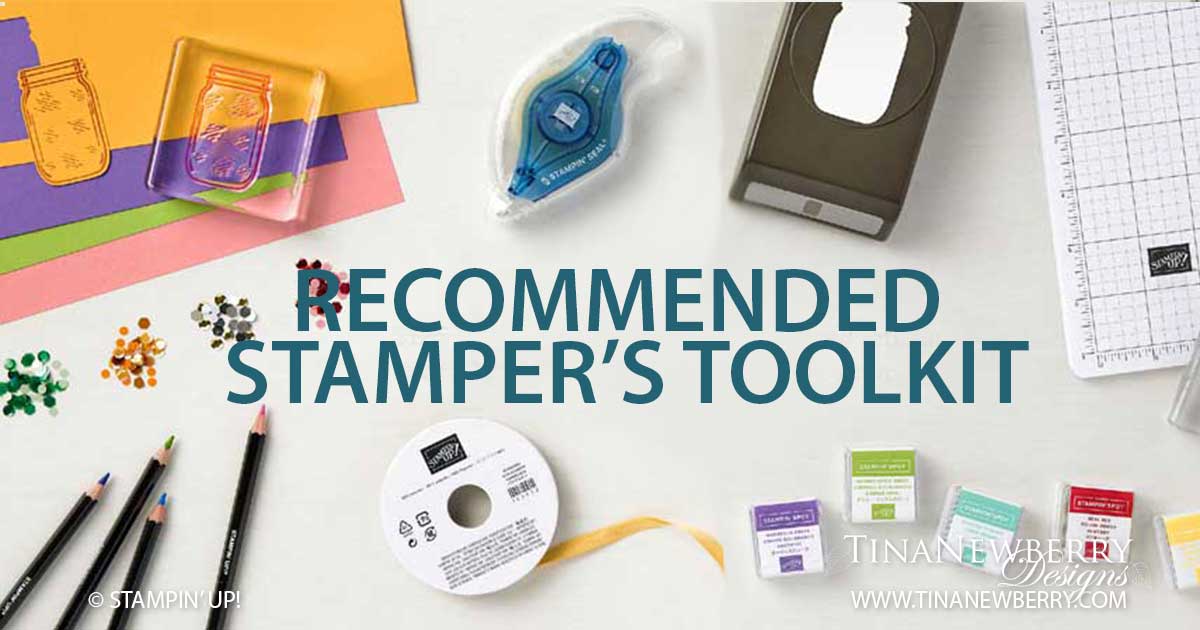
Just like every cook needs a well-stocked kitchen, every Stamper will enjoy crafting with quality tools of the trade. Here’s a list of the essentials I go to every time I craft. You won’t need ALL of these products to get started. Please feel free to reach out to me with any questions about how to use these products or what they’re for?!
Order online from the convenience of your own home or send me your order and I’ll take care of you. ❤ Either way, please use the host code ANTD9UHS. Order online AND, if your order is $50 or more using host code ANTD9UHS between now and the end of the month you’ll receive a free pack of embellishment as a THANK YOU gift from me. ❤ If your order is over $150, skip the host code, earn Stampin’ Rewards for free stuff yourself and I’ll still send you a free pack of embellishment as a THANK YOU gift from me. ❤

")


")


")


 Designer Series Paper")


 Iridescent Trim")