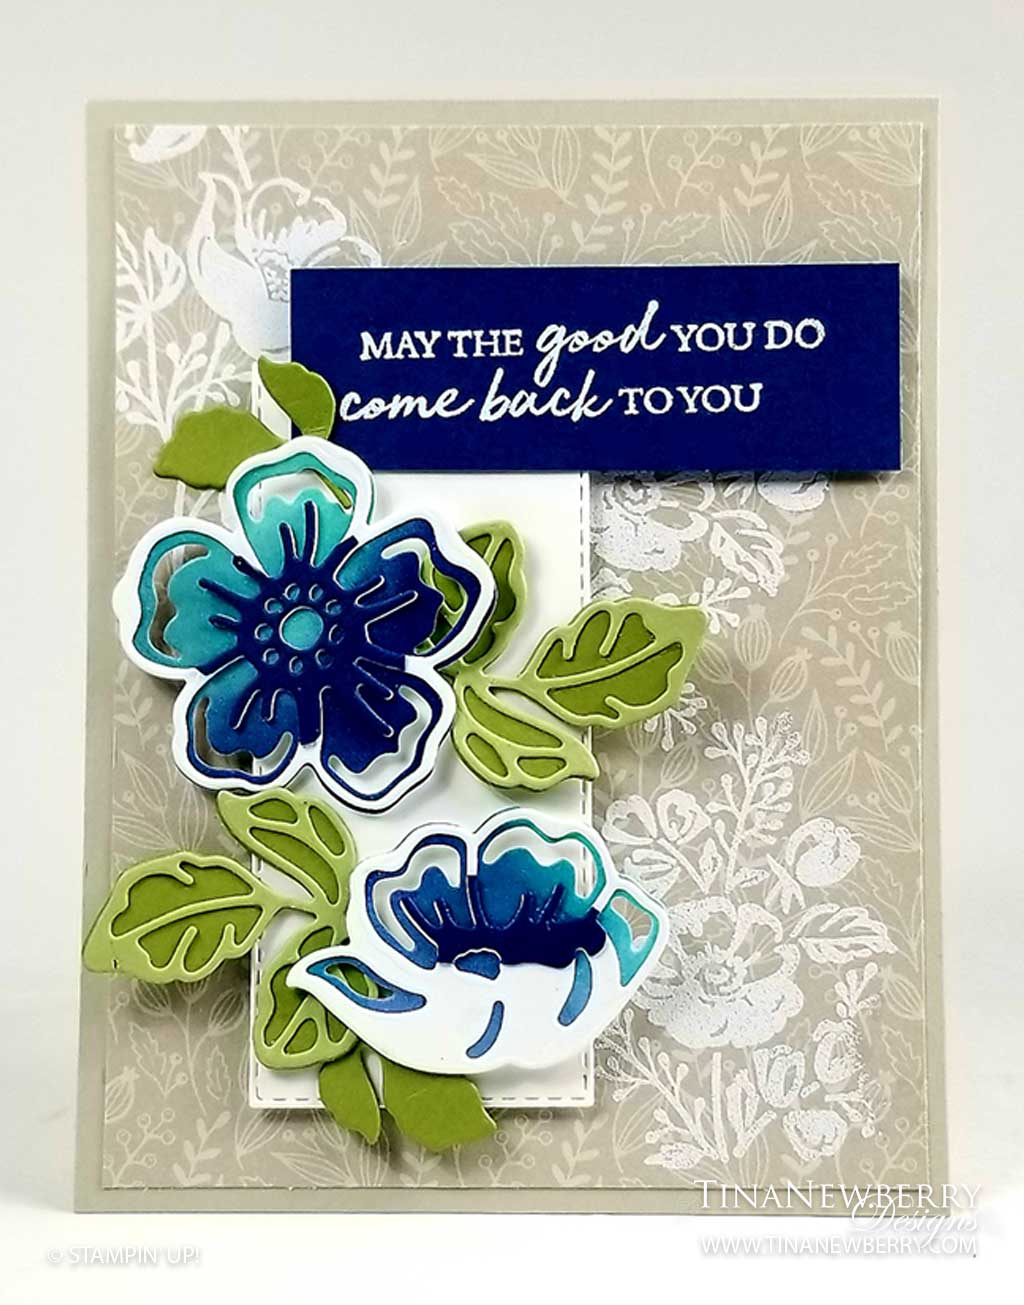
May the Good You Do Come Back to You

Thank you for your interest in this project. Some projects are exclusive to subscribers who will receive passwords by email.

Are you a subscriber? Awesome! Check your email for the password and enter it here to view this project.

Not yet subscribed?  We’d love for you to join us.  Subscribe to my email list and receive news, information and inspiration by email.

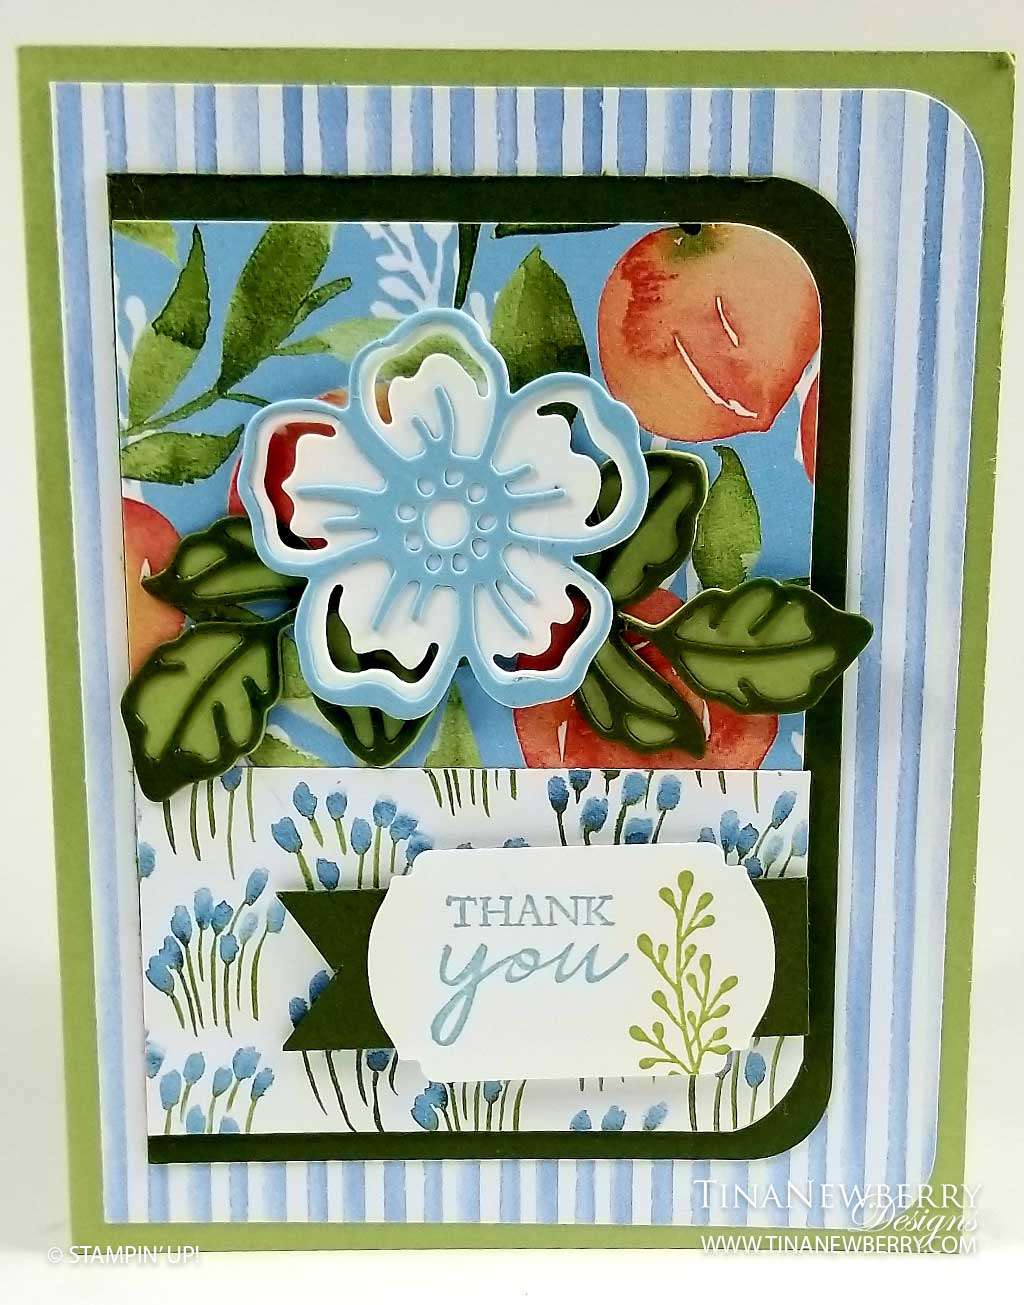
Peachy Thank You Card

I have been seeing these layered die cut flowers for quite some time now in different sets and have been inspired by all the combinations. This is my first time working with them and I sure did have some fun! The You’re a Peach Designer Series Paper and Summer Shadows die cut flower do all the work on this pretty thank you card!

Measurements

Full list of supplies needed, listed below. A die cutting machine is needed for this card.
Card Base: Pear Pizzaz Cardstock 5 1/2″ h x 8 1/2″ w scored and folded to 5 1/2″ h x 4 1/4″ w
Striped Background: You’re a Peach Designer Series Paper 5 1/4″ h x 4″ w
Focal Matte: Old Olive Cardstock 4 1/2″ h x 3 1/4″ w
Focal Top Pattern: You’re a Peach Designer Series Paper 2 1/2″ h x 3″ w
Focal Bottom Pattern: You’re a Peach Designer Series Paper 1 1/2″ h x 3″ w
Banner: Old Olive Cardstock 3/4″ h x 2 1/2″ w
Sentiment Layer: Basic White Cardstock scrap punched with Label Me Fancy Punch
Die Cut Flower & Leaves: Basic White, Balmy Blue, Old Olive, Pear Pizzazz Cardstock scraps
Inside (optional): 5 1/4″ h x 4″ w Basic White Cardstock

Let’s Create

  1. Affix all stamps to Acrylic Blocks.
  2. Fold the Card Base in half using a Bone Folder to sharpen the crease.
  3. Use the Detailed Trio Punch to round the right-side corners of the Striped Background, Focal Matte, Focal Top Pattern, and Focal Bottom Pattern layers, then use Stampin’ Seal to attach each of these layers as shown.
  4. Stamp the Sentiment in Balmy Blue and the Branch in Pear Pizzazz ink in on Basic White Cardstock scrap and punch with the Label Me Fancy Punch.
  5. Use Stampin’ Seal to attach the Sentiment to the Old Olive Banner.
  6. Attach the Banner and Sentiment to the card, using Stampin’ Dimensionals.
  7. Die cut the Flower and Leaves fill and outlines – it’s recommended to use Adhesive Sheets on the outlines for easier assembly- and then assemble the pieces.
  8. Attach with Flower and Leaves to the card with Stampin’ Dimensionals and Mini Glue Dots.
  9. Stamp the Inside Layer to your liking and attach with adhesive of your choice.
  10. Decorate your envelope.
  11. Beautiful!!!! Who will you send it to?

Stamper’s Toolkit

You will also need adhesive, acrylic blocks, scissors and other basic PaperCrafting items from the Stamper’s Toolkit

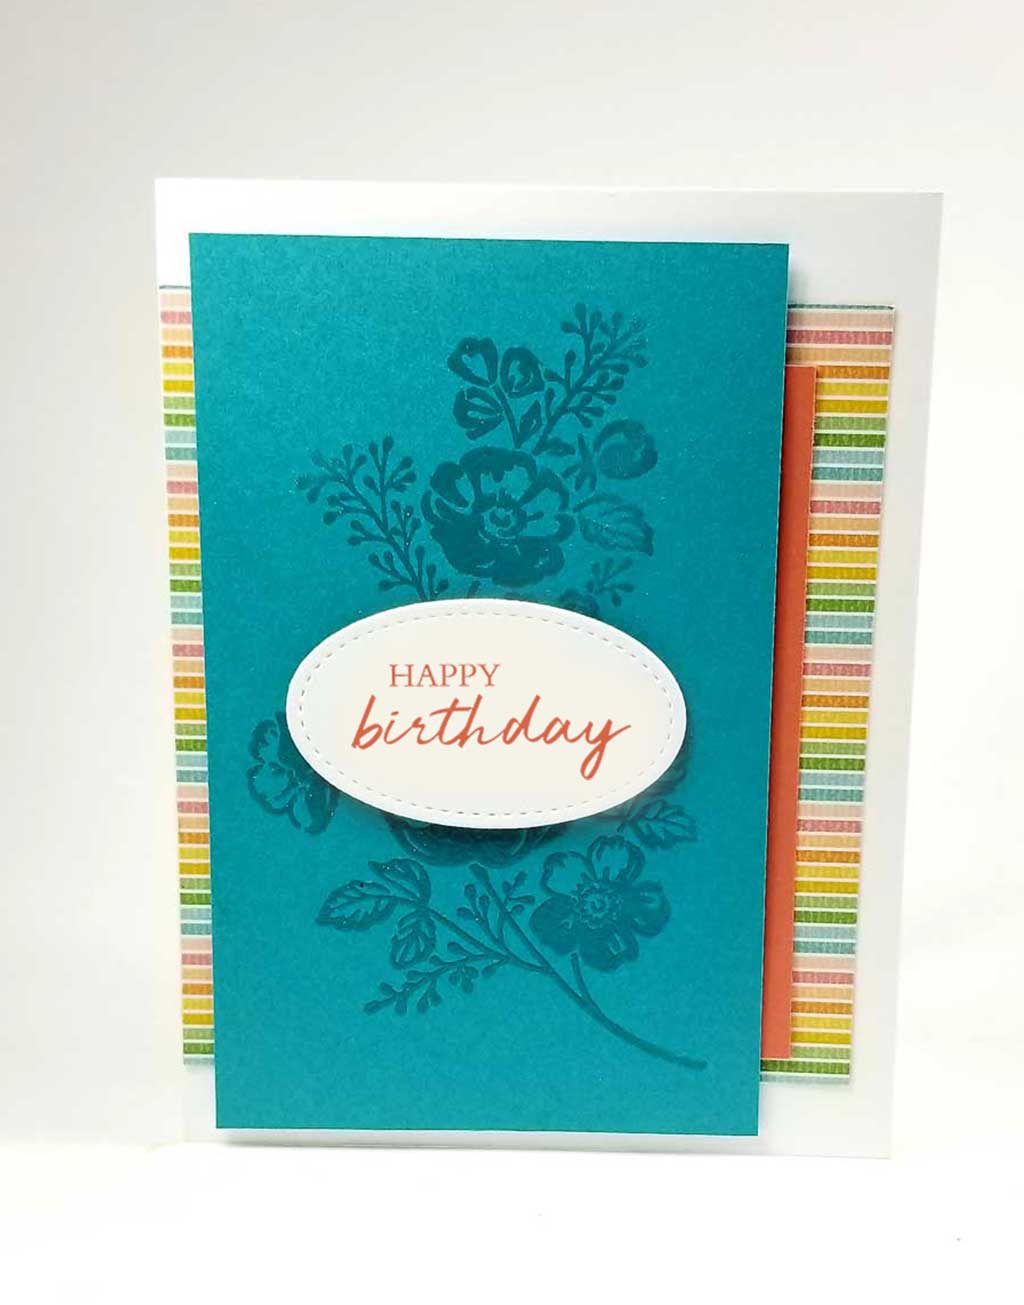
Shaded Summer Birthday

I just loved this card by Alisa Tilsner and HAD to recreate it and try the clear heat embossing technique for the background. I’m not sure if that’s what Alisa did, but I’m happy with the results and it was fun to learn something new!

Measurements

Full list of supplies needed, listed below. A die cutting machine is needed for this card.
Card Base: Basic White Thick Cardstock 5 1/2″ h x 8 1/2″ w folded to 5 1/2″ h x 4 1/4″ w
Striped Background: Pattern Party Host Designer Series Paper 4 1/2″ h x 4″ w
Coral Decorative Strip: Calypso Coral Cardstock 4″ h x 3/4″ w
Bermuda Bay Embossed Layer: Bermuda Bay Cardstock 5″h x 3″ w
Sentiment Layer: Basic White Cardstock scrap
Inside (optional): 5 1/4″ h x 4″ w

Let’s Create

  1. Affix all stamps to Acrylic Blocks.
  2. Fold the Card Base in half using a Bone Folder to sharpen the crease.
  3. Stamp the two Flower Images on on the Bermuda Bay Layer in Versamark ink and heat emboss with Clear Powder.
  4. Stamp the Sentiment in Calypso Coral Ink on Basic White Cardstock scrap and die cut with the Stitched Shapes Dies (retired).
  5. Attach the Striped Background and Coral Decorative Strip using Stampin’ Seal.
  6. Use Dimensionals to attach the Bermuda Bay Embossed Layer and Sentiment.
  7. Stamp the Inside Layer to your liking and attach with adhesive of your choice.
  8. Decorate your envelope.
  9. Super Cute!!!! Go put it in the mail.

ShoppingList

Stamper’s Toolkit

You will also need adhesive, acrylic blocks, scissors and other basic PaperCrafting items from the Stamper’s Toolkit

Counting Sheep Step-by-Step

Q: What do you get when you cross a sheep with a porcupine?
A: A sheep that can knit its own sweaters.

We couldn’t resist sharing a corny sheep joke with you, because in case you haven’t “herd,” Sale-A-Bration is happening now. And . . . are “ewe” ready for this? From now – 30 September 2021, you can earn fabulous, FREE Sale-A-Bration products with a qualifying purchase—like the Counting Sheep Stamp Set and coordinating Sheep Dies.

Sheep Dies FREE with a $50 Purchase

CASUAL

Fühl dich geknuddelt Card (4-1/4″ x 5 1/2″) (10.5 x 14.9 cm)
For our casual project, we used just a few products to create a fun, simple card that anyone can make. Stamp and die-cut the sheep, add a little color with Smoky Slate Stampin’ Blends, create a dimensional background with 1″ x 3″ (2.5 x 7.6 cm) strips of Basic Gray Cardstock, then dapple the “sky” with Cute Stars Adhesive-Backed Sequins. Baa-adorable.

AVID

Tu es supeeerbe Card (4-1/4″ x 5 1/2″) (10.5 x 14.9 cm)
We fancied up the Avid card by embossing the Basic Gray Cardstock Strips with the Painted Texture 3D Embossing Folder. Our special trick? Add a little White Craft ink to the folder to leave cloudy impressions on the embossed paper.

ARTFULLY AVID

You’re Amazing Card (4-1/4″ x 5 1/2″) (10.5 x 14.9 cm)
For our final card we used Blending Brushes to add Basic Gray and Tuxedo Black Memento ink to a piece of Smoky Slate Cardstock. Once the inks were blended, we spritzed the cardstock with water, then splattered it with White Craft ink before cutting the paper into 1″ x 3″ (2.5 x 7.6 cm) strips. This time we used the inked embossing folder technique on the card base, giving it a marbled look that contrasts nicely with the darker cardstock strips beneath.
Do you have any fun projects you’ve made with Stampin’ Up! embossing folders? Share them with us on social media!

Shopping List