My Heart is Grateful for You

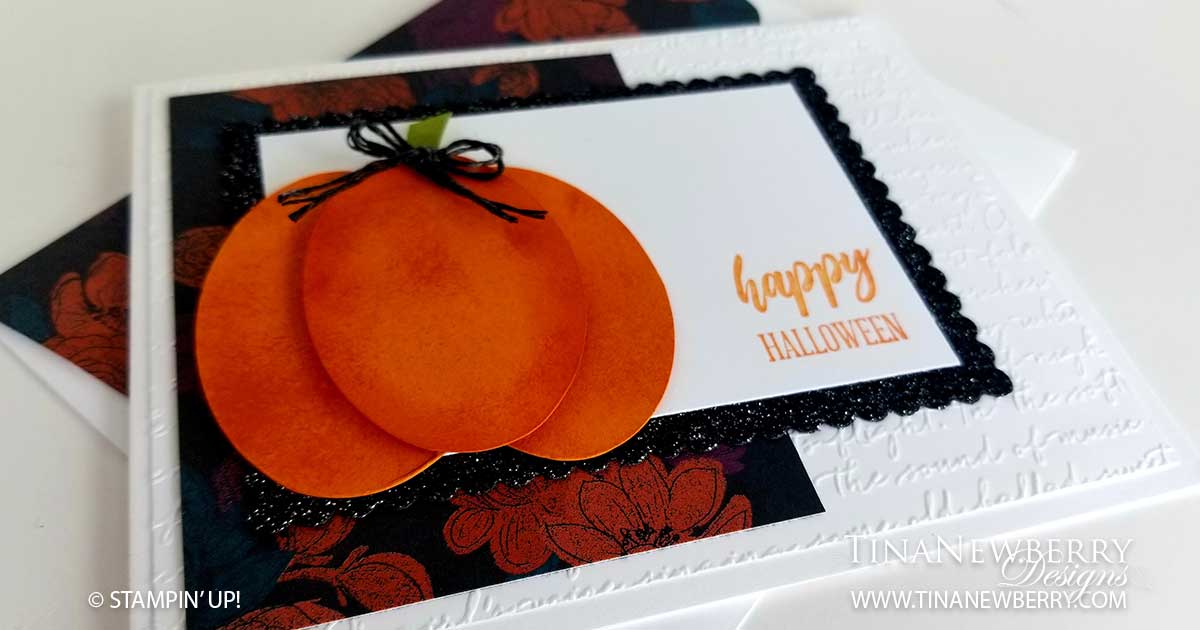
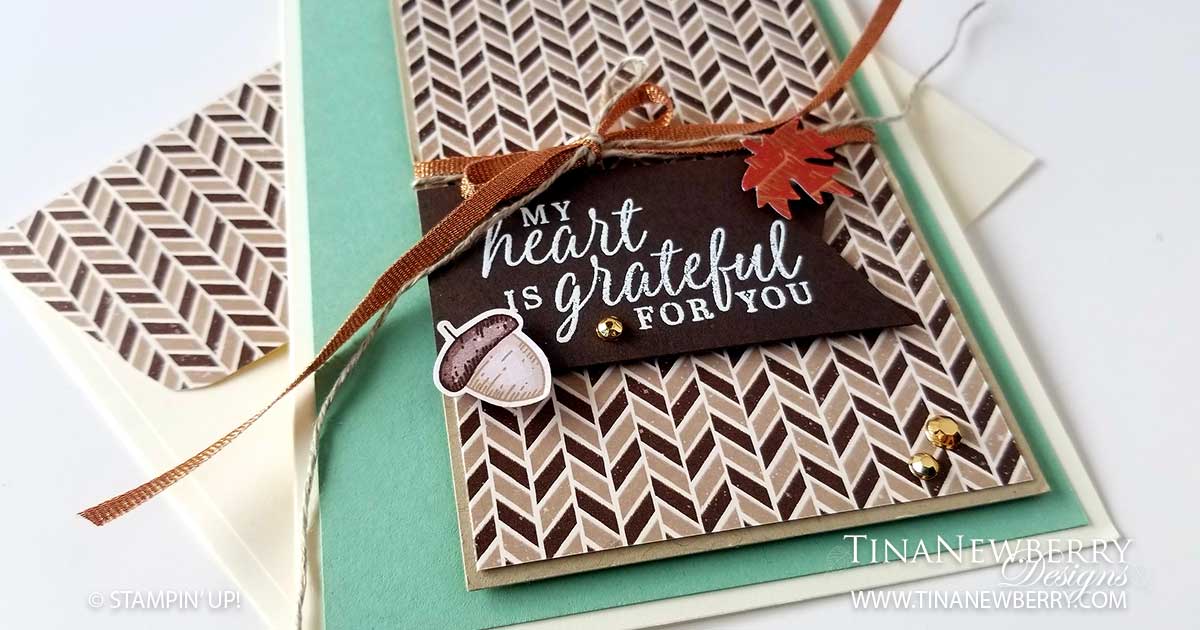
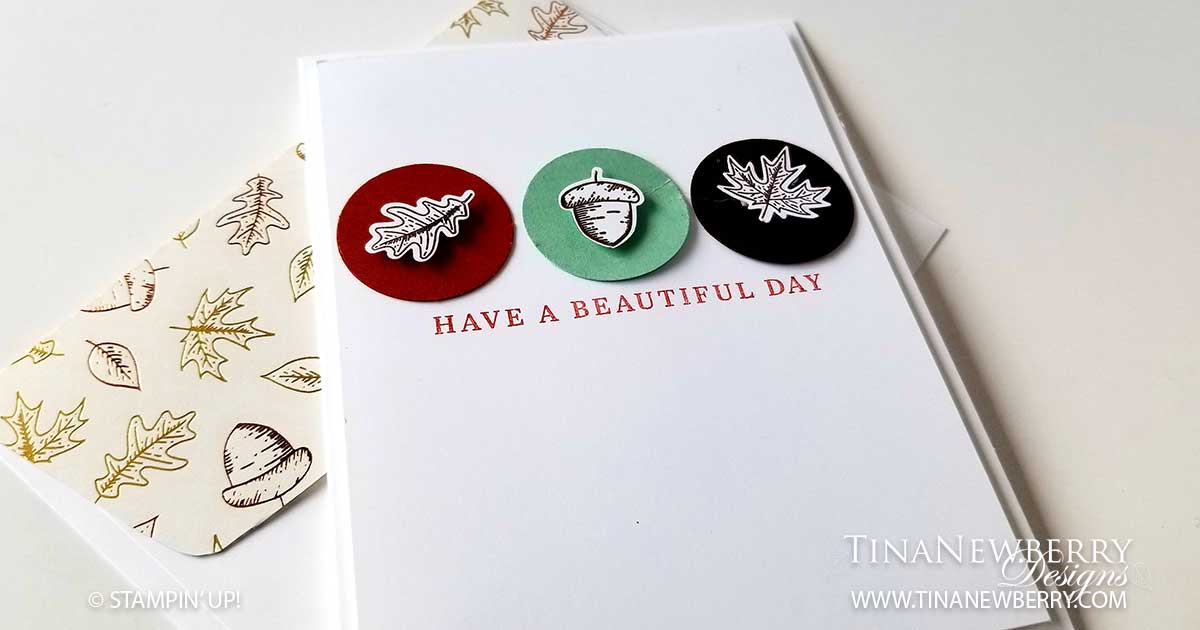
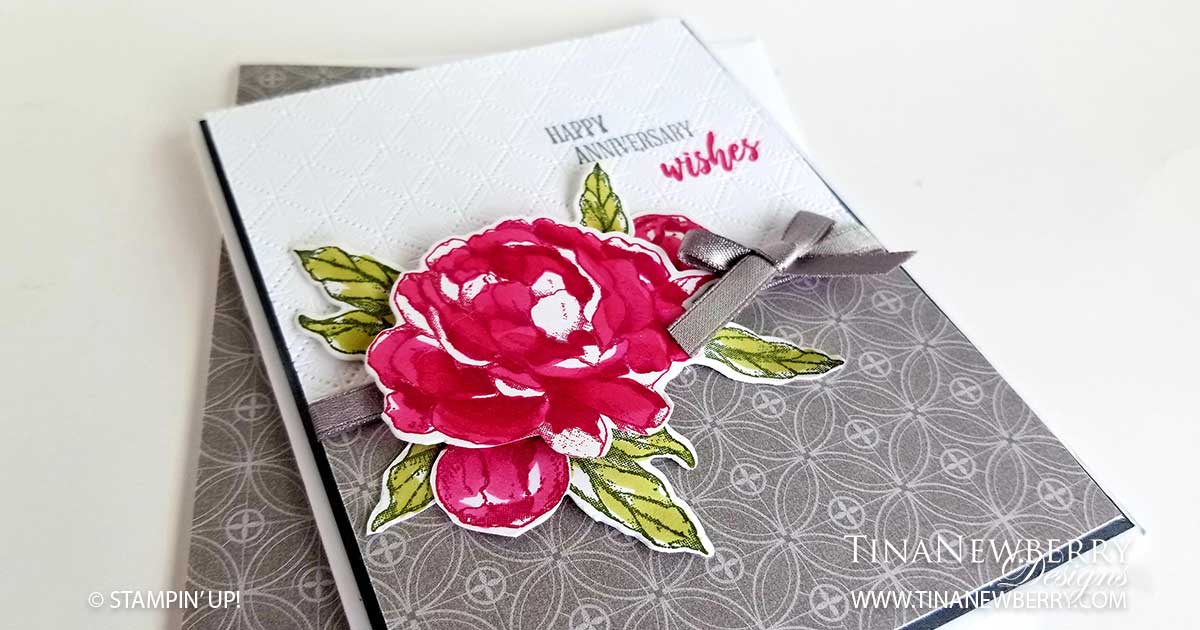
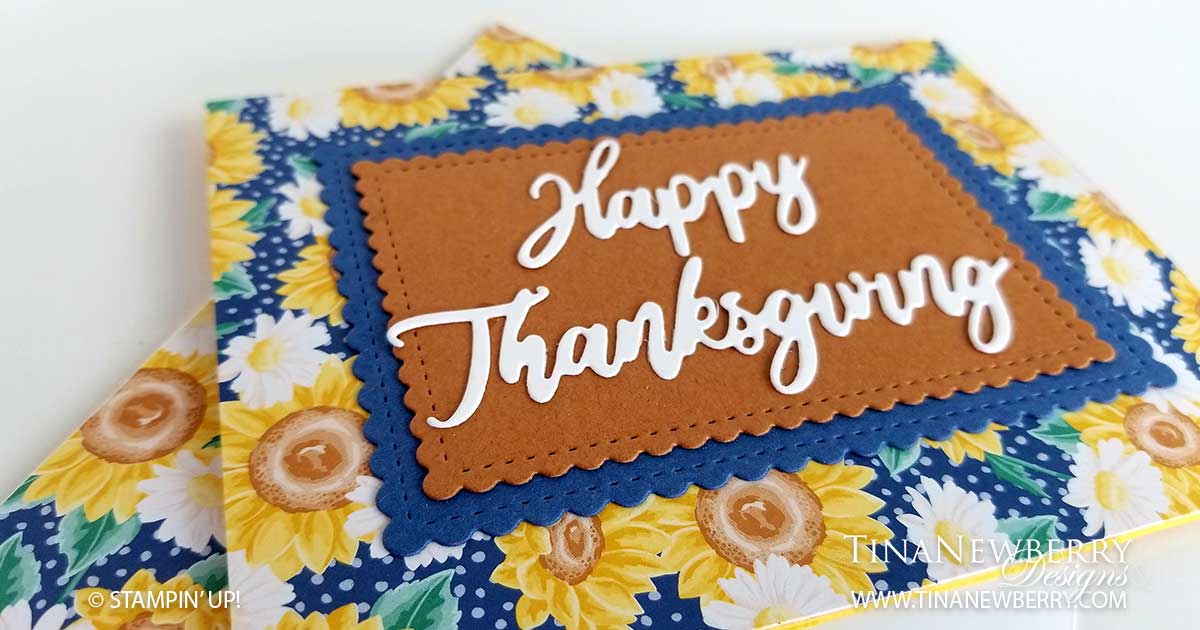
Here’s a new mix on fall colors in the Gilded Autumn Suite. The soft hue of the Very Vanilla cardstock ties these four luscious colors together in this pretty suite filled with leaves and acorns. The acorn punch even coordinates with the beautiful patterned paper, making it easy to put a card together.

Full list of supplies needed, listed below. A die cutting machine is needed for this card.
Card Base: Very Vanilla Cardstock 8 1/2 h” x 5 1/2″ w folded to 5 1/2″ h x 4 1/4″ w.
Background: Mint Macaron Cardstock 5 1/4″ h x 4″ w
Decorative Matte: Crumb Cake Cardstock 4 7/8″ h x 3 1/8″ w
Decorative Layer: Gilded Autumn Specialty Designer Series Paper 4 3/4″ h x 3″ w
Sentiment Layer: 
Early Espresso 1 1/2″ h x 2 3/4″ w
Ribbon: 6″ of two Ribbons

  1. Affix all stamps to Acrylic Blocks.
  2. Fold the Card Base in half using a Bone Folder to sharpen the crease.
  3. Attach the Background Layer with Stampin’ Seal.
  4. Attach the Decorative Layer to the Decorative Matte with Stampin’ Seal.
  5. Stamp the Sentiment with Versamark Ink on the Sentiment Layer and heat emboss with White Stampin’ Emboss Powder and attach to the Decorative Layer with Stampin’ Dimensionals.
  6. Wrap the Ribbon around the Decorative Layer and Matte and tie in a bow.
  7. Attach the Decorative Matte and Sentiment with Stampin’ Dimensionals.
  8. Punch a leaf and acorn and attach.
  9. Add some Gilded Gems.
  10. Decorate the Inside Layer.
  11. Decorate the envelope.
  12. Festive! Now send it to someone!

Shopping List

Recommended Stamper’s Toolkit ❤


Have a Beautiful Day

I’m a sucker for white-on-white clean cards. I saw this card by Dianna Carr and had to recreate it. The Beautiful Autumn Bundle brings a bold statement to a beautiful sentiment in this #simplestamping card featuring only stamps, ink and paper. Sometimes you just gotta Keep It Simple Sister!

Full list of supplies needed, listed below. A die cutting machine is needed for this card.
Card Base: Whisper White Thick Cardstock 8 1/2 h” x 5 1/2″ w folded to 5 1/2″ h x 4 1/4″ w.
Sentiment Layer: Whisper White Cardstock 5 1/4″ h 4″ w.
Circles (3): 
Cajun Craze, Mint Macaron, Early Espresso Cardstock I used a 1″ punch, but 3/4″ would be better.
Inside: 5 1/4″ h x 4″ w Whisper White Cardstock.

  1. Affix all stamps to Acrylic Blocks.
  2. Fold the Card Base in half using a Bone Folder to sharpen the crease.
  3. Stamp the Oak Leaf, Acorn and Maple Leaf in Early Espresso ink on Whisper White scrap cardstock and then punch out.
  4. Stamp the Sentiment in Cajun Craze Ink.
  5. Decorate the Inside Layer and attach.
  6. Decorate the envelope.
  7. So cute! Now send it to someone special.

Shopping List

Recommended Stamper’s Toolkit ❤


Design inspired by Diana Carr.

Happy Thanksgiving

A little patterned paper, some fall colors and Word Wishes Dies are all you need to make this #simplestamping card! Pick some festive fall colors, die cut some words and pretty labels and that’s it for this one. The Word Wishes Dies coordinate with A Wish for Everything stamp set and they’re great as a stand alone, as seen on this card.

Full list of supplies needed, listed below. A die cutting machine is needed for this card.
Card Base: Bumble Bee Cardstock 8 1/2 h” x 5 1/2″ w folded to 4 1/4″ h x 5 1/2″ w.
Background: Flowers for Every Season DSP 4 1/4″ h x 5 1/2″ w.
Sentiment Matte: Misty Moonlight Cardstock 4″ h x 3″ w with the Stitched So Sweetly Die
Sentiment Layer: 
Cinnamon Cider Cardstock 2 1/2″ h x 3 1/2″ w with the Stitched So Sweetly Die
Sentiment: Whisper White Cardstock die cut with the Word Wishes Dies

  1. Affix all stamps to Acrylic Blocks.
  2. Fold the Card Base in half using a Bone Folder to sharpen the crease.
  3. Attach all layers using Stampin’ Seal.
  4. Die cut the Sentiment and attach with Fine Tip Liquid Glue
  5. Decorate the Inside Layer and attach.
  6. Decorate the envelope.
  7. That’s It! Who will you send it to?

Shopping List

Recommended Stamper’s Toolkit ❤


Happy Halloween

A Wish for Everything stamp set is my fall back for all holidays and special days. With 38 cling stamps, I can easily mix-n-match sentiments to fit any occasion. For this card, I paired A Wish for Everything’s Happy Halloween with a piece of Halloween paper from the Magic in This Night Designer Series Paper pack and the rest of this card is all cardstock!

Full list of supplies needed, listed below. A die cutting machine is needed for this card.
Card Base: Whisper White Thick Cardstock 4 1/4″ h x 11″ w folded to 4 1/4″ h x 5 1/2″ w.
Background: Whisper White Cardstock 4″ h x 5 1/4″ w
Pattern: Magic in This Night DSP 3 3/4″ h x 3″w
Sentiment Matte: Black Glitter Paper 3″ h x 4″ w with the Stitched So Sweetly Dies
Sentiment Layer: 
Whisper White Cardstock 2 1/2″ h x 3 3/4″ w

  1. Affix all stamps to Acrylic Blocks.
  2. Fold the Card Base in half using a Bone Folder to sharpen the crease.
  3. Run the Background through the Stampin’ Cut & Emboss machine with the Scripty Embossing Folder and attached with Stampin’ Seal+.
  4. Attach the Pattern layer with Stampin’ Seal.
  5. Stamp the Sentiment in Pumpkin Pie Ink.
  6. Attach the Sentiment to the Matte with Stampin’ Seal+ or Tear N Tape and attach to the card with Stampin’ Seal.
  7. Cut three ovals. Use a sponge dauber to color outer edge of the top one with Pumpkin Pie ink, then assemble with Stampin’ Seal and Dimensionals for the top one.
  8. Fussy Cut a stem from Old Olive Cardstock and adhere with a glue dot.
  9. Attach Pumpkin to the card with Stampin’ Seal.
  10. Use the Dark Basic Black Stampin’ Blend to color the Linen Thread. Then tie a double layer into a bow and attach with a Mini Glue Dot.
  11. Decorate the envelope.
  12. Boo! Now send it to someone special.

Shopping List

Recommended Stamper’s Toolkit ❤


Design inspired by Ronda Wade.