Merry Christmas to You

Thank you for your interest in this project. Some projects are exclusive to subscribers who will receive passwords by email.

Are you a subscriber? Awesome! Check your email for the password and enter it here to view this project.

Not yet subscribed?  We’d love for you to join us.  Subscribe to my email list and receive news, information and inspiration by email.

Jingle All the Way

Yes those ARE felt bells! So fun and perfect for the Jingle All the Way sentiment in traditional Christmas colors. Make this #simplestamping card in just a few minutes.

Measurements

Full list of supplies needed, listed below. A die cutting machine is needed for this project.

Card Base: Thick Basic White Cardstock 4 ¼” h  x  11” w,  folded to 4 1/4″ h x 5 1/2″ w
Background:  Sweet Stocking DSP  4″ h x 4 ¼” w and  4” h x 1 ¼” w
Sentiment Layer: Basic White Cardstock scrap
Sentiment background label: Shaded Spruce scrap
Inside Layer: Basic White Cardstock 4″ h x 5 1/3″ w

Let’s Create

  1. Affix all stamps to acrylic blocks.
  2. Fold the Card Base and crease the fold with a Bone Folder
  3. Emboss the Shaded Spruce layer with the Tasteful Textiles embossing folder.
  4. Adhere the Sweet Stockings DSP and embossed Shaded Spruce layers onto the card front.
  5. Die cut two felt bells: one Crushed Curry and one Cherry Cobbler.
  6. Use the Shaded Spruce Stampin’ Pad to stamp the sentiment onto the Basic White card stock scrap.
  7. Punch around the stamped sentiment with the Everyday Label Punch.
  8. Use a sponge dauber tapped into Crushed Curry Stampin’ Pad and apply ink to the edges of the Basic White sentiment label.
  9. Punch a blank label from the Shaded Spruce scrap with the Everyday Label Punch.
  10. Cut the Shaded Spruce label in half from straight edge to straight edge. Adhere these pieces onto the back of the sentiment label so that they frame behind the right and left edges of the Basic White sentiment label.
  11. Adhere the felt bells onto the card front.
  12. Adhere the layered labels onto the card front with Dimensionals.
  13. Embellish the bells with Brushed Metallic Adhesive Backed Dots.
  14. Stamp and Decorate the inside layer, then attach with Stampin’ Seal.
  15. Decorate your envelope as you prefer.
  16. Who will you send it to?

Shopping List

Stamper’s Toolkit

You will also need adhesive, acrylic blocks, scissors and other basic PaperCrafting items from the Stamper’s Toolkit

Have a Holly Jolly Christmas

Have a Holly Jolly Christmas! YES! I just love the fonts and sentiments on this stamp set. Make this fun card in minutes with this quick and easy, #simplestamping design.

Measurements

Full list of supplies needed, listed below. 

Card Base: Real red Cardstock 5 ½” h  x  8 ½” w, folded to 5 ½” h x 4 1/4″ w

Background: Heartwarming Hugs DSP 5 1/4″ h x 1” w and another 5 ¼” h x 3” w

Sentiment Layer: Basic White card stock scrap and Mossy Meadow cardstock scrap

Let’s Create

  1. Affix all stamps to acrylic blocks.
  2. Adhere the Heartwarming Hugs DSP layers onto the card front.
  3. Stamp the sentiment with Mossy Meadow Stampin’ Pad onto the Basic White scrap.
  4. Punch around the stamped sentiment with the Everyday Label Punch.
  5. Punch a blank label from the Mossy Meadow scrap with the Everyday Label Punch.
  6. Cut the Mossy Meadow label in half from straight edge to straight edge. Adhere these pieces onto the back of the sentiment label so that they frame behind the right and left edges of the Basic White sentiment label.
  7. Adhere the sentiment labels onto the card front with Dimensionals.
  8. Embellish with Red Rhinestones.
  9. Decorate your envelope as you prefer with DSP or stamping.
  10. So cute! Who will you send it to?

Shopping List

Stamper’s Toolkit

You will also need adhesive, acrylic blocks, scissors and other basic PaperCrafting items from the Stamper’s Toolkit

Simple Stamping Tips

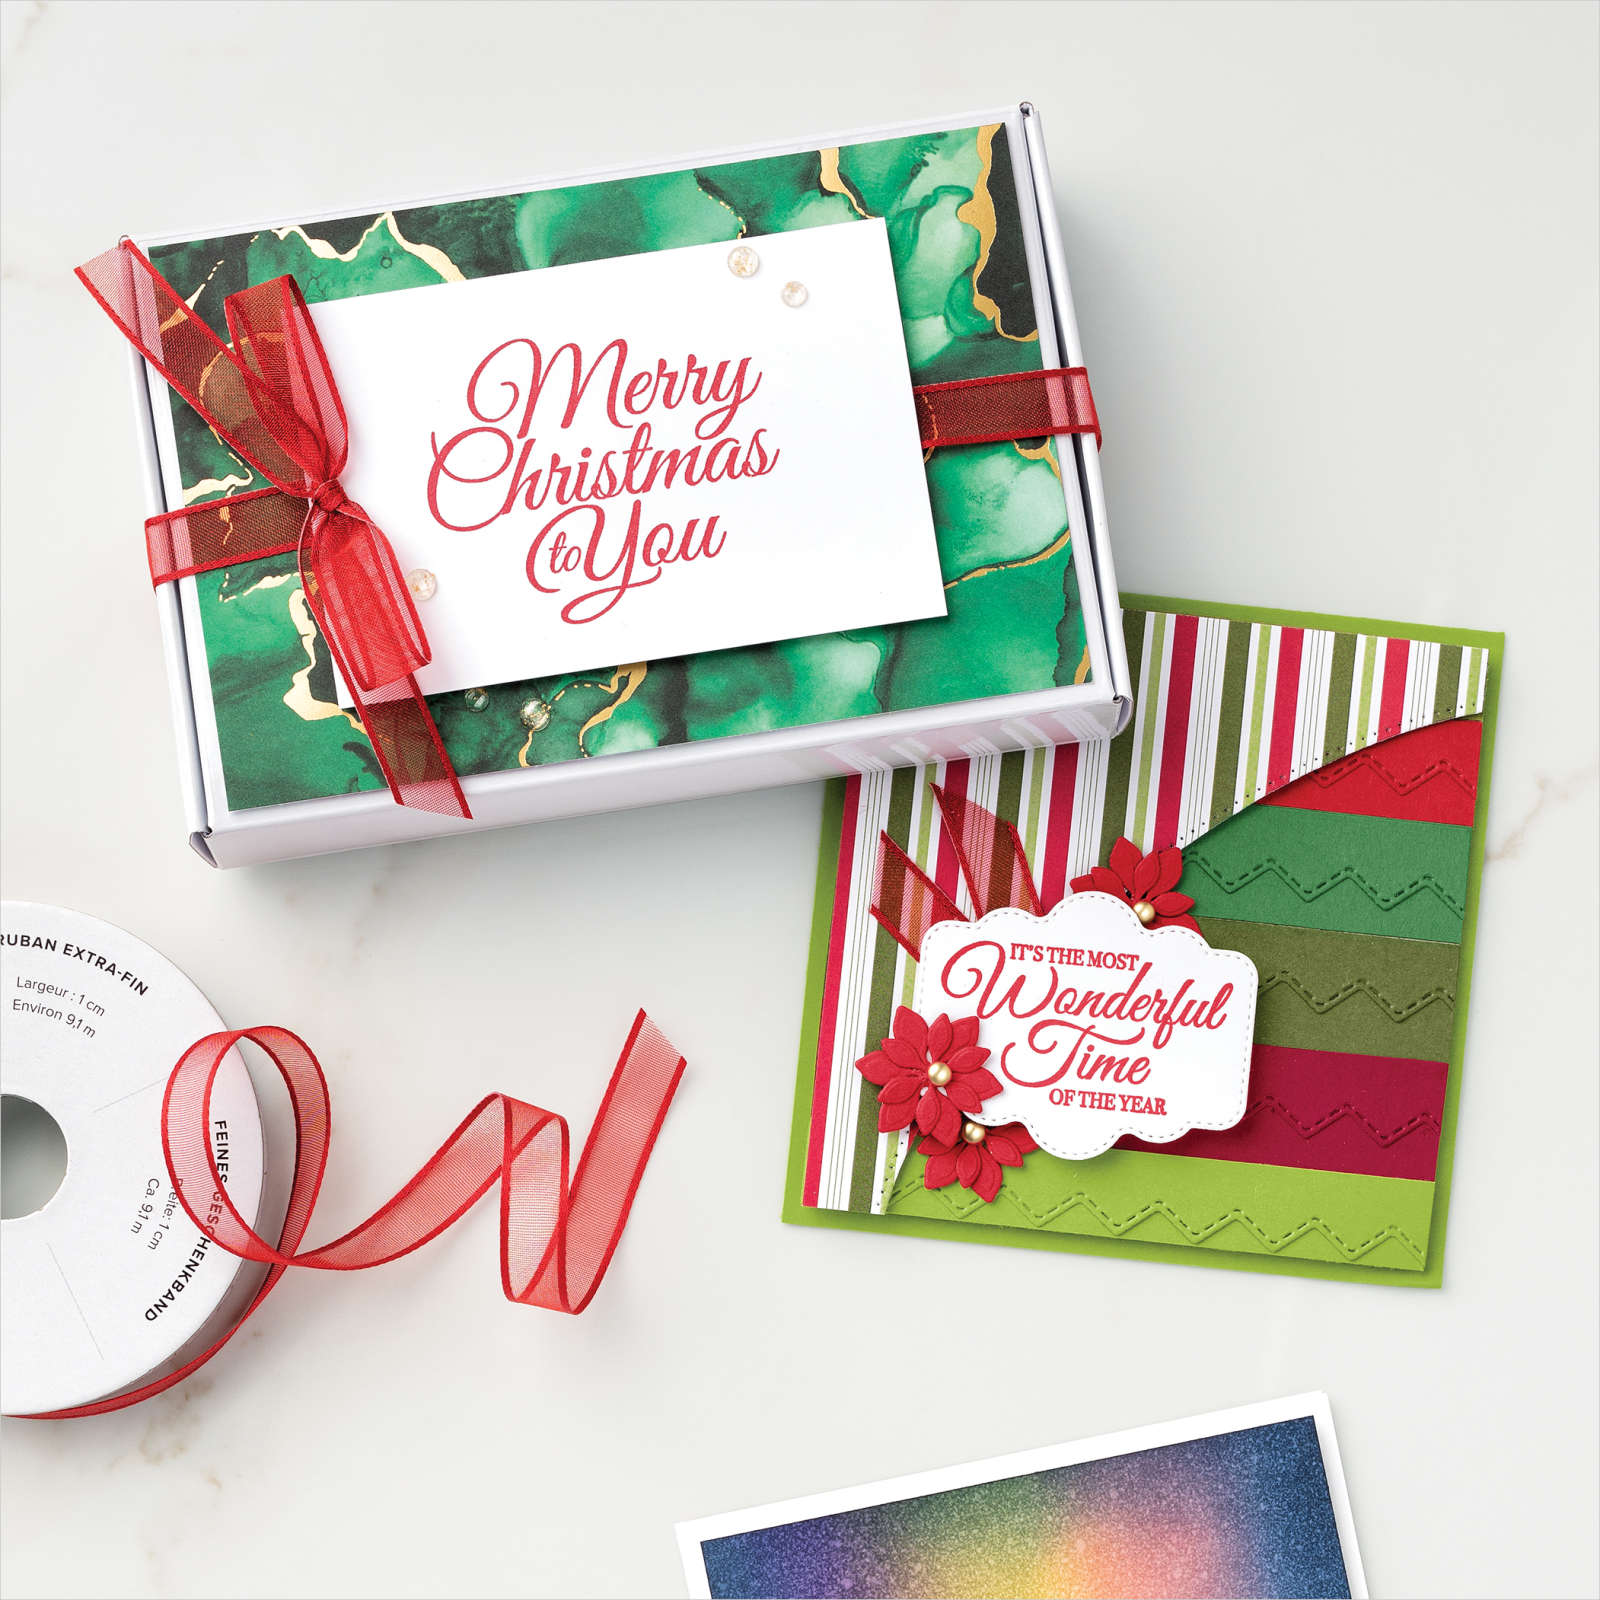
As Christmas quickly approaches, chances are you’re already making cards for family and friends. Creating so many cards can seem overwhelming, but we have a few ideas that can make everyone’s card-sending season merry and bright.

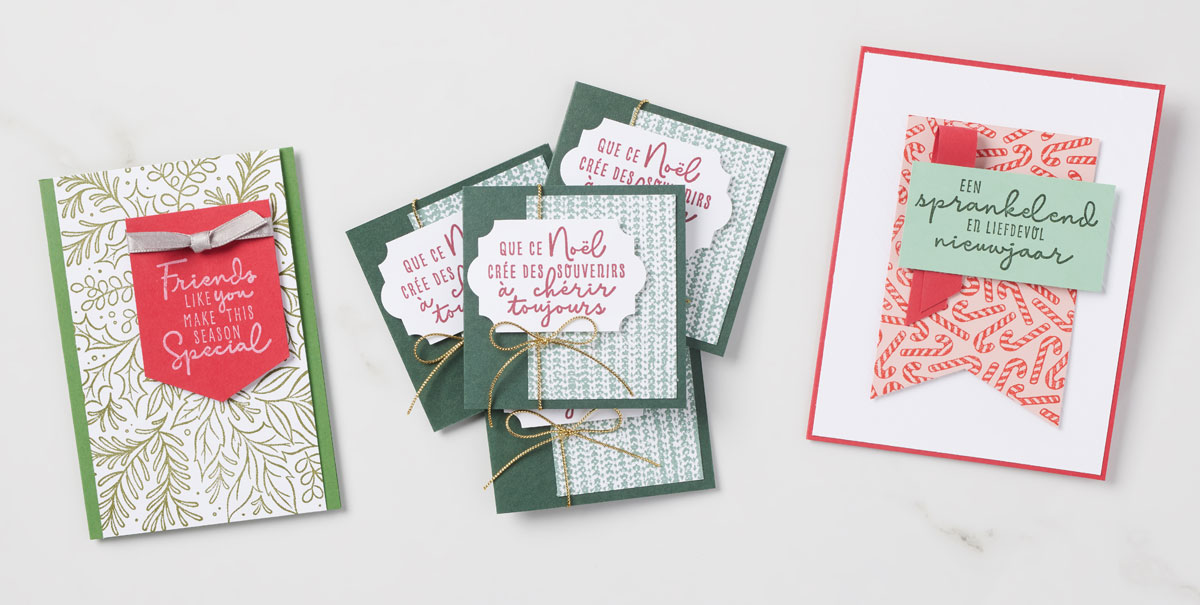
Some of the first Christmas trees were decorated with nothing but candles, which may seem minimal, but those candles brought joy and light to any home. Just like those early Christmas trees, not every project needs hundreds of embellishments to make it beautiful. For example, take a look at our Friends Like You card, where a Gray Granite 1/4″ (6.4 mm) Shimmer Ribbon creates a simple touch of elegance.

As you can see in our Een sprankelend en liefdevol nieuwjaar card, there’s an easy trick to give your crafts a little bit more texture. Simply use the scoring blade on your Paper Trimmer to make diagonal lines on a piece of Basic White Cardstock. It’s easy to do and adds more substance to any project.

And when the season gets busy, try the technique from the Que ce Noël card. In this card, we used the Knit Together Background Stamp from the July–December 2021 Mini Catalog, then cut the image into four pieces to get four cards. It’s so easy! Do that enough times and you’ll have so many cards you’ll have to make more friends!